The Hidden Fight Against Compression
You have just captured a stunning 4K video on your brand-new smartphone. It looks exceptionally crisp in your camera roll, but the moment you upload it to your Instagram Story in 2026, it transforms into a compressed, pixelated mess. This frustrating phenomenon occurs because social media platforms aggressively compress massive media files to save bandwidth and ensure fast loading times for millions of daily active users.
However, quality loss is not inevitable. By making a few crucial adjustments to the Instagram app settings and adhering to strict dimension guidelines before you shoot your content, you can bypass the aggressive compression algorithms and retain professional-grade clarity.
1. Enable "Upload at Highest Quality"
The single most important step you can take happens before you select a photo or video to post. By default, Instagram throttles your upload quality to conserve cellular data. You must manually override this restriction.
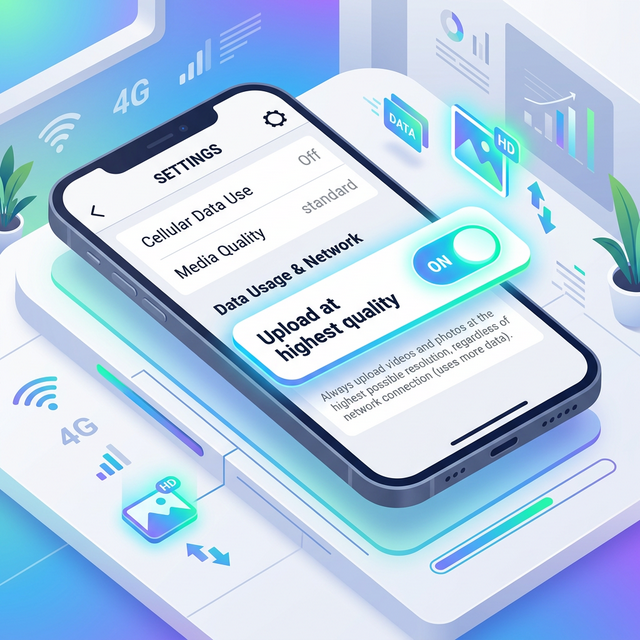
To enable this crucial setting in 2026:
- Open the Instagram app and navigate to your main Profile.
- Tap the three horizontal lines (the hamburger menu) in the top-right corner.
- Scroll down and select Settings and privacy.
- Under the "Your app and media" section, tap on Data usage and media quality.
- Toggle on the switch explicitly labeled Upload at highest quality.
Be aware that turning this feature on will result in longer upload times and heavier data consumption. If you are uploading massive 4K video files while away from Wi-Fi, ensure your cellular plan can handle it, or review our guide on managing and sharing telecom balances to avoid unexpected overages.
2. Adhere to the Exact 9:16 Aspect Ratio
Instagram Stories are vertically locked. They are explicitly designed to be viewed in a 9:16 aspect ratio with a resolution of 1080 pixels wide by 1920 pixels high. Many modern smartphone sensors shoot natively in 3:4 or 16:9 (horizontal).
If you upload a photo that does not meet the 1080x1920 requirement, Instagram's internal cropper takes over. It will forcibly punch-in (zoom) or add blurred padding to your media to make it fit the screen. This forceful zooming is a primary cause of rapid resolution loss. For the best outcome, either set your default camera app to shoot natively in 16:9 (held vertically, resulting in 9:16) or crop the image externally before ever opening Instagram.
3. Edit Externally, Not In-App
Instagram's built-in story editor is highly convenient for adding text, stickers, and basic filters, but it is notoriously terrible at preserving the underlying file quality of raw video. Adding too many native GIF stickers or drawing elements can force the app to aggressively re-encode the entire file, destroying the bitrate.

Professional creators utilize external applications like CapCut or Adobe Lightroom to finalize their aesthetics offline. For example, if you want to cleanly frame your story with specialized margins, doing it in an external photo app prevents Instagram from ruining the compression. For step-by-step instructions on doing this properly, read our tutorial on adding borders in PicsArt.
When exporting your fully edited file from these external apps, stick to a framerate of exactly 30fps. While 60fps feels smoother on your local device, Instagram will brutally compress the extra frames, often resulting in choppy playback.
4. The Impact of Network Stability
Even if you have the "Upload at highest quality" toggle enabled and your dimensions are perfectly matched, a weak internet connection will undermine your efforts. If Instagram detects high packet loss or severe network throttling during the upload process, it will actively drop the resolution of your file to prevent the upload from completely failing.
Whenever possible, upload your finalized 1080x1920 files over a stable Wi-Fi connection, or verify you have a strong, full-strength signal using modern cellular protocols; for more context on how network stability handles large data packages, you can read our evolution of mobile networks guide.
Understand the Viewer's Display Limit
Finally, it is worth remembering that the perceived quality of your story is ultimately limited by the hardware of the person viewing it. Uploading an 8K HDR video is useless if the viewer's device cannot mathematically decode the color depth or if their screen relies on older, lower-contrast LCD technology. To better understand how hardware limits perceived quality, review our complete guide to modern phone screens.
Frequently Asked Questions
Why do my iPhone videos look worse on Instagram than Android videos?
Historically, Instagram's iOS app was better optimized, yielding superior quality. However, in 2026, the discrepancy usually stems from users leaving "High Efficiency" (HEVC) recording enabled on their iPhone settings, combined with HDR. Disabling HDR video capture in your iPhone's camera settings often yields a much more stable, less blown-out upload.
What is the maximum file size for an Instagram Story?
For a single 15 to 60-second video segment, the maximum allowed file size is 30MB, and for photos, it is 4MB. Files larger than this are subjected to massive automated compression.
Should I use 4K or 1080p for Instagram Stories?
Always export at 1080p (specifically 1080x1920). While you can certainly shoot the raw footage in 4K to give yourself cropping room, uploading raw 4K directly forces Instagram's servers to downscale the footage on the fly, reducing clarity.
Does turning off Wi-Fi assist help uploads?
Yes. If your phone constantly bounces between a weak Wi-Fi signal and cellular data during an active upload, the data packet interruption will often trigger Instagram to drop the file quality to ensure the upload finishes.