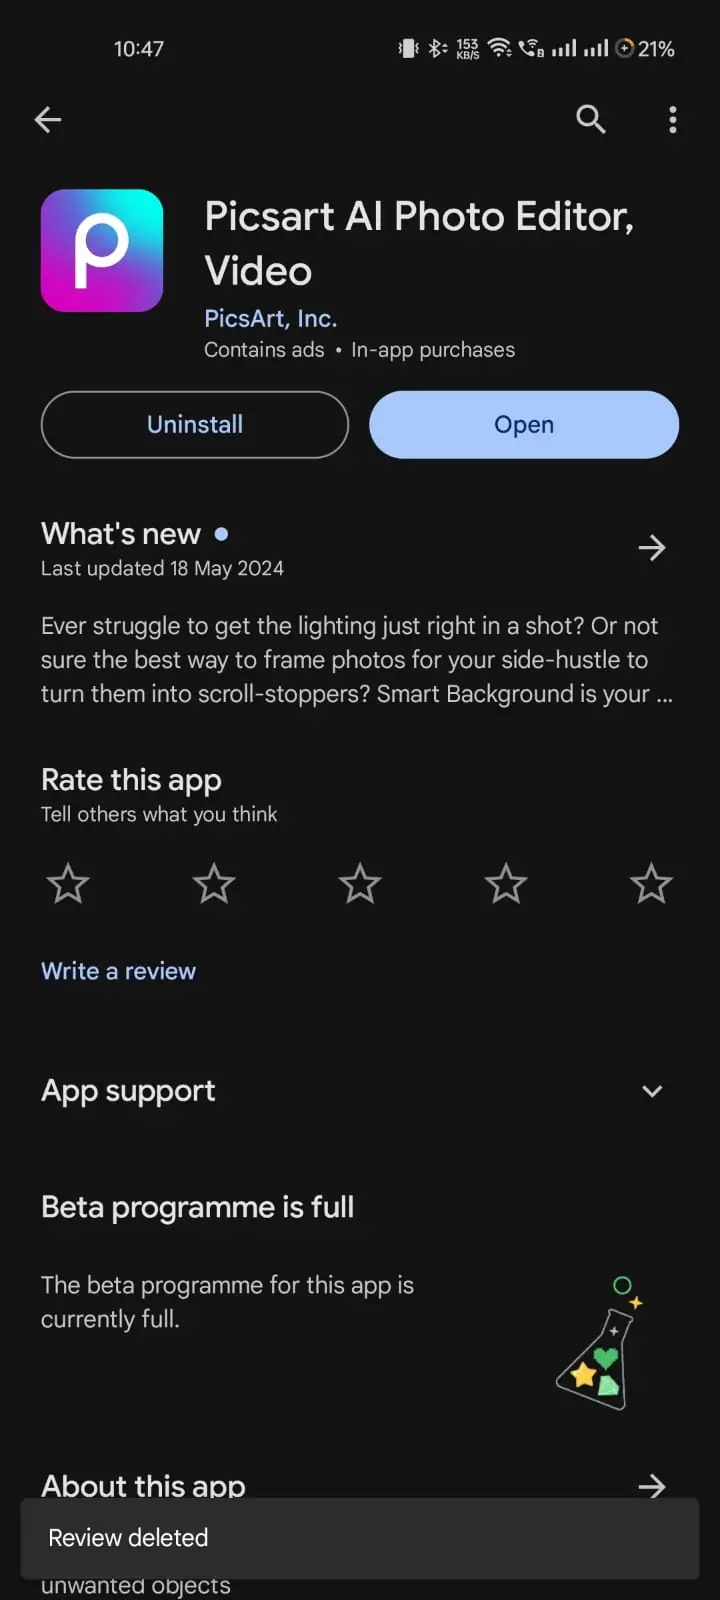
Picsart is a popular app for photo editing and graphic design, widely used by both beginners and professionals. Whether you want to create stunning visuals or simply edit your photos, Picsart offers a variety of tools and features. Here’s a step-by-step guide on how to create or save a project in Picsart.
Guide to Save Projects in Picsart
Step 1: Download and Install Picsart
First, ensure you have Picsart installed on your device. You can download it from the Google Play Store for Android or the App Store for iOS.
Step 2: Open Picsart and Start a New Project
- Launch Picsart: Open the Picsart app on your device.
- Sign In: If you’re not already signed in, log in with your Picsart account. You can also use your Google or Facebook account.
- Create a New Project:
- Tap on the ‘+’ icon at the bottom center of the screen.
- Choose the type of project you want to create. You can select from options like ‘Edit a Photo’, ‘Make a Collage’, or ‘Draw’.
Step 3: Editing Your Project
- Upload Your Image: Choose an image from your gallery or select a free image from Picsart’s library.
- Use Editing Tools:
- Adjust: Modify the brightness, contrast, and saturation.
- Filters: Apply filters to give your photo a unique look.
- Effects: Use various effects to enhance your photo.
- Text: Add text to your image with different fonts and styles.
- Stickers: Add fun stickers from Picsart’s vast collection.
- Brushes: Use brushes to draw or paint on your image.
Step 4: Save Your Project
- Final Adjustments: Make sure you’re satisfied with your edits.
- Save: Tap the ‘Cross X’ button at the top left corner.
- Save to Device:
- Tap on ‘Save Draft’ to store your project in your phone’s gallery.
- You can also share your project directly on social media platforms like Instagram, Facebook, or WhatsApp by tapping on the respective icons.
Step 5: Access Saved Projects
- Open Saved Projects: Open Picsart and tap on the ‘+’ icon at the bottom center of the screen.
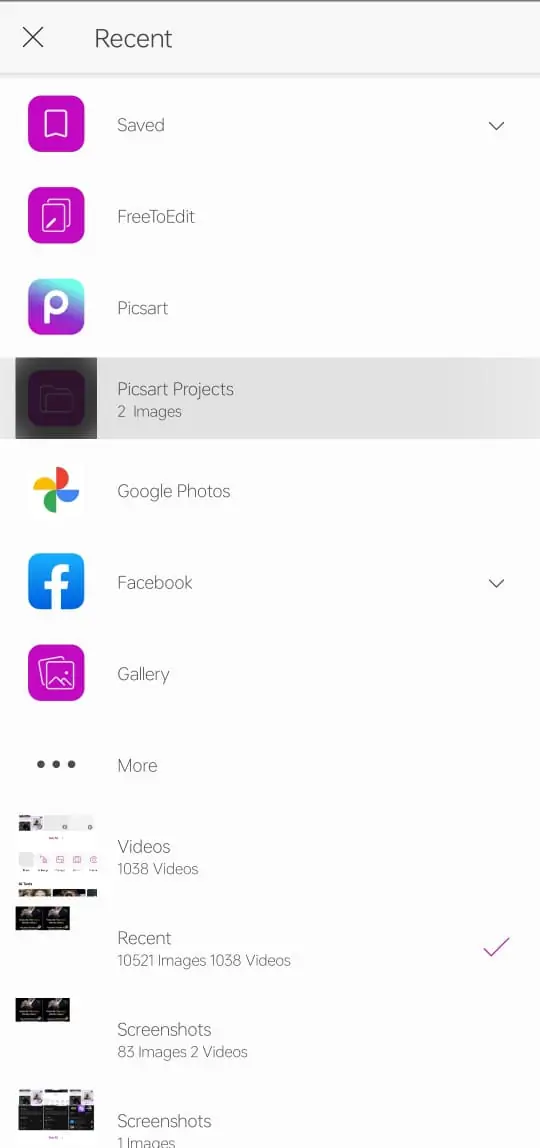
- Click on All Albums: In the ‘Create New’ window, click on ‘All Albums’.
- Select Picsart Projects: Next, click on ‘Picsart Projects’ to view all your saved projects.
- See All Projects: Click on ‘See All’ to view the complete list of your projects. Alternatively, you can edit the most recent projects directly from this screen.
Tips for Better Picsart Projects
- Explore Tutorials: Picsart offers in-app tutorials to help you learn new techniques and improve your editing skills.
- Join the Community: Follow other creators, participate in challenges, and get inspired by the Picsart community.
- Use High-Resolution Images: Start with high-quality images to ensure the best editing results.
- Read More: For more information on managing your projects, please read our article on deleting a Picsart project or the account.
Conclusion
Creating and saving projects on Picsart is a straightforward process. With its user-friendly interface and a wide array of tools, you can easily transform your photos and unleash your creativity. Whether you are a novice or an experienced designer, Picsart provides all the features you need to make your projects stand out. Happy editing!


