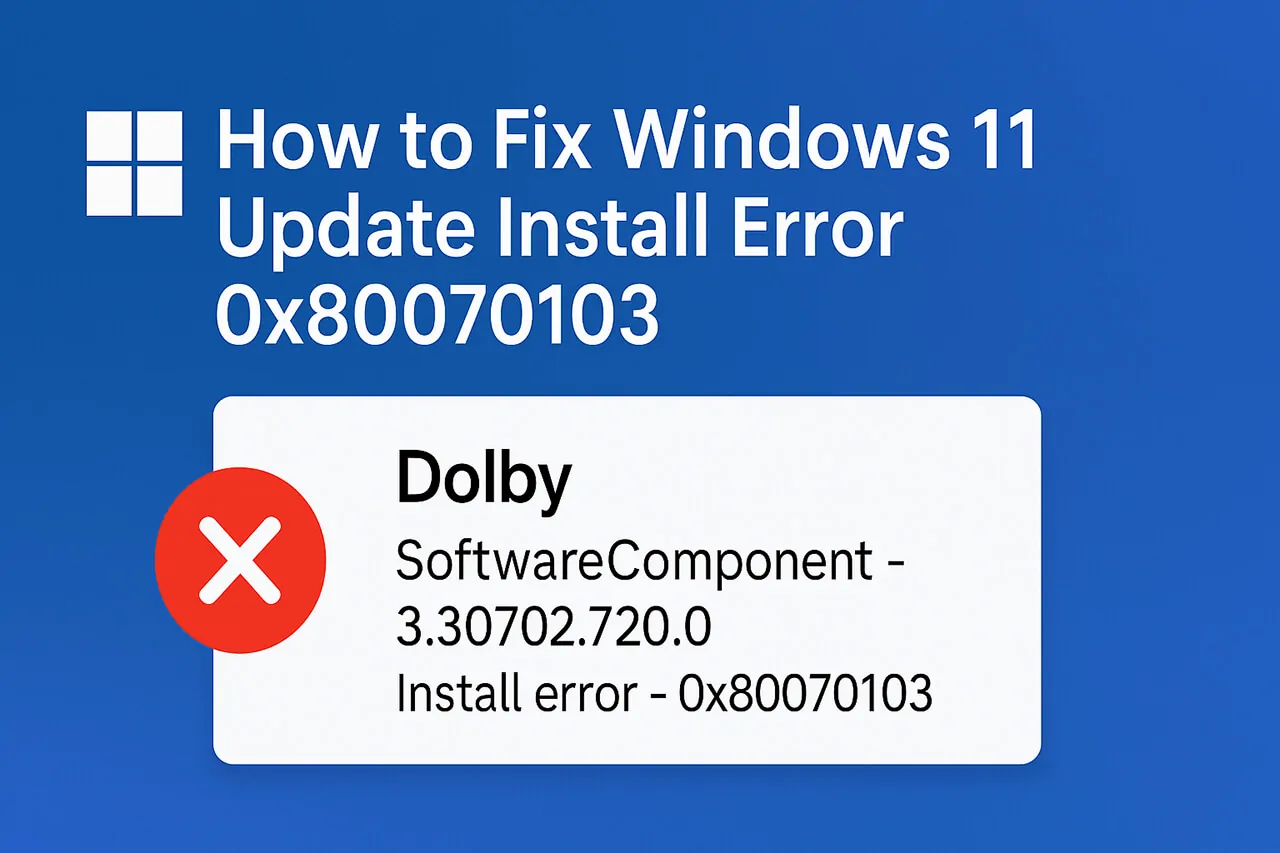
The Windows 11 Update Install error 0x80070103, especially with a message like:
Dolby – SoftwareComponent – 3.30702.720.0, Install error – 0x80070103
…typically occurs when Windows Update is trying to install a driver or component that’s already installed or not compatible with your system.
🔧 Fixes for “Install error – 0x80070103”
1. Hide the Driver Update via Microsoft Troubleshooter
Since this error is related to an unnecessary or incompatible driver, you can hide the update so Windows stops trying to install it.
Steps:
- Download the “Show or Hide Updates” troubleshooter tool from Microsoft:
https://download.microsoft.com/download/f/2/2/f22d5a5b-7d9d-4731-991c-61f1d6aa46d0/wushowhide.diagcab - Run the tool and click Next.
- Click Hide updates.
- Select Dolby – SoftwareComponent – 3.30702.720.0 from the list.
- Click Next and follow the prompts.
This will prevent Windows from attempting to install that specific update again and will fix the Install error – 0x80070103.
2. Manually Install Dolby Drivers (If Needed)
If you actually want the update, you can try installing the correct version directly from your device manufacturer’s site (Lenovo, Dell, etc.).
Steps:
- Visit your PC/laptop manufacturer’s support page.
- Search for your model.
- Download the latest Dolby driver under the Audio section.
- Install it manually.
- Restart your PC.
3. Clear the Windows Update Cache
Sometimes, corrupted cache files can cause update errors.
Steps:
- Press
Win + Sand type cmd, then right-click Command Prompt > Run as administrator. - Run these commands one by one:
net stop wuauserv
net stop cryptSvc
net stop bits
net stop msiserver - Navigate to the cache folder:
ren C:\Windows\SoftwareDistribution SoftwareDistribution.old
ren C:\Windows\System32\catroot2 Catroot2.old - Restart services:
net start wuauserv
net start cryptSvc
net start bits
net start msiserver - Reboot your PC and try checking for updates again.
✅ Optional: Use Device Manager to Update Dolby Drivers
- Press
Win + X> Device Manager. - Expand System Devices or Sound, Video and Game Controllers.
- Look for Dolby components.
- Right-click > Update Driver > Search automatically.
If it says the best drivers are already installed, leave it as is.
🛠️ Conclusion
If you don’t need that Dolby update (and most users don’t), simply hide it using the wushowhide tool. It’s a common issue when Windows tries to force-install an incompatible or redundant version of a third-party driver.
Need help checking which Dolby driver you already have installed? Continue reading then . . .
🔍 Step-by-Step: Check Installed Dolby Driver Version
Method 1: Using Device Manager
- Right-click on the Start button → Select Device Manager.
- Expand the category:
- Look under “Sound, video and game controllers” or
- “System devices” (sometimes Dolby components show up here).
- Look for anything labeled:
- Dolby Atmos, Dolby Audio, or
- Realtek High Definition Audio (Dolby is sometimes bundled here).
- Right-click the Dolby or audio-related device → Click Properties.
- Go to the Driver tab.
- You’ll see details like:
- Driver Version
- Driver Date
- Provider (may say Dolby, Realtek, Microsoft, etc.)
- You’ll see details like:
Method 2: Check via Control Panel (Dolby App)
If your system includes a Dolby Access or Dolby Audio app:
- Press
Win + Sand search Dolby. - Open the Dolby app (if available).
- Navigate to Settings or About within the app to see the version.
🔎 Optional: Use System Info for Extra Detail
- Press
Win + R, typemsinfo32, and hit Enter. - In System Information, expand Components → Click Sound Device.
- Look for entries showing Dolby in the Name or Driver Provider field.
Once you find the current version, compare it to the one Windows Update is trying to install:
3.30702.720.0


This error has been a headache, but I didn’t realize how easy it is to just hide the update with the troubleshooter tool. I might try manually installing the driver next time if I actually need it.