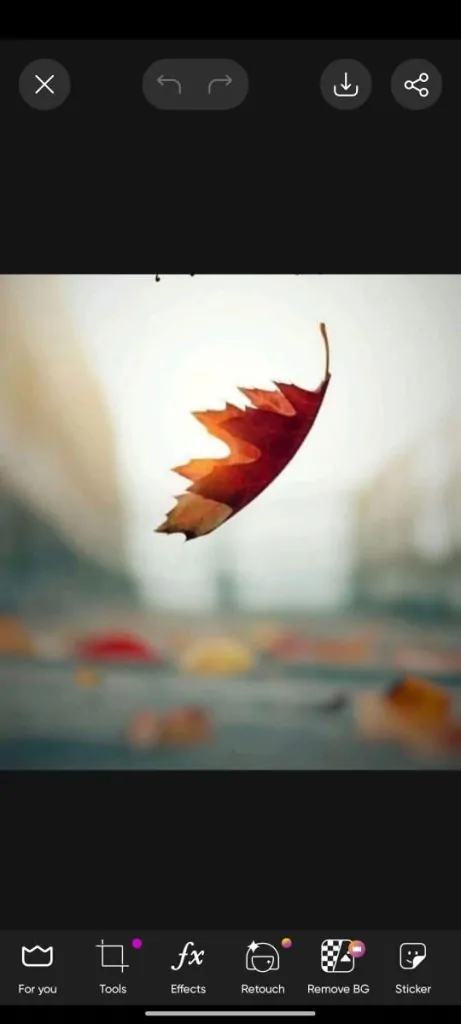
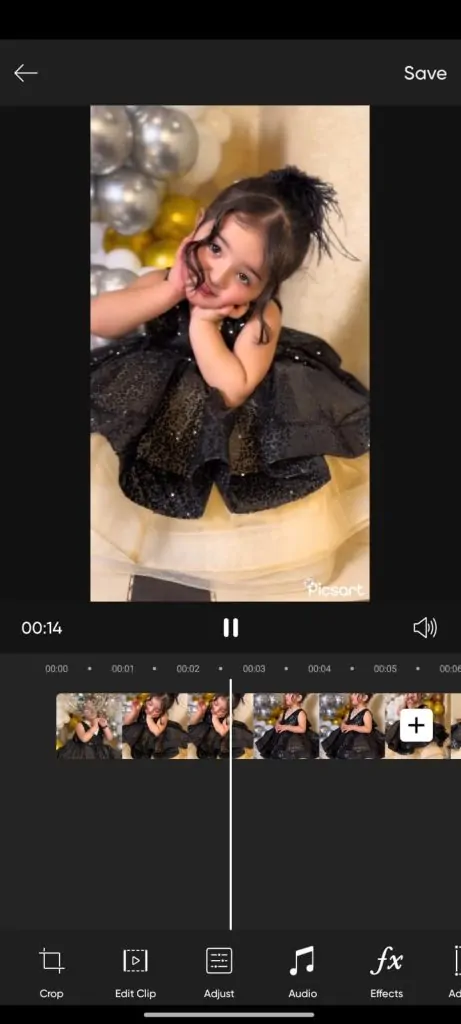
PicsArt is a popular app that lets you easily edit and enhance your photos with creative tools. In today’s digital world, knowing how to edit photos is important, whether you’re sharing on social media, creating personal memories, or building a professional brand. This guide will take you through everything you need to know about using PicsArt, from simple edits to advanced techniques. Whether you’re a beginner or an experienced user, you’ll find step-by-step instructions to help you create amazing images with PicsArt.
Getting Started with PicsArt
-
Download and Install PicsArt:
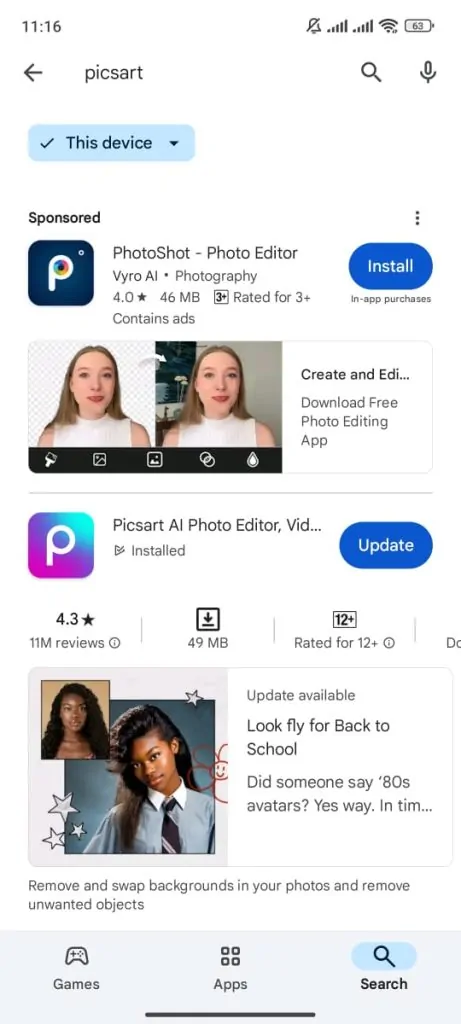
- Search for PicsArt in the Google Play Store (Android) or Apple App Store (iOS).
-
- Tap on the app and click Install.
- Open the app once the installation is complete.
-
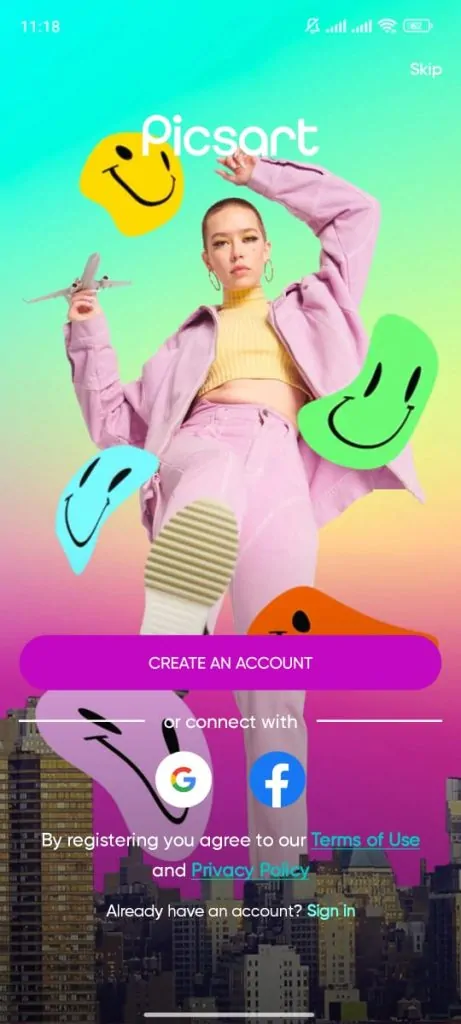
Creating an Account:
-
- If you already have an account, simply log in.
- An account lets you save your work, access more features, and connect with the PicsArt community.
-
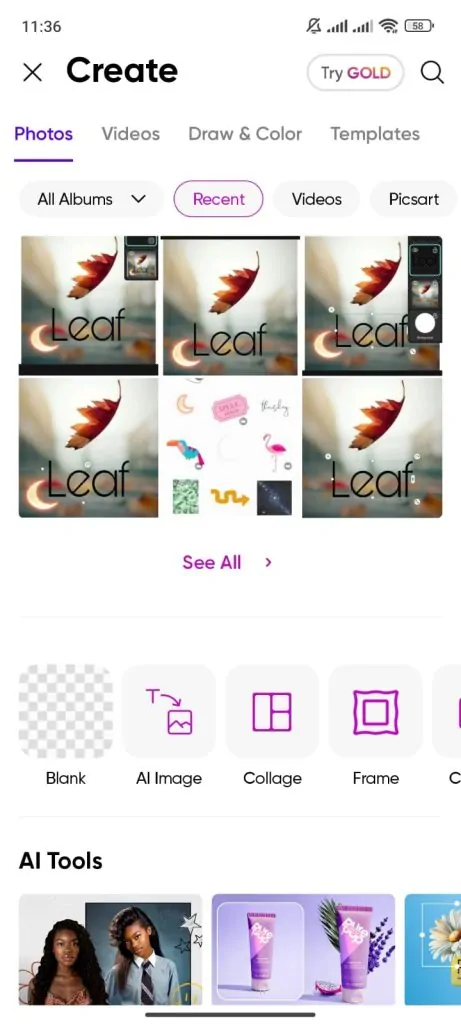
- The main screen features options like Edit, Collage, Draw, and Camera.
-
- Use the bottom menu to access your profile, notifications, and other tools.
- Take some time to explore and get comfortable with the app’s layout.
Basic Photo Editing with PicsArt
-
Importing Photos:
- Open PicsArt and tap on Edit from the main screen.
-
- Choose to upload a photo from your gallery or take a new one with the camera.
- Once selected, the photo will open in the editor, ready for you to start editing.
-
Applying Filters:
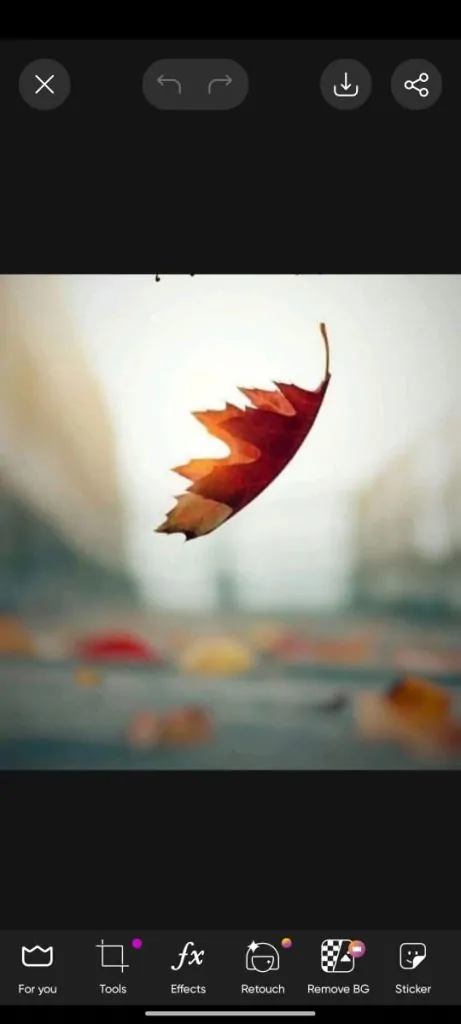
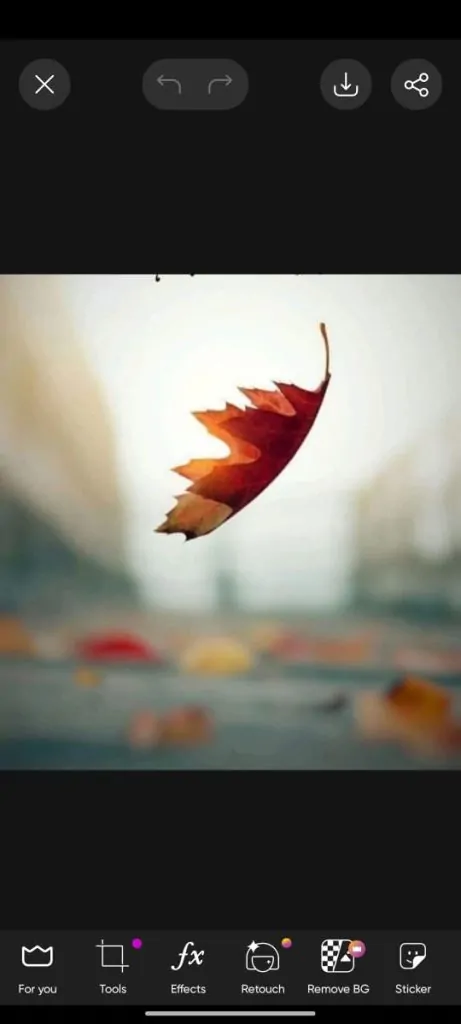
- Tap on the Effects option at the bottom of the screen.
-
- Browse through a wide range of filters to find the one that suits your photo.
- Tap on a filter to apply it instantly, and adjust the intensity if needed.
-
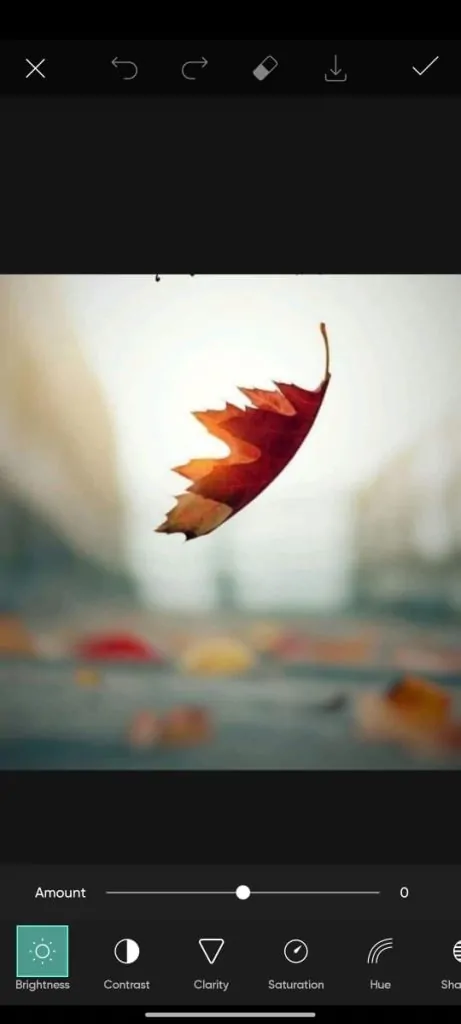
Adjusting Brightness, Contrast, and Saturation:
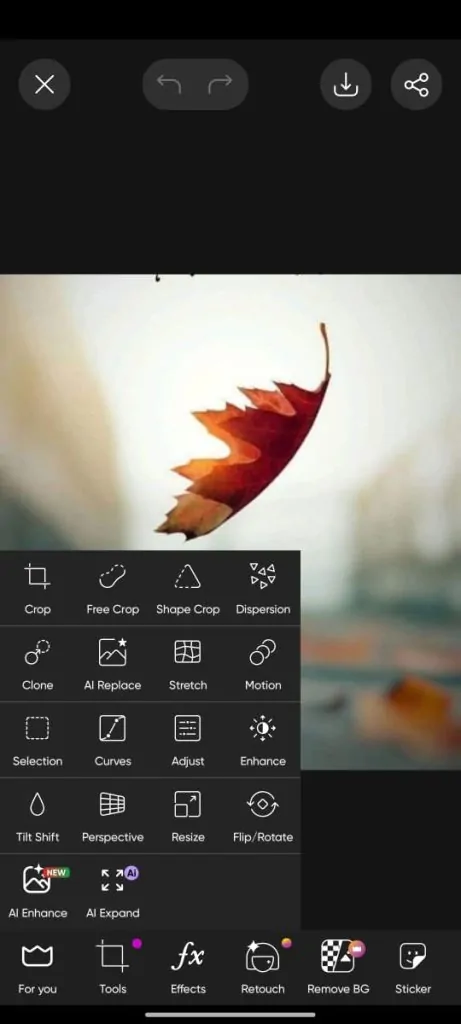
- Select Tools from the bottom menu and tap on Adjust.
-
- Use the sliders to tweak brightness, contrast, and saturation until your photo looks just right.
- Preview your changes and tap Apply to save the adjustments.
-
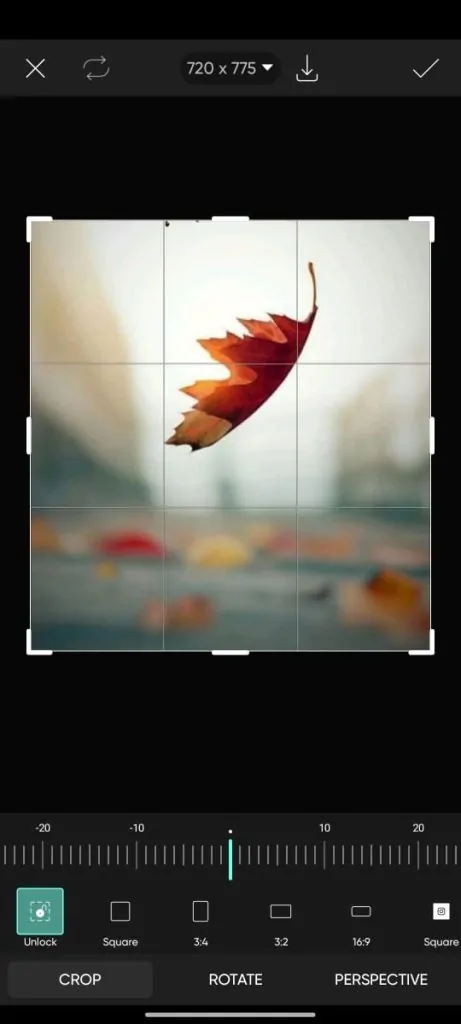
Cropping and Resizing Images:
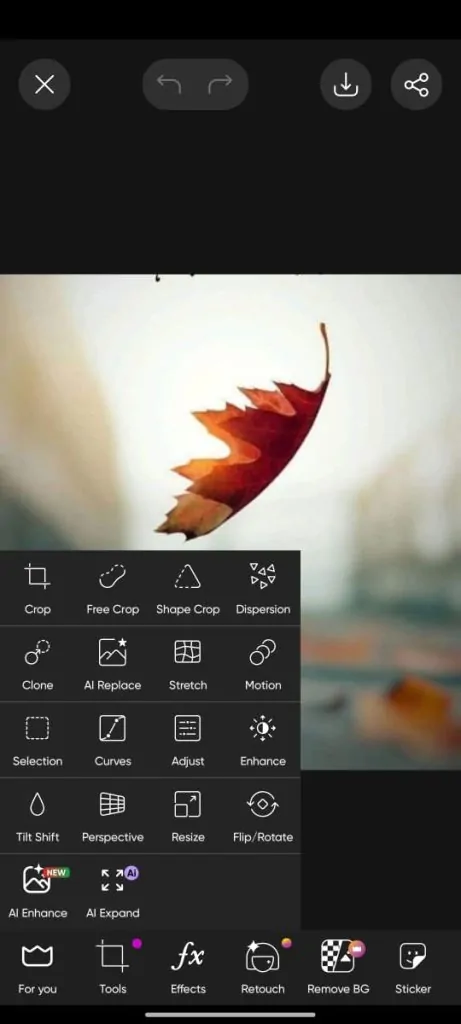
- Tap on Tools and then select Crop to trim your photo to your desired size.
-
- You can choose from preset dimensions or manually adjust the crop area.
- To resize or rotate, use the Resize or Rotate tools within the Tools menu, then apply your changes.
Adding Text and Stickers
-
Inserting Text:
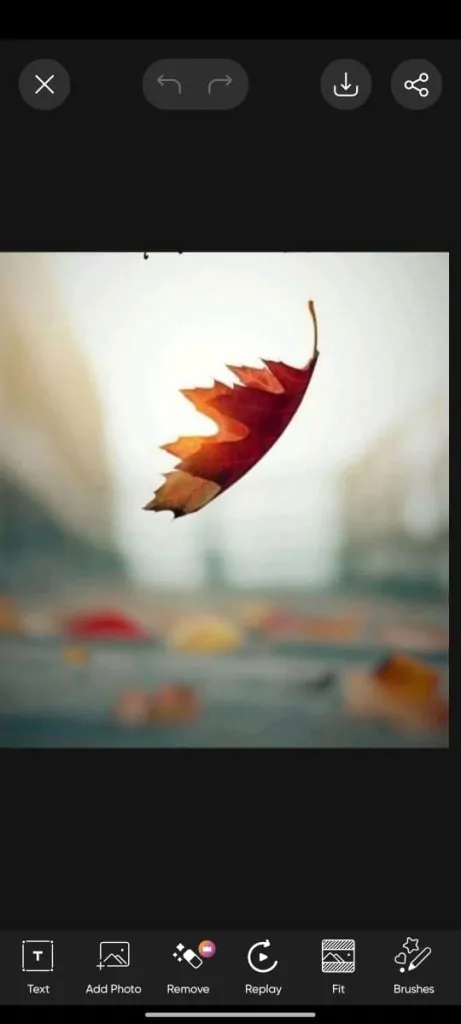
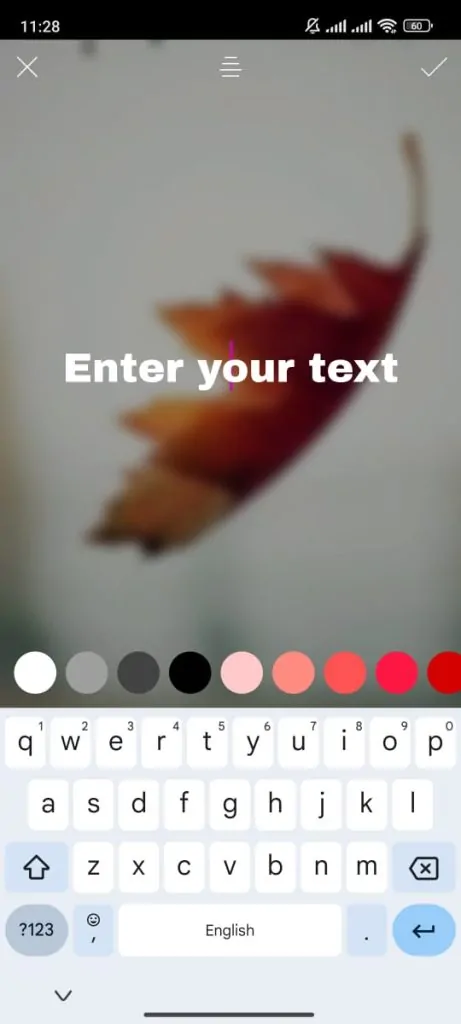
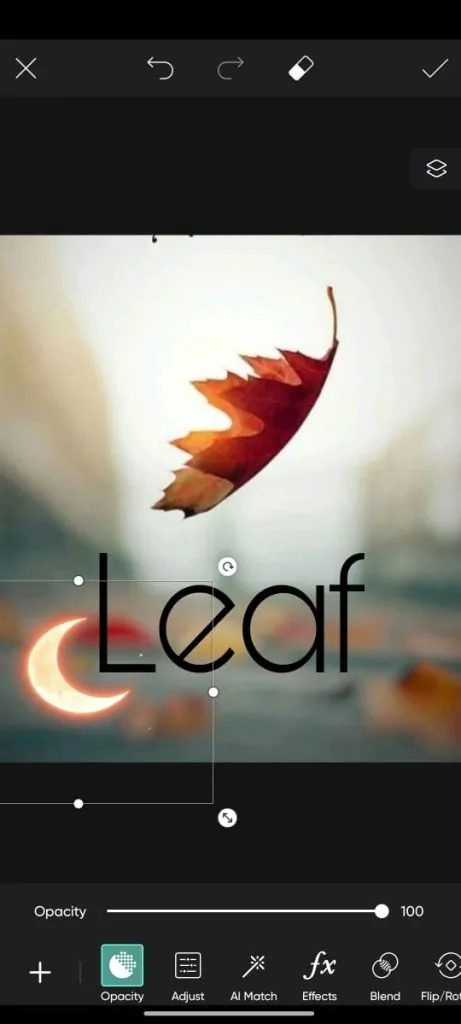
- Tap on the Text option in the bottom menu.
-
- Type your desired text and choose from a variety of fonts, colours, and styles.
- Adjust the size and position of the text on your image using the on-screen tools, and tap Apply when you’re satisfied.
-
Using Stickers:
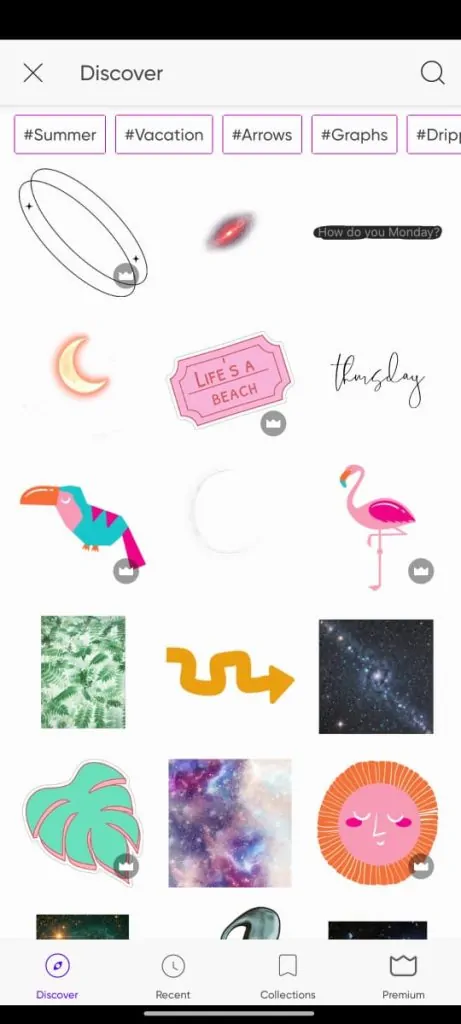
- Select the Stickers option from the menu to explore the vast sticker library.
-
- Browse by categories or search for specific stickers to match your theme.
-
- Tap on a sticker to add it to your image, and drag it to position it where you want.
-
Layering Elements:
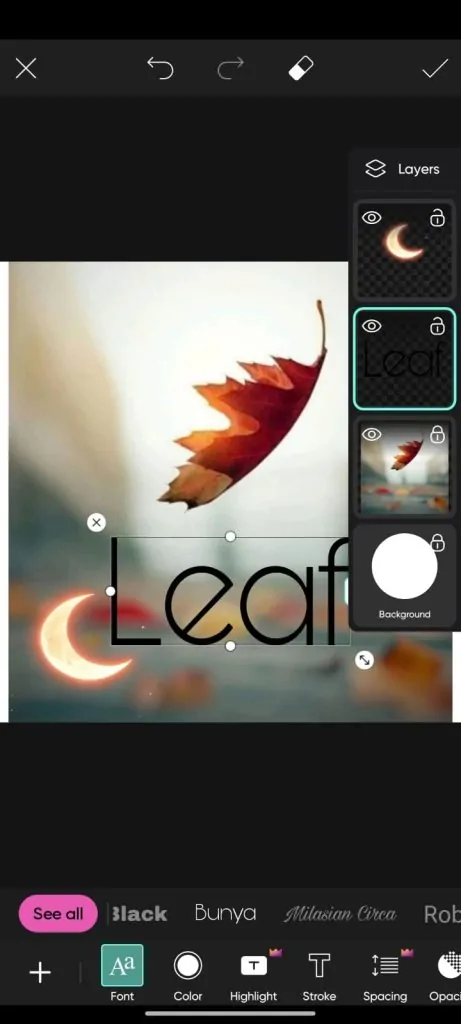
- Combine text, stickers, and images by layering them creatively.
- Adjust the order of elements by selecting them and using the layering options to bring items forward or send them backwards.
- Play around with different combinations to create a unique and visually appealing design.
Advanced Editing Techniques
-
Using the Draw Tool:
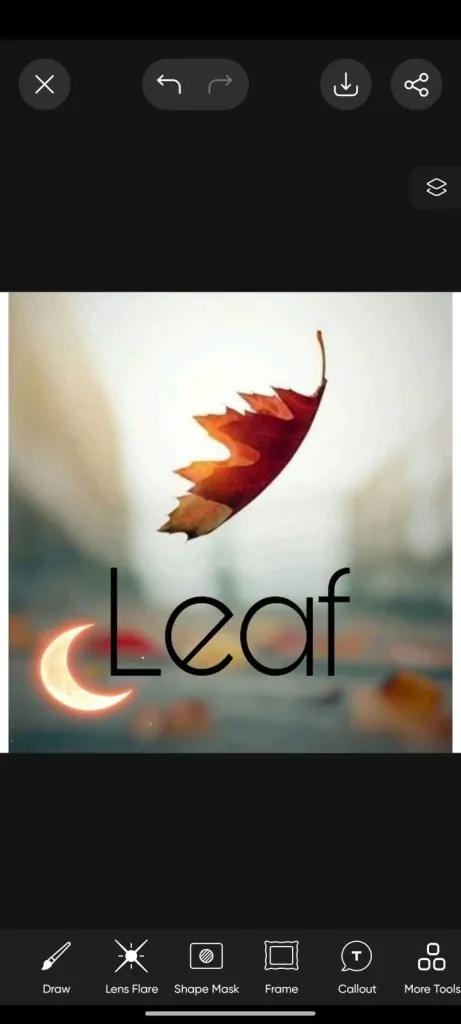
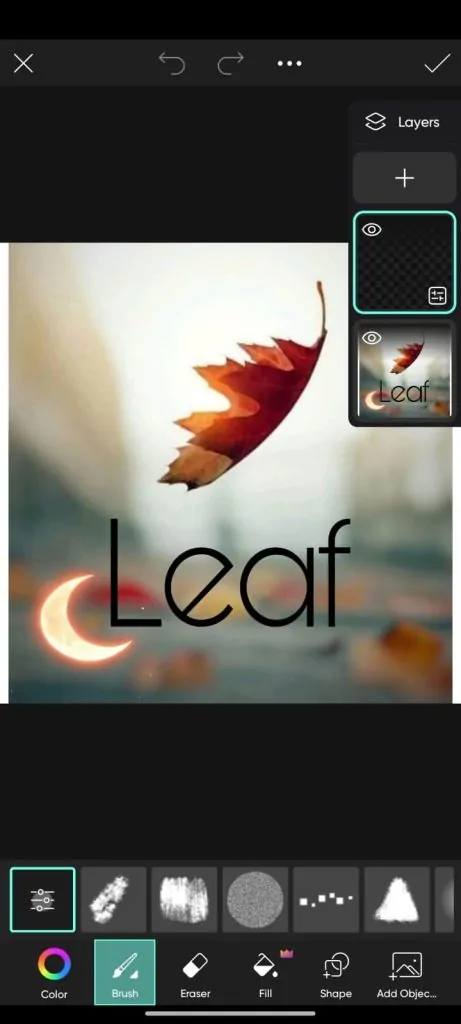
- Tap on the Draw option to access brushes, shapes, and other drawing tools.
-
- Choose from different brush styles, colours, and sizes to create custom artwork for your photo.
- Experiment with shapes and layers to add unique elements to your image.
-
Creating Collages:
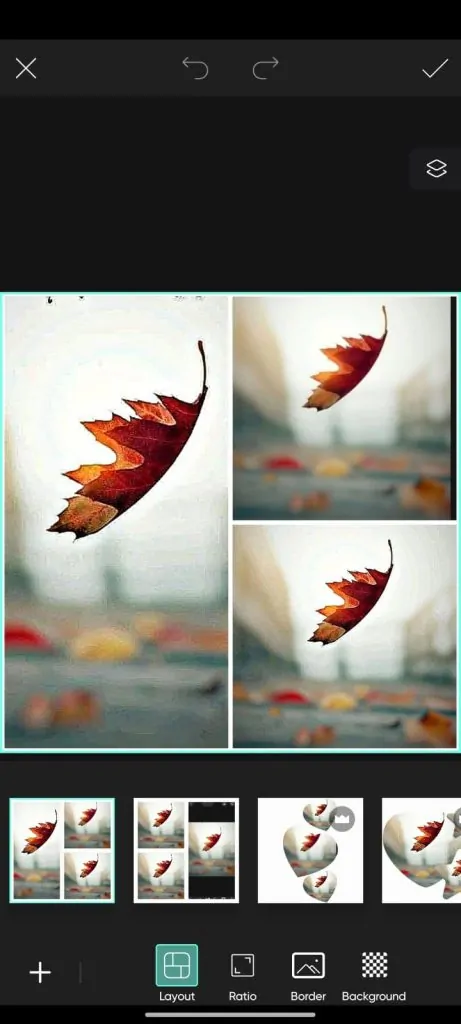
- Select the Collage option from the main menu.
-
- Choose a layout and add photos from your gallery to the collage slots.
- Customize the collage by adjusting borders, spacing, and background colours, then apply them to finalize your design.
-
Applying Masks and Effects:
- Use the Effects menu to explore advanced filters and masks.
- Apply masks to specific areas of your image for creative effects like blurring, highlighting, or adding textures.
- Combine multiple effects to achieve a professional, layered look.
-
Using the Clone Tool:
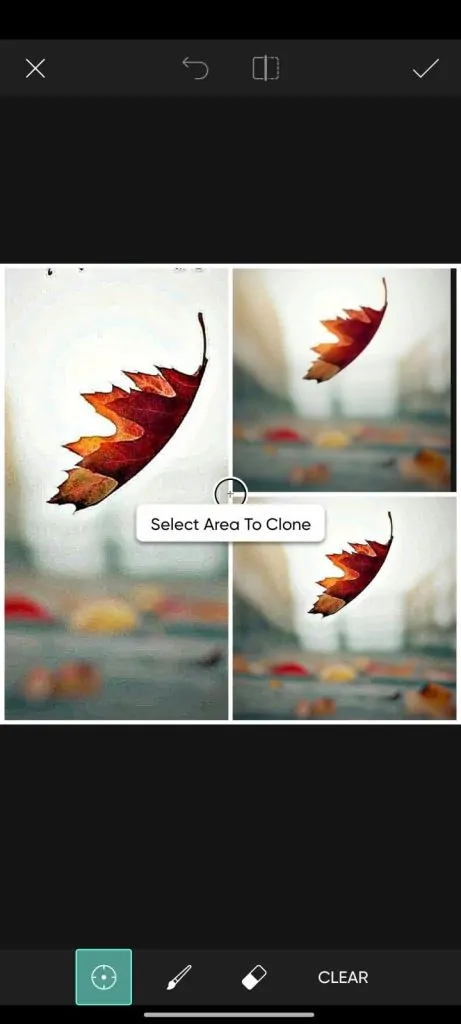
- Tap on Tools and select Clone to remove unwanted objects from your photo.
-
- Choose the area you want to replicate, then brush over the object you want to remove.
- Carefully blend the cloned area to make the edit seamless and natural.
Exploring PicsArt’s Creative Features
-
Editing Videos:
- Tap on the Video option in PicsArt to start editing videos.
- Trim, cut, and add music or effects to your videos using the simple editing tools available.
- Experiment with filters, transitions, and overlays to enhance your video content.
-
Using the PicsArt Community:
- After editing, tap on “Share” to upload your creations to the PicsArt community.
- Browse the community feed to explore and draw inspiration from others’ work.
- Engage with the community by liking, commenting, and collaborating on creative projects.
Tips and Tricks for Mastering PicsArt
-
Shortcuts and Hidden Features:
- Quick Undo/Redo: Double-tap the screen to quickly undo or redo your last action, saving time during editing.
- Hidden Tools: Swipe through the tools menu to discover lesser-known features like “Curves,” “Selective Edit,” and “Clone.”
- Gesture Controls: Use pinch-to-zoom and swipe gestures for precise adjustments and easier navigation within your project.
- Custom Brushes: Create and save your brush presets in the “Draw” tool for consistent and personalized artwork.
- Batch Editing: Apply the same edits to multiple photos at once using the batch editing feature, perfect for maintaining a consistent look across a series of images.
-
Best Practices for Editing:
- Start with High-Quality Images: Begin with high-resolution photos to ensure your edits enhance rather than degrade image quality.
- Use Layers and Masks: Utilize layers and masks to make non-destructive edits, allowing you to experiment without permanently changing your original image.
- Maintain a Consistent Style: Develop a signature editing style by consistently using similar filters, colours, and effects across your projects.
- Balance Enhancements: Adjust brightness, contrast, and saturation thoughtfully to enhance your photo without overdoing any single element.
- Regularly Save Your Work: Frequently save your progress to avoid losing edits and to keep track of different versions for future reference.
-
Avoiding Common Mistakes:
- Overusing Filters and Effects: Applying too many filters or effects can make your photos look unnatural. Aim for subtle enhancements that highlight the photo’s best features.
- Ignoring Composition Principles: Ensure that your edits support the overall composition and don’t distract from the main subject. Pay attention to framing and balance.
- Poor Text Placement: When adding text, choose fonts and colours that complement the image and position the text where it enhances rather than obstructs important elements.
- Neglecting Originality: Strive to create unique edits instead of relying solely on popular trends. Experiment with different tools and techniques to develop your creative style.
- Not Utilizing Tutorials and Community Resources: Take advantage of PicsArt’s tutorials, tips, and the community to learn new techniques and stay inspired. Engaging with other users can provide valuable insights and ideas for your projects.
Conclusion
You’ve now got a solid understanding of how to use PicsArt, from simple edits to advanced techniques. The real magic happens when you start exploring and trying new things, so don’t be afraid to play around with the tools and create something unique. The more you practice, the more your skills will grow. Remember, every edit is an opportunity to express your creativity and make something truly your own. We’d love to see your creations, so share them with us or drop any questions you have in the comments. Let your creativity shine and keep experimenting with all that PicsArt has to offer!
