EasyPaisa by Telenor has emerged as a popular choice for many, offering a convenient way to manage finances without the need for a traditional bank account. Whether you want to send or receive money, pay bills, or recharge your mobile balance, setting up an EasyPaisa account can make these transactions smoother and faster. Here’s a straightforward guide on how to create an EasyPaisa account on your Telenor connection.
Understand What EasyPaisa Is
Before diving into the setup process, it’s essential to grasp what EasyPaisa is. It’s a mobile financial service that allows you to carry out a variety of financial transactions directly from your phone. Operated by Telenor Pakistan, it’s designed to make banking accessible to everyone, even those without access to traditional banking facilities.
Setting Up an Account via App
The easiest way to create an EasyPaisa account is through their mobile app. Following are the steps to create an Easypaisa account on Telenor.
1st Step: Download the EasyPaisa App
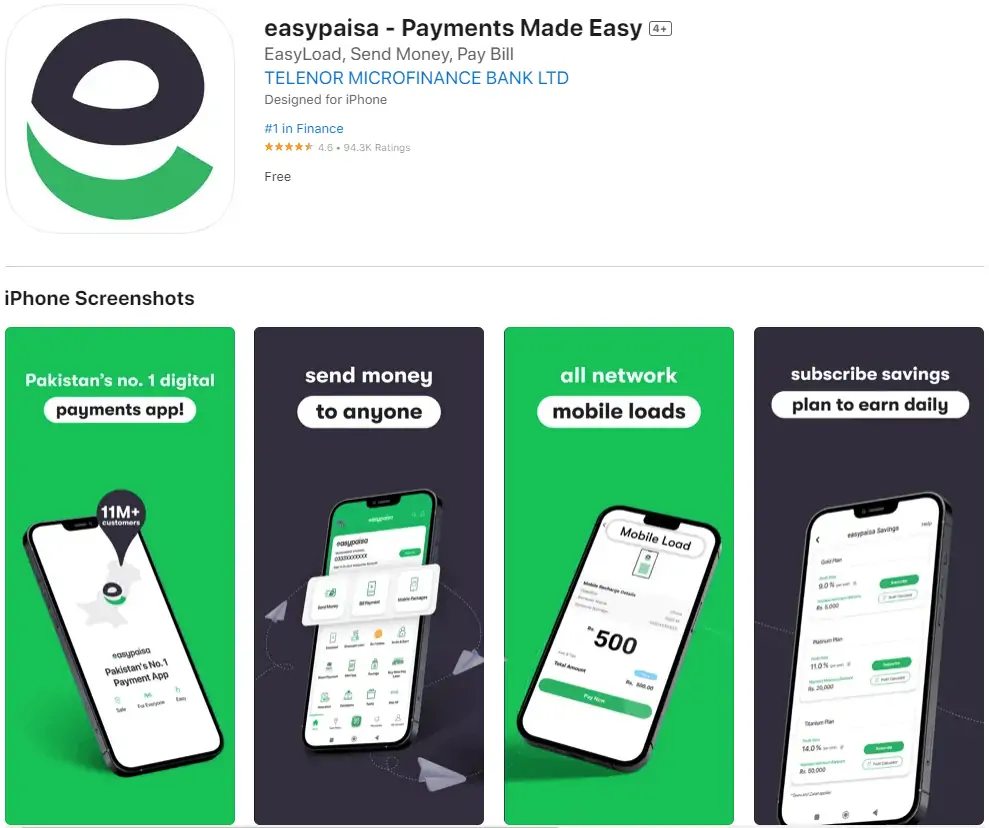
The first step to entering the world of EasyPaisa is to download the app. Available for both Android and iOS devices, the EasyPaisa app can be found on the Google Play Store or Apple App Store. Simply search for EasyPaisa and click on the download/install button. Once the app is installed, you’re ready to start the account creation process.
2nd Step: Register for an Account
Upon opening the app, you’ll be greeted with the option to sign up for a new account. Here’s how you can register:
- Open the EasyPaisa app: Launch the app on your smartphone.
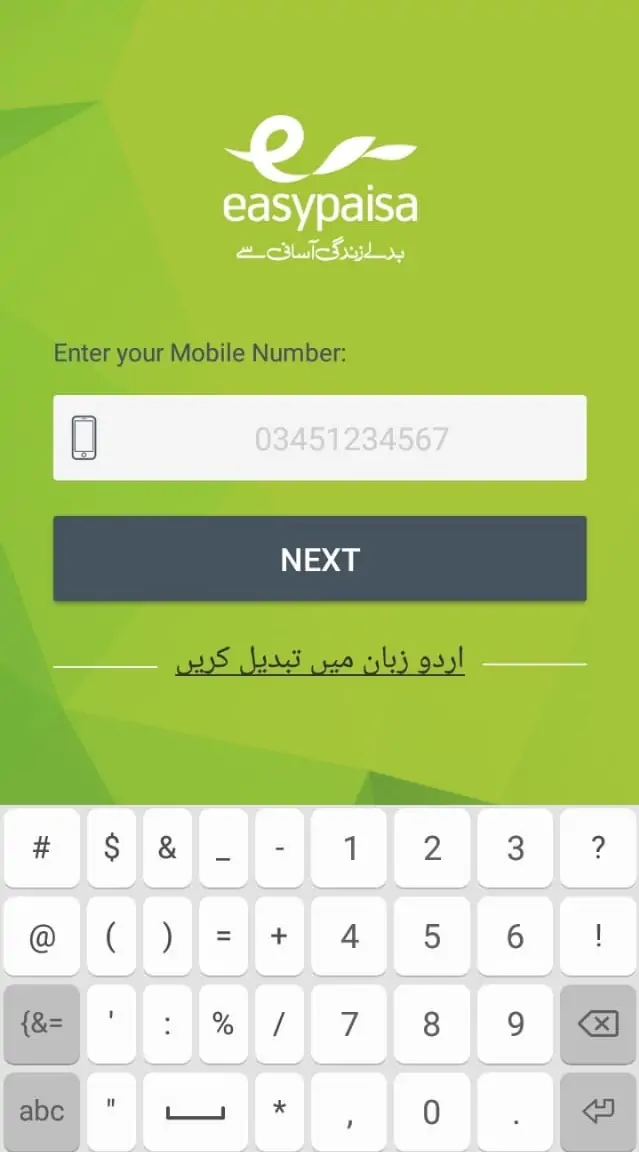
- Enter your mobile number: You’ll need to input your Telenor mobile number. Remember, this number will be linked to your EasyPaisa account for all future transactions.
- Verification: After entering your number, you’ll receive a verification code via SMS. Enter this code in the app to proceed.
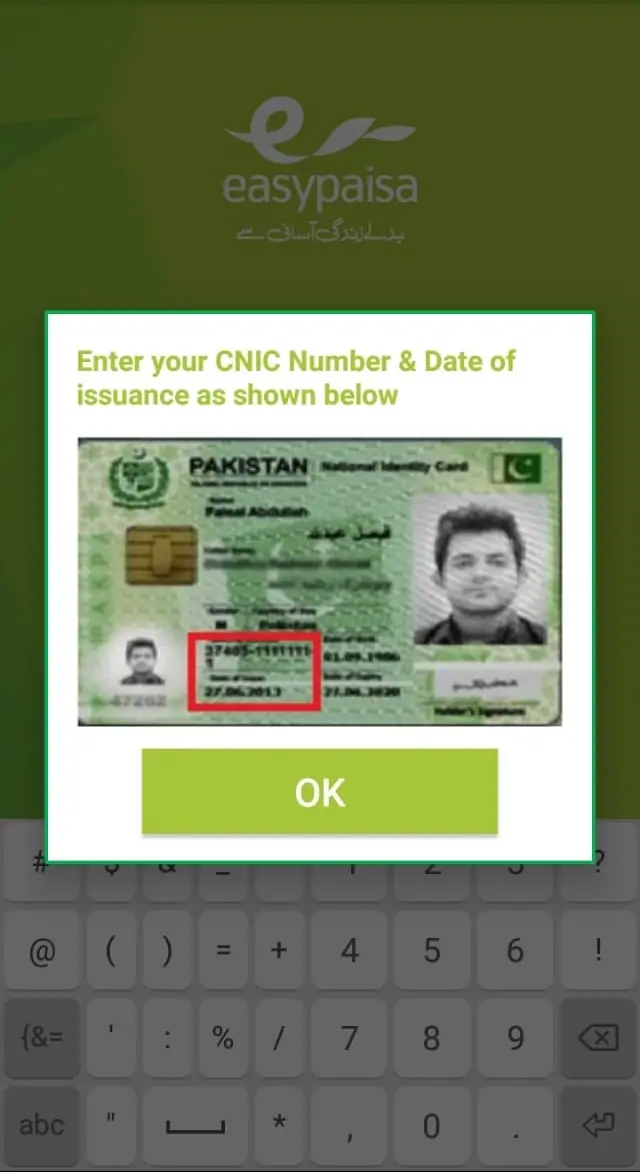
- Provide Personal Information: You’ll be asked to fill in some personal information, such as your name, CNIC (Computerized National Identity Card) number, and the issuance date of your CNIC. This information is crucial for verifying your identity and ensuring the security of your account.
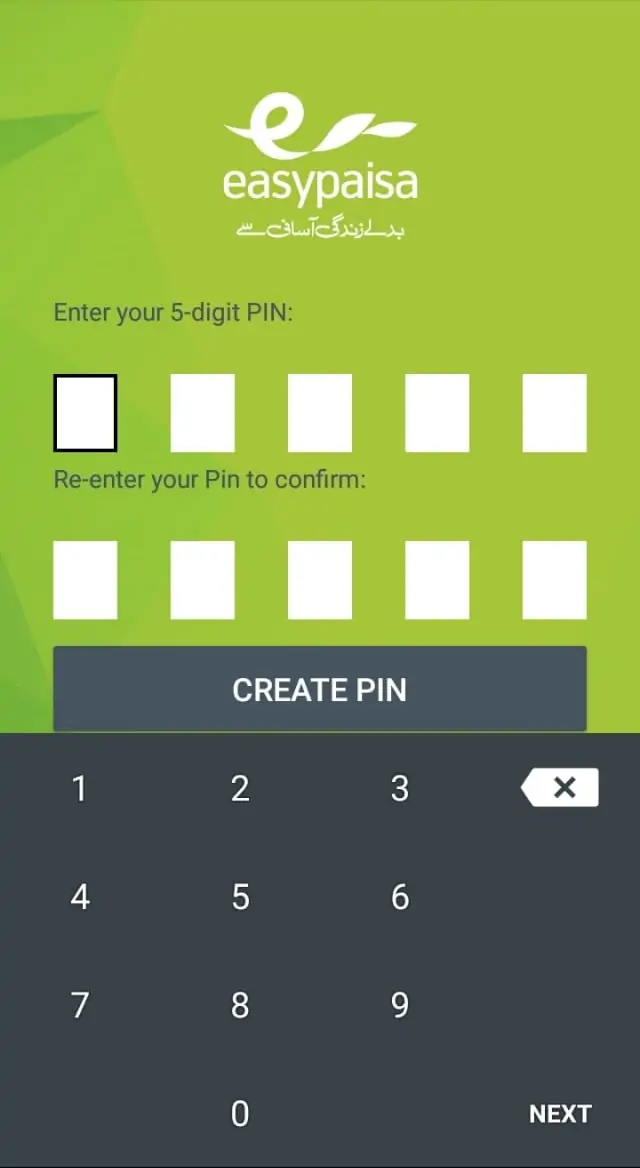
- Create a PIN: Finally, you’ll need to create a 5-digit PIN. This PIN will be use to authorize transactions and access your account, so make sure it’s something you can remember but hard for others to guess.
Step 3: Activation and Use
Once you’ve successfully register, your EasyPaisa account will be activate immediately. You can now start using all the features offered by EasyPaisa, including sending money, paying bills, recharging your mobile, and much more. The app’s user-friendly interface makes navigating through these options straightforward.
Creating an EasyPaisa Account via USSD Code
1st Step: Dial the USSD Code
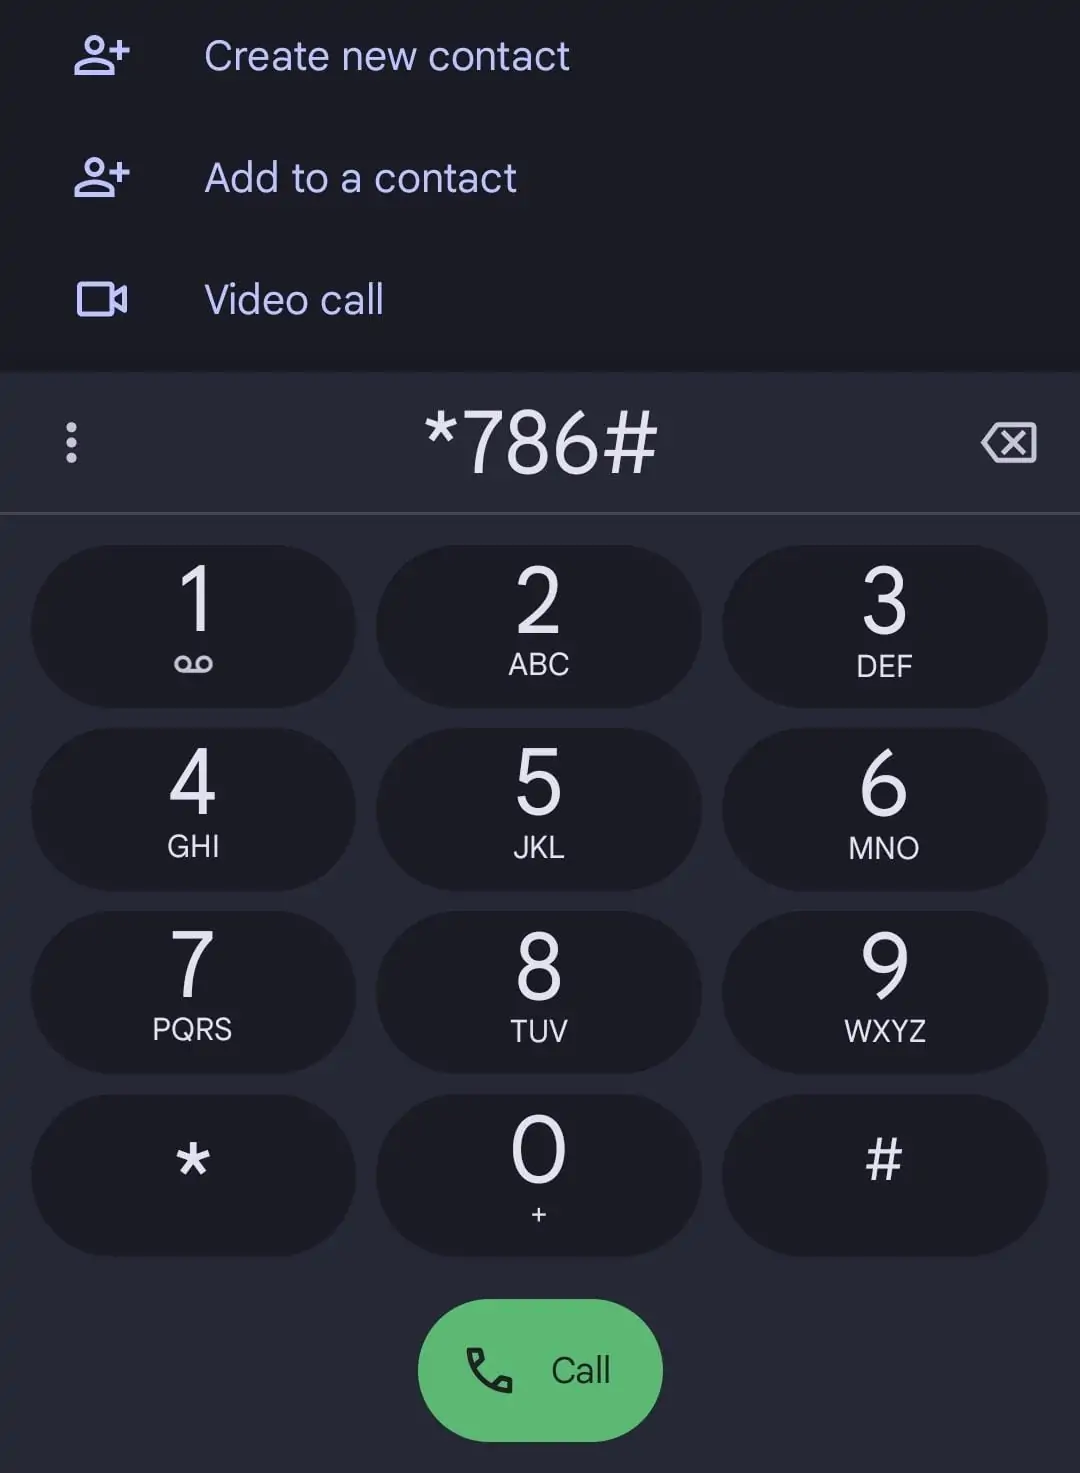
For those who might not have access to the EasyPaisa app or prefer not to use SMS, creating an account via USSD code is a convenient option. Simply dial *786# from your Telenor number.
2nd Step: Follow the Prompts
After dialing the code, you’ll be present with several options on your screen. Choose the option to create a new account. You’ll then be ask to enter your CNIC number and its issuance date.
3rd Step: Set Your PIN
Once your CNIC details are verified, you’ll be prompt to create a 5-digit PIN for your account. Choose a secure PIN that you can remember easily.
Related articles:
- How to Return an EasyPaisa Loan
- How To Make Easypaisa Account On Ufone
- How To Make Easypaisa Account On Jazz and Warid
- How To Send Money From HBL App To EasyPaisa
- How To Upgrade Easypaisa Account
Final Thoughts
Creating an EasyPaisa account on Telenor is a straightforward process, whether you choose to do it via the app or SMS. This digital banking solution offers a wide range of services that cater to your financial needs efficiently and securely. By following the steps outlined in this guide, you’ll be well on your way to enjoying the convenience and simplicity of managing your finances through EasyPaisa.
