Integrating EasyPaisa, one of Pakistan’s leading mobile financial services, into your WordPress site can significantly enhance your e-commerce platform’s payment options, making it more accessible to customers who prefer using this payment method. This guide will walk you through the step-by-step process of how to integrate easypaisa payment gateway in wordpress, ensuring you can offer a seamless and secure checkout experience for your customers.
Understanding EasyPaisa and WordPress
Before diving into the integration process of how to integrate easypaisa payment gateway in wordpress, it’s important to understand what EasyPaisa and WordPress are. EasyPaisa is a mobile payment service that allows users to make payments directly from their mobile phones. WordPress, on the other hand, is a content management system (CMS) that enables you to create and manage your website easily.
Setting Up Your EasyPaisa Merchant Account
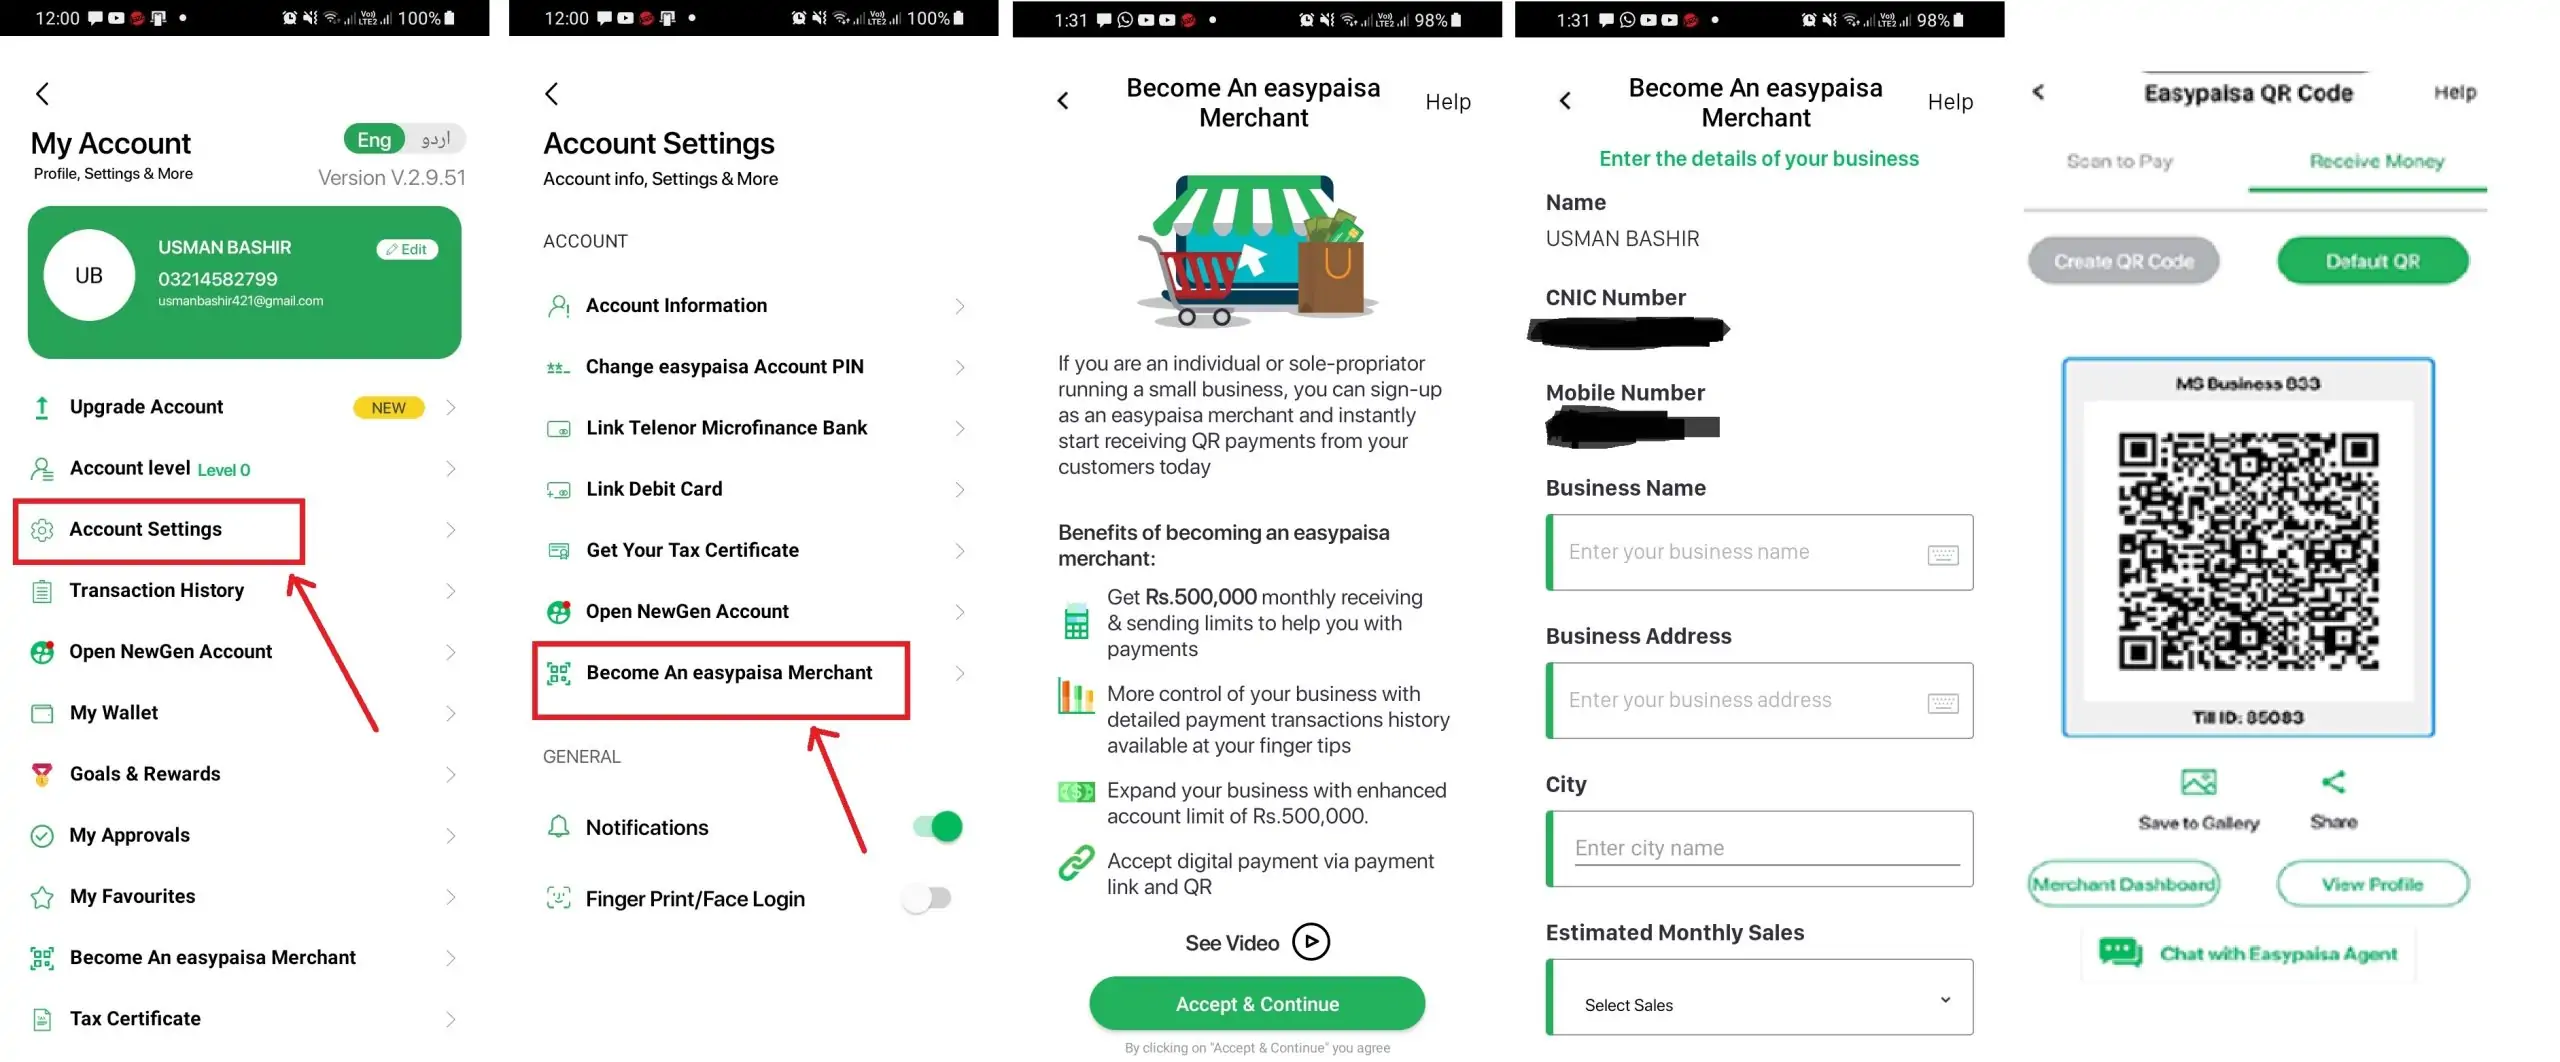
To integrate EasyPaisa into your WordPress site, you first need to have an EasyPaisa merchant account. If you don’t have one, you’ll need to sign up for it on the EasyPaisa website. The process involves filling out a form with your business details and waiting for approval. Once approved, you’ll receive your merchant account details, including a merchant ID and secret key, which are essential for the integration process.
Choosing the Right Plugin for Integration
WordPress supports various plugins for integrating payment gateways, including EasyPaisa. One popular option is the WooCommerce plugin, which is designed for e-commerce sites and supports multiple payment gateways, including EasyPaisa. Another option is a dedicated EasyPaisa plugin, if available. Choose the plugin that best fits your site’s needs and install it on your WordPress site.
Installing and Activating the Plugin
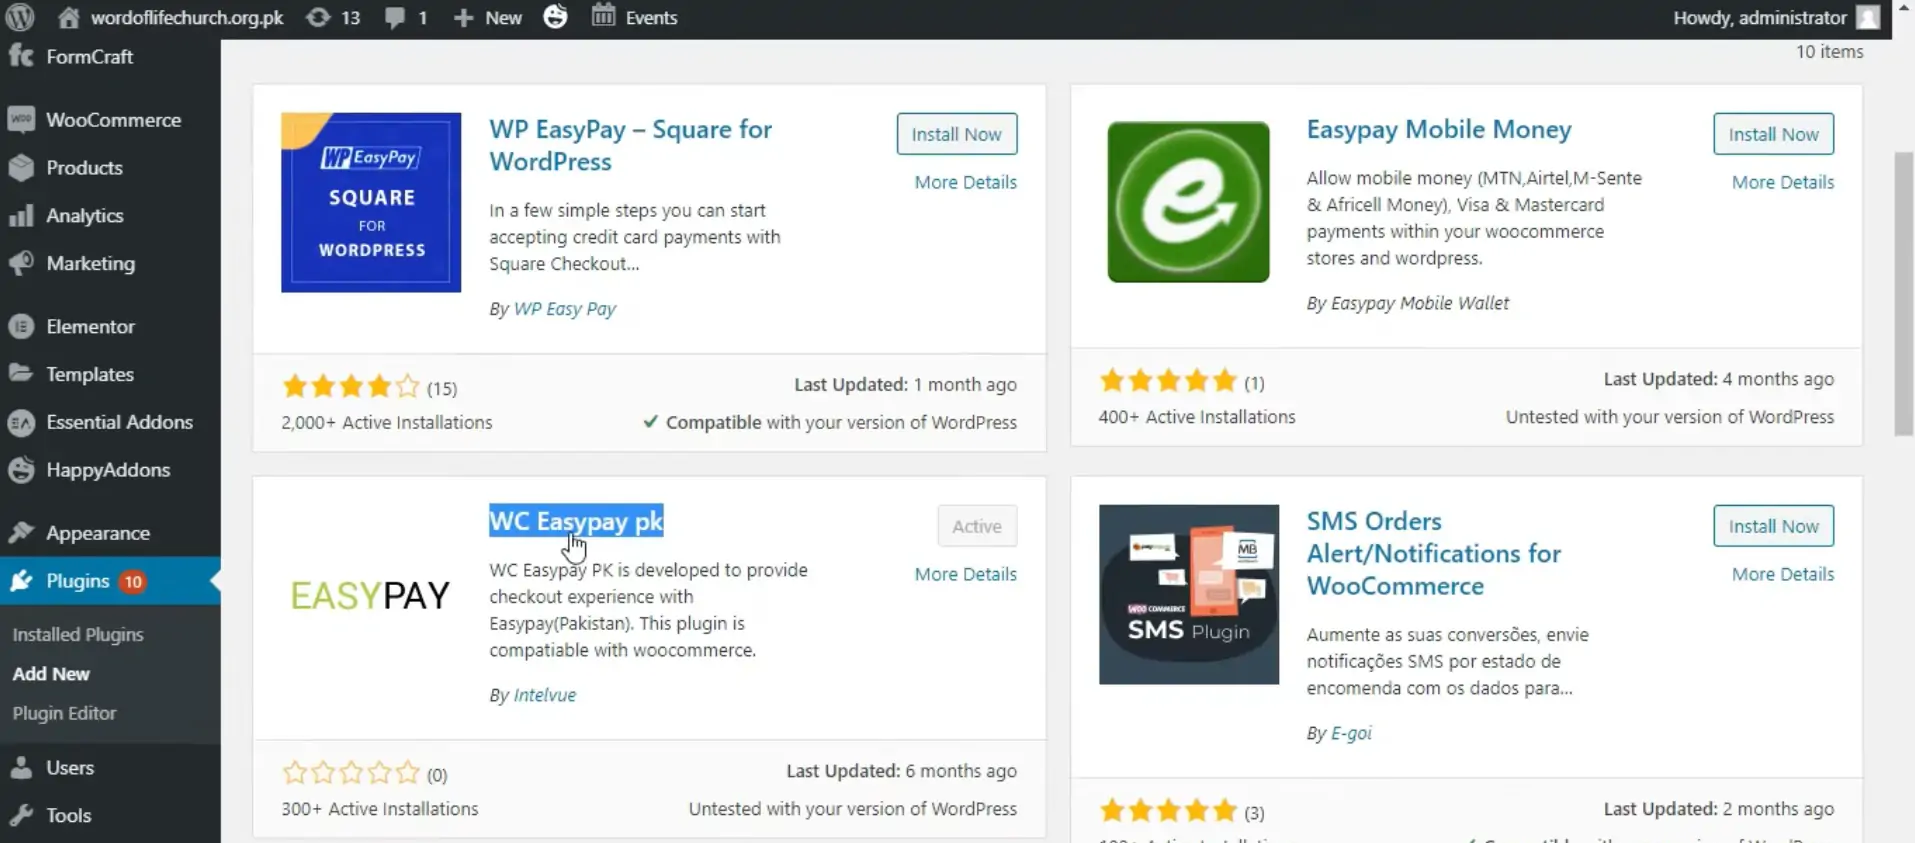
To install the WooCommerce plugin, go to your WordPress dashboard, navigate to “Plugins” > “Add New”, and search for “WooCommerce”. Click “Install Now” and then “Activate” once the installation is complete. If you’re using a dedicated EasyPaisa plugin, follow a similar process to install and activate it.
Configuring the Plugin with EasyPaisa
After installing the plugin, you need to configure it to work with EasyPaisa. For WooCommerce, navigate to “WooCommerce” > “Settings” > “Payments” tab. Here, you’ll see a list of payment options, including EasyPaisa if your plugin supports it. Click on “Manage” or “Set Up” next to EasyPaisa to configure the payment gateway.
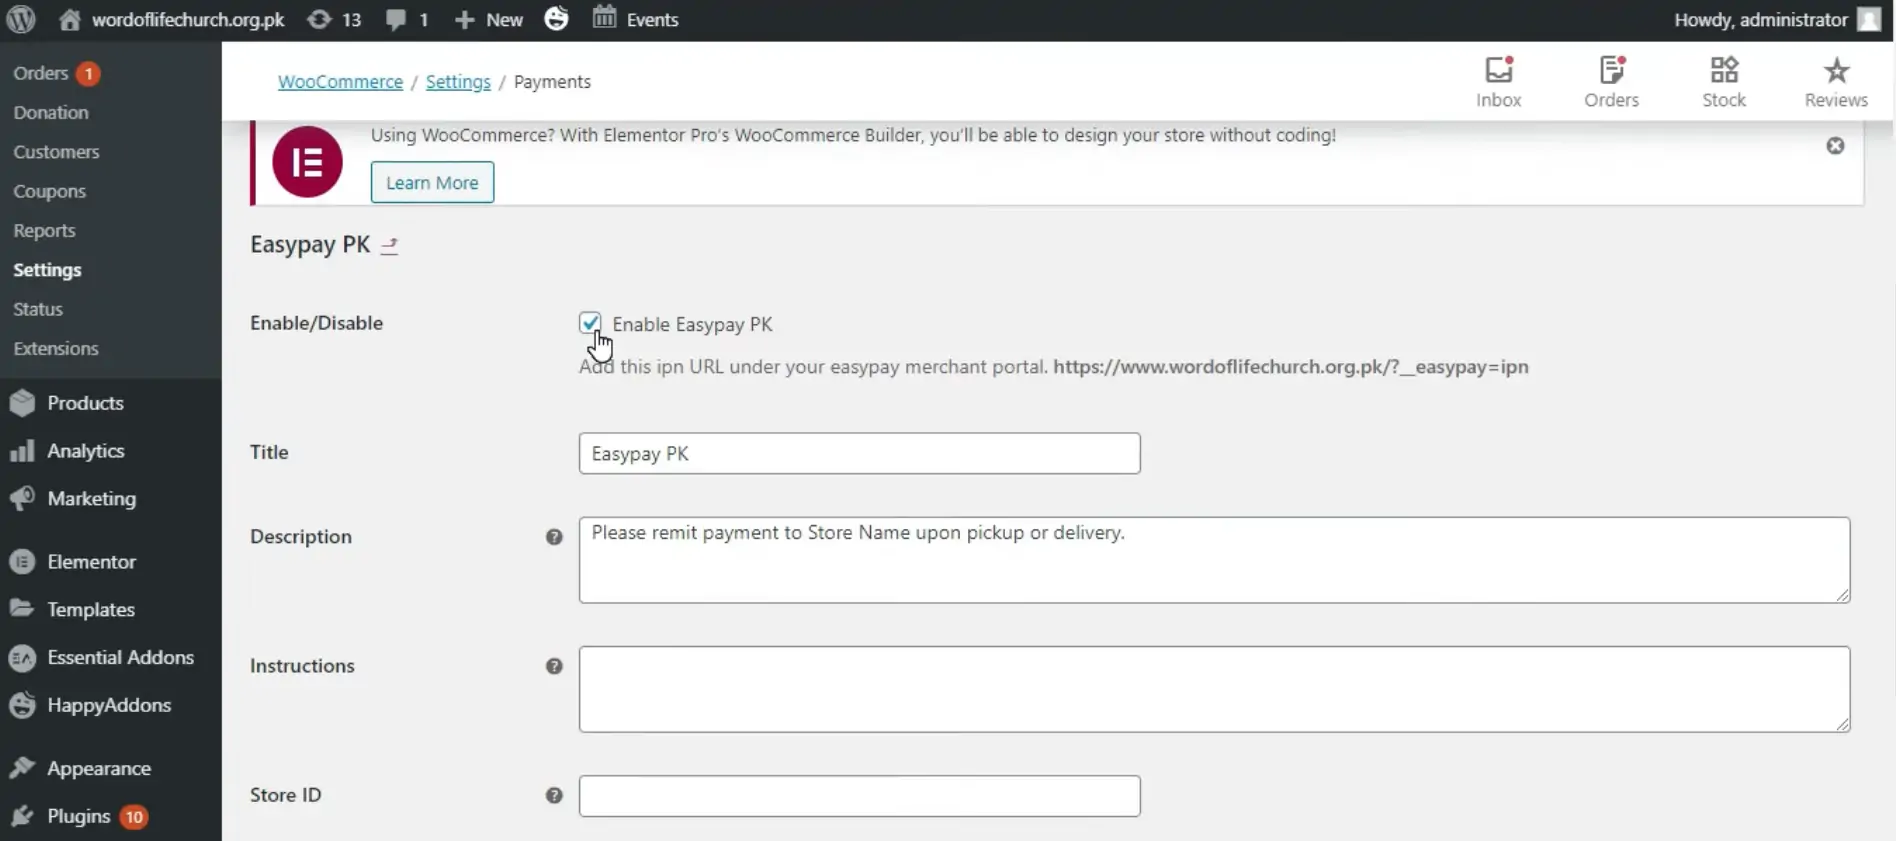
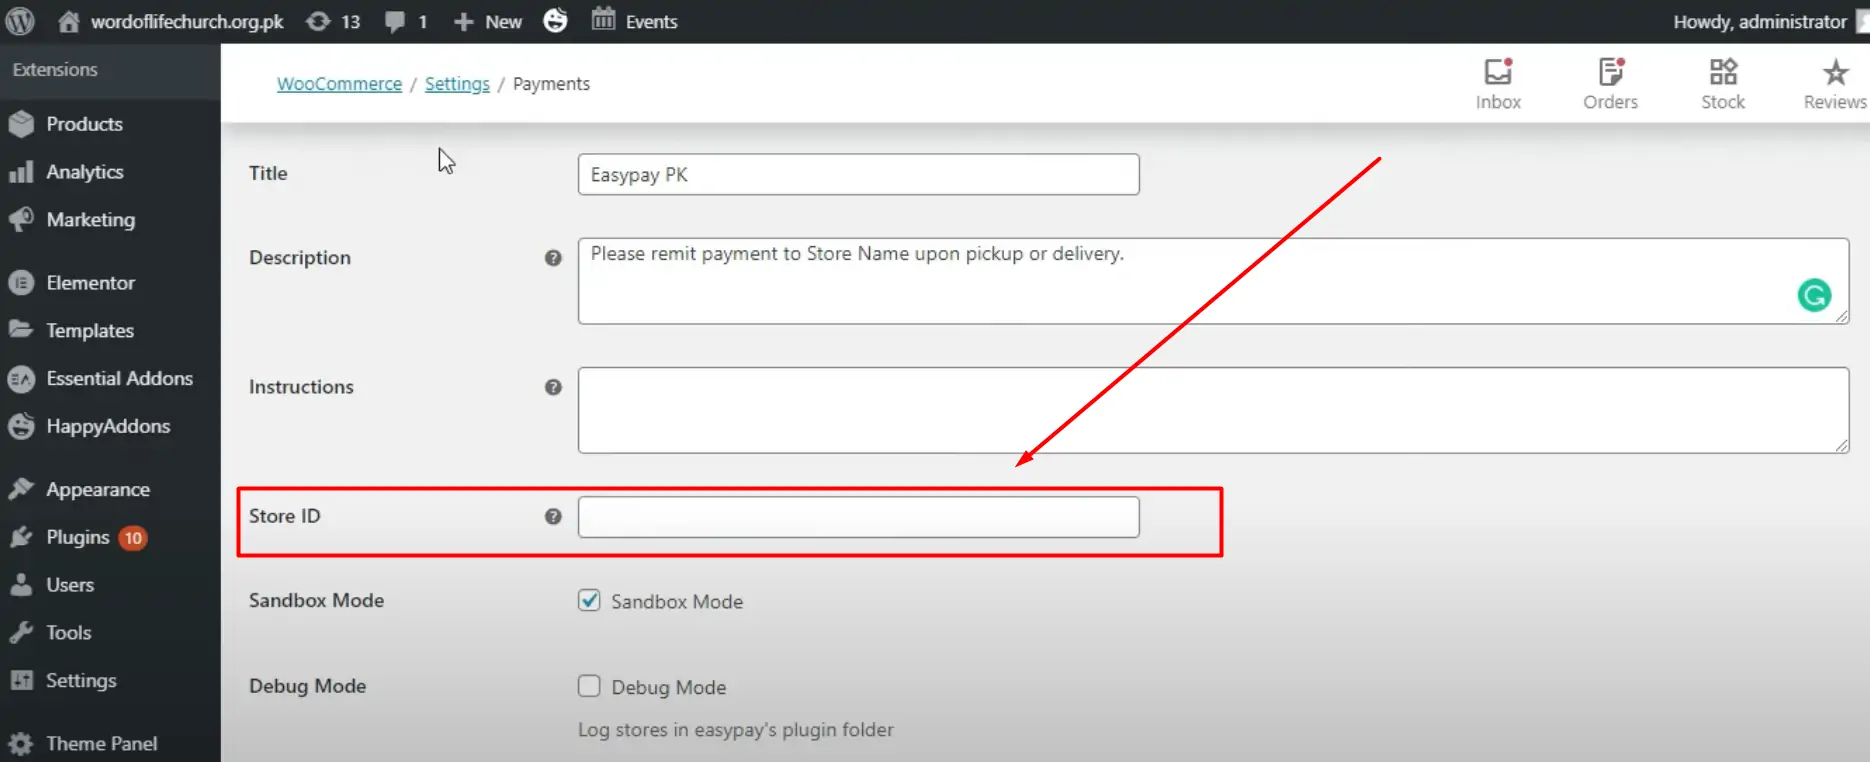
Enter your EasyPaisa merchant ID and secret key in the respective fields. You may also need to configure other settings, such as payment methods, transaction charges, and success or failure page URLs, based on your preferences and the plugin’s capabilities.
Testing the Integration
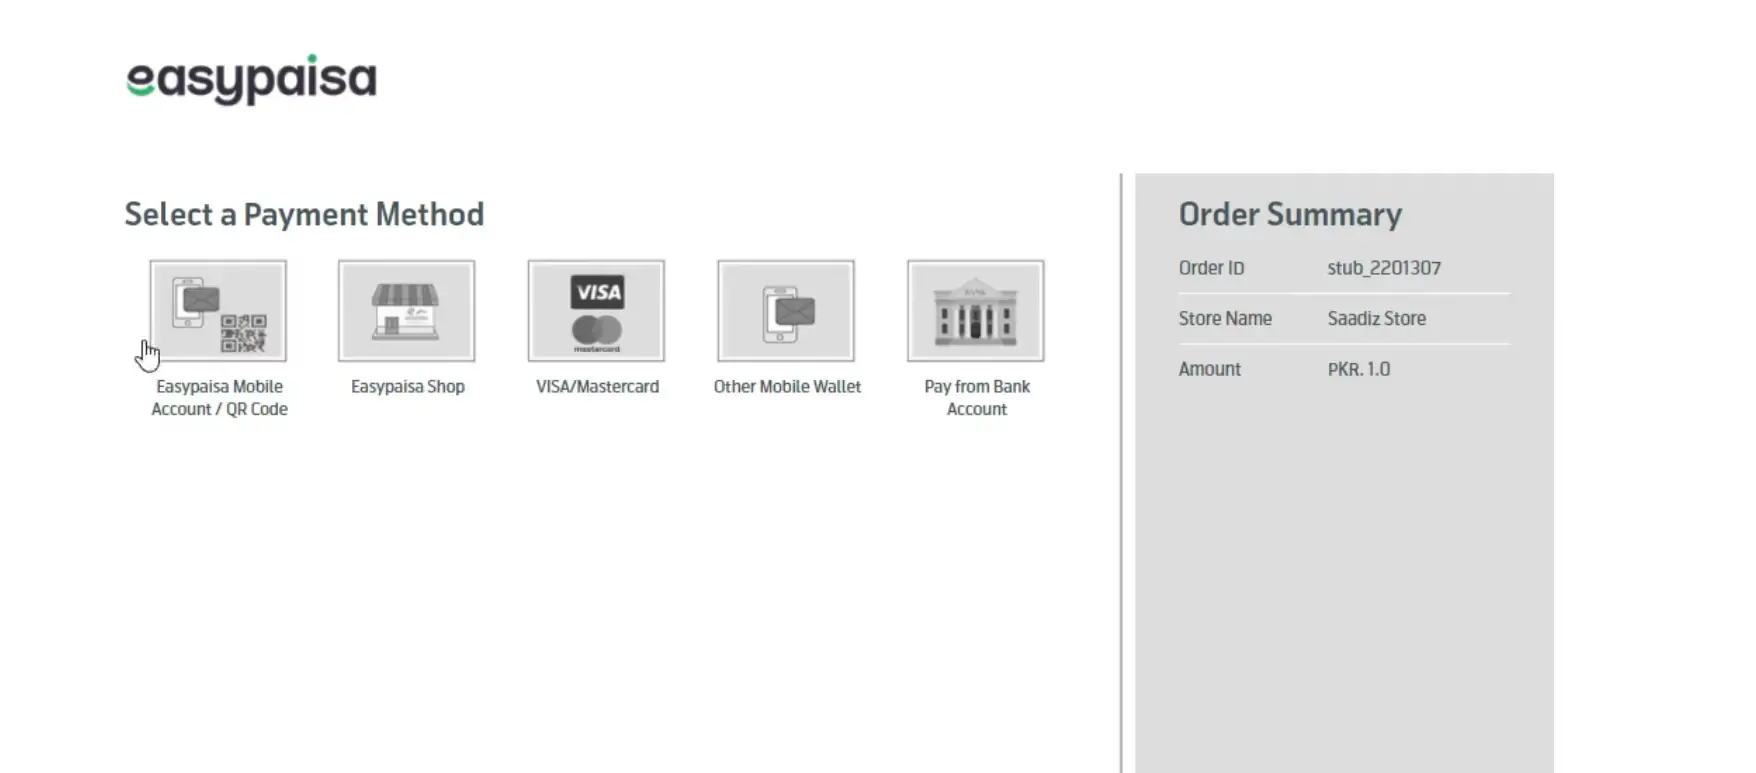
Before going live, it’s crucial to test the EasyPaisa payment gateway integration to ensure everything works smoothly. Most payment gateways, including EasyPaisa, offer a sandbox or test mode for this purpose. Enable the test mode in the plugin settings and perform a few transactions to verify that the payment process works correctly, and the funds are appropriately routed to your EasyPaisa account.
Going Live
Once you’re satisfied with the testing, disable the test mode and enable the live mode in your plugin settings. This switch will allow you to start accepting real payments from customers through EasyPaisa on your WordPress site.
Monitoring and Maintenance
After going live, monitor your transactions closely for the first few weeks to ensure there are no issues with the payment process. Keep your WordPress and plugin versions up to date to ensure the highest level of security and functionality for your e-commerce site.
Tips for a Smooth Integration
- Ensure your WordPress theme is compatible with the WooCommerce plugin or whichever plugin you choose for integration.
- Regularly update your plugins and WordPress version to maintain security and compatibility.
- Consider offering multiple payment options alongside EasyPaisa to cater to a broader audience.
- Keep your EasyPaisa merchant details secure and confidential to prevent unauthorized access.
Related articles:
- How to Migrate Your Easypaisa Account
- How to Receive Money from EasyPaisa
- How To Pay Gas Bill Through Easypaisa App
- How To Pay Water Bill Through Easypaisa App
Conclusion
Integrating EasyPaisa into your WordPress site can open up new avenues for your business, making it more accessible to customers who prefer using this popular payment service. By following the steps outlined in this guide, you can ensure a smooth integration process and offer a seamless checkout experience for your customers. Always remember to test thoroughly and keep your system updated to provide a secure and efficient payment gateway on your e-commerce platform.