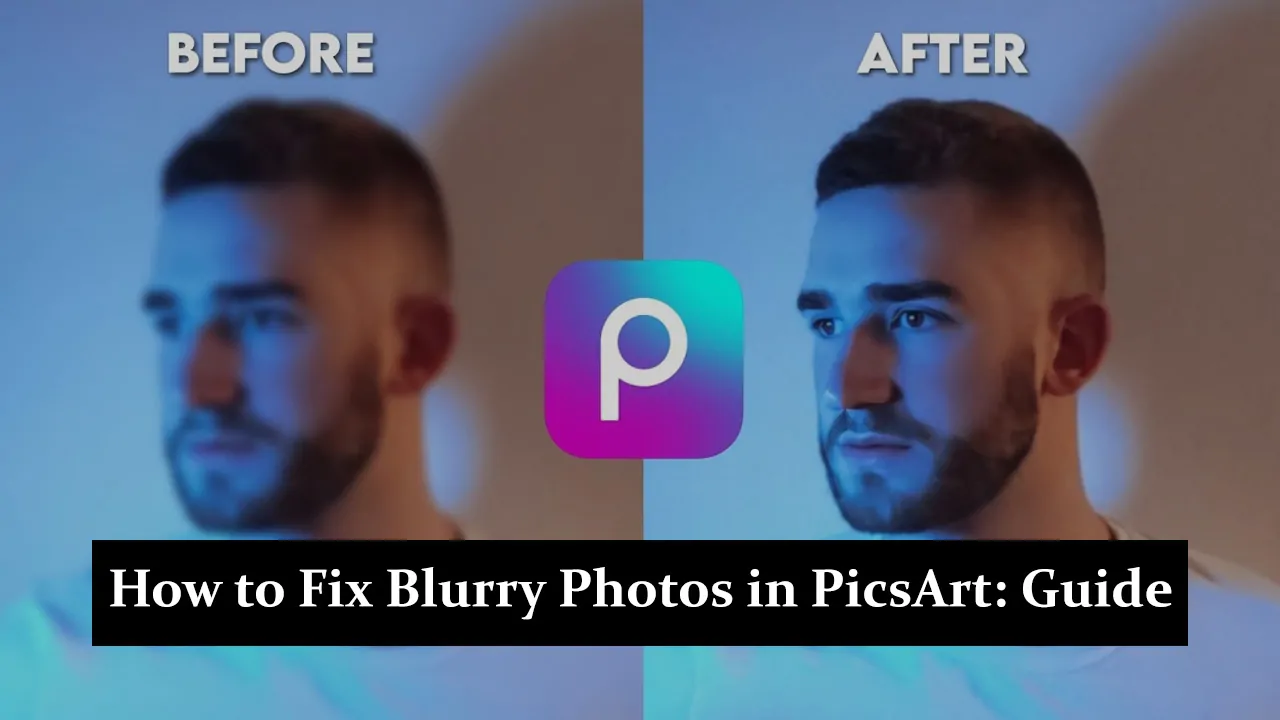
PicsArt is one of the most popular photo editing apps, offering users various creative tools to transform their images. However, blurry photos can sometimes ruin an otherwise perfect shot, frustrating both amateurs and professionals. In this step-by-step guide, we’ll show you how to easily fix blurry photos with PicsArt’s powerful editing features, ensuring your images look sharp and professional. Whether you’re an influencer, a photographer, or just capturing memories, clear and crisp images are essential for making a lasting impression. Let’s dive in and turn your blurry photos into stunning works of art!
Why Are Your Photos Blurry?
Blurry photos often happen because of shaky hands, poor focus, or low image quality. These problems can make your pictures look unclear and less professional. But don’t worry; PicsArt has powerful tools to help fix these issues quickly. You can make your photos look clear and sharp again with a few easy steps. Let’s see how PicsArt can turn your blurry shots into perfect pictures!
Understanding the Sharpen Tool in PicsArt
The Sharpen tool in PicsArt helps reduce blur by sharpening the edges of objects in your photo. It works by increasing the contrast between the edges and their surroundings, making the photo look clearer and more focused.
- Step-by-Step Guide to Using the Sharpen Tool:
- Open PicsArt and upload your photo.
-
- Go to the “Tools” menu and select “Enhance.”
-
- Choose the “Sharpen” option.
- Adjust the slider until the image looks clear, but avoid over-sharpening to keep the photo natural.
Adjusting Brightness and Contrast for Better Clarity
Boosting brightness and contrast in PicsArt can instantly enhance your photo’s clarity, making every detail pop. With just a few adjustments, your images will appear sharper and more vibrant!
- Step-by-Step Guide to Adjust Brightness and Contrast:
- Open your image in PicsArt.
-
- Go to the “Tools” menu and select “Adjust.”
-
- Use the sliders to increase brightness for a well-lit image.
-
- Adjust contrast to enhance the sharpness and depth of the photo.
- Fine-tune until you achieve the desired clarity.
Using PicsArt Filters to Enhance Image Quality
PicsArt offers filters like “HDR” and “Sharpen” that instantly boost image sharpness and reduce blur. With a tap, these filters make your photos look clearer and more professional!
- Step-by-Step Guide to Applying Filters:
- Open PicsArt and upload your image.
-
- Tap on the “Effects” menu at the bottom.
-
- Browse through the filters, and try “HDR,” “Sharpen,” or “Clarity” to enhance sharpness.
- Adjust the filter’s intensity using the slider until you’re satisfied with the result.
- Apply the filter and save your edited image.
Zoom and Crop Techniques to Reduce Blur
Cropping out blurry areas instantly improves your photo by focusing on the sharpest parts. It’s a quick way to make your images look clearer and more polished!
- Step-by-Step Guide for Zooming and Cropping:
- Open your image in PicsArt.
-
- Tap on the “Tools” menu and select “Crop.”
-
- Zoom in on the sharpest parts of your image and crop out the blurry areas.
- Adjust the crop size to focus on the most detailed portions of the photo.
- Save the edited image once you’re happy with the result.
Advanced Editing: Using Additional Tools
Advanced tools like HDR effects and detail enhancers can sharpen your image and give it a professional, polished look. These features help make every detail stand out clearly!
- Step-by-Step Guide for Using Advanced Tools:
- Open your image in PicsArt and go to the “Effects” menu.
-
- Select “HDR” or other advanced effects like “Details” or “Vibrance.”
- Adjust the intensity of these effects to bring out more clarity.
- Combine multiple effects for even sharper results.
- Save your final image with enhanced clarity and reduced blur.
Saving Your Edited Photo Without Losing Quality
Saving your edited photo in high resolution is key to keeping it sharp and clear. High-res saves to prevent any loss of quality or additional blurring after your edits. This ensures your images look crisp and professional every time!
- Step-by-Step Guide to Save Photos in High Resolution:
- After finishing your edits in PicsArt, tap the “Next” button.
- Select “Save” or “Share” on the saving screen.
- Save in “High Quality” or “Original Size” to maintain the resolution.
- If sharing on social media, select the highest quality settings to keep the photo sharp.
- Save the image to your device or cloud storage to preserve its quality.
Conclusion
Fixing blurry photos in PicsArt is easier than ever with a range of tools like the Sharpen tool, brightness and contrast adjustments, filters, and advanced editing options. Following the simple steps outlined, you can bring clarity and professionalism to your images in just a few minutes. Whether cropping out blurry sections or applying the perfect filter, these methods will help you effortlessly enhance your photos. Don’t hesitate to explore more of PicsArt’s powerful features to take your photo editing skills to the next level and create stunning visuals every time!


