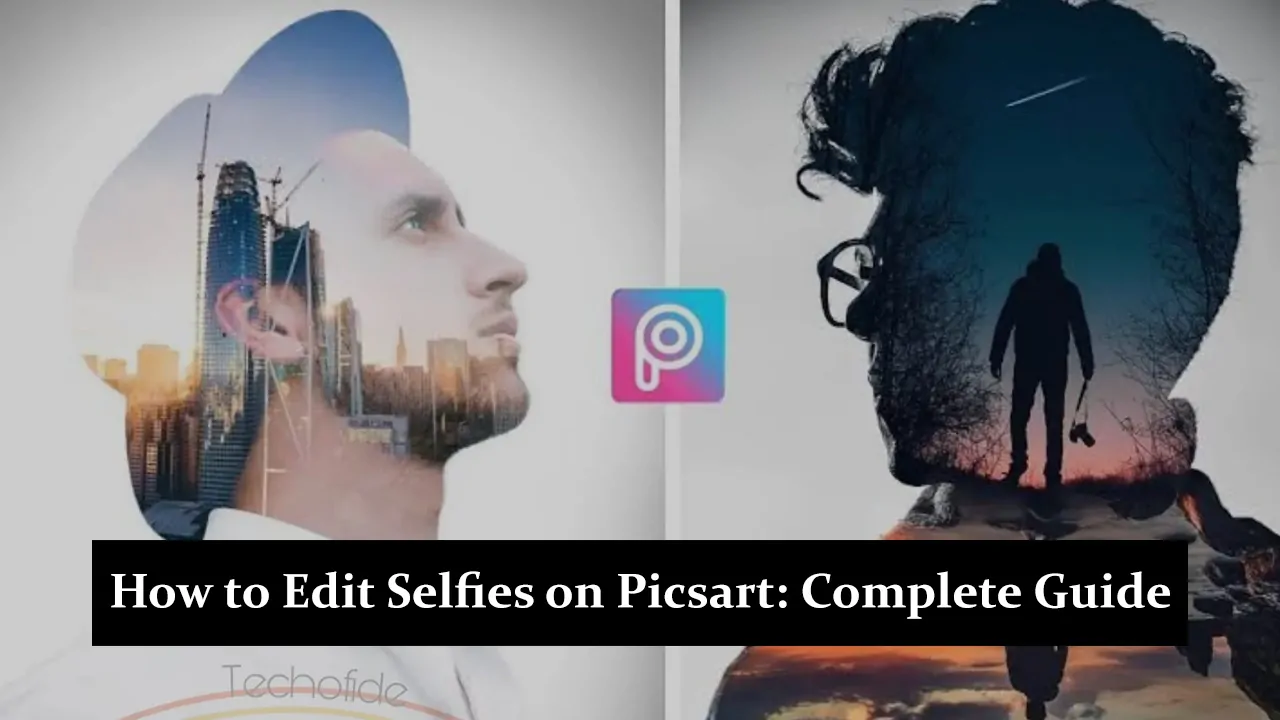
A great selfie can stand out on social media, and with Picsart, you have everything you need to make your photos look amazing. Picsart is a powerful photo editing app that lets you turn your selfies into something special with just a few taps. Whether you want to clear up your skin, brighten up colours, add filters, or include fun effects, Edit Selfies on Picsart to make a big difference in how they look and feel. In this guide, we’ll walk you through every step to help you use Picsart like a pro and make your selfies shine, ready to impress everyone who sees them.
Getting Started with Picsart
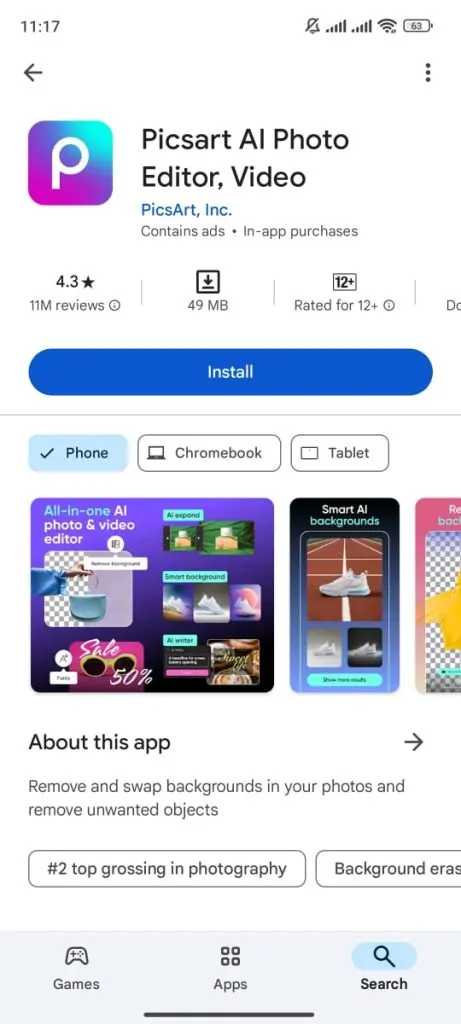
- Downloading and Installing Picsart
- Go to the Google Play Store (Android) or Apple App Store (iOS).
- Search for “Picsart” and tap the download button.
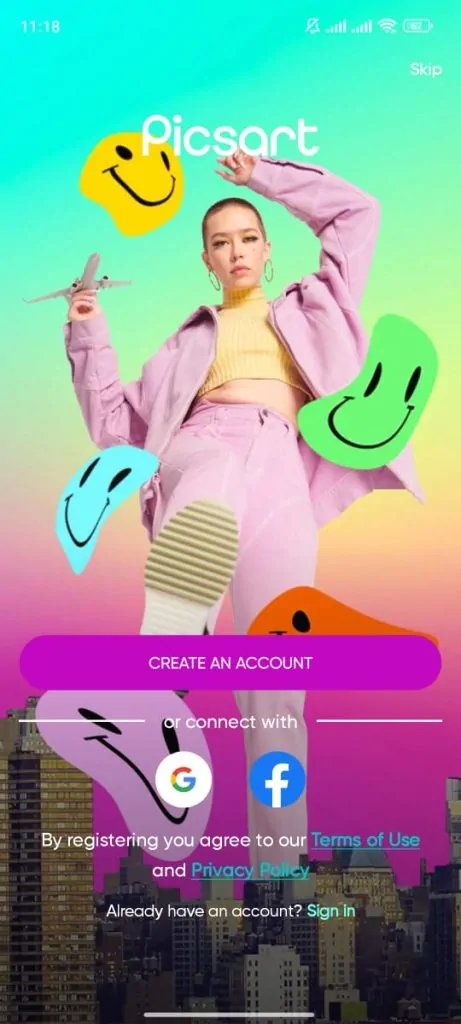
- Once installed, open the app to begin.
- Creating an Account
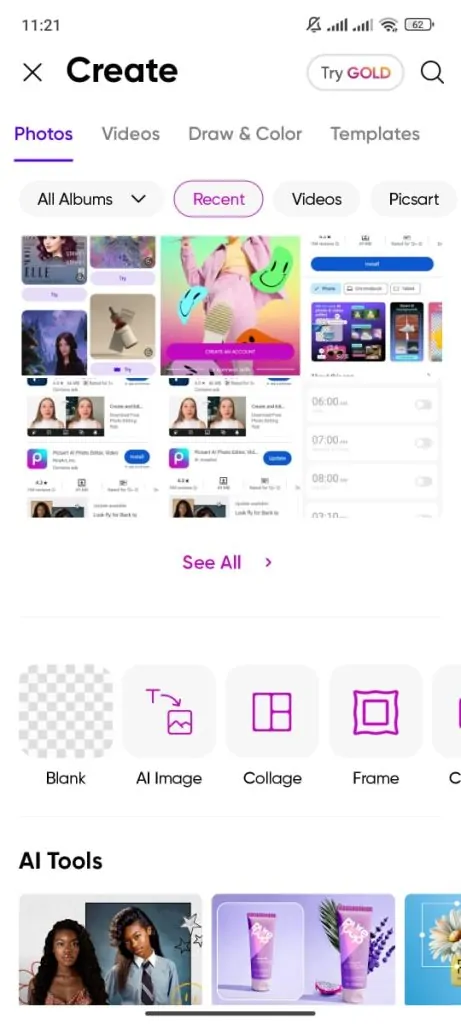
- Familiarizing with the Interface
- Explore the home screen with options like “Edit,” “Collage,” and “Camera.”
- Focus on tools relevant to selfie editing: “Beautify,” “Effects,” and “Stickers.”
- Spend some time getting comfortable with the app’s layout and features.
Preparing Your Selfie for Editing
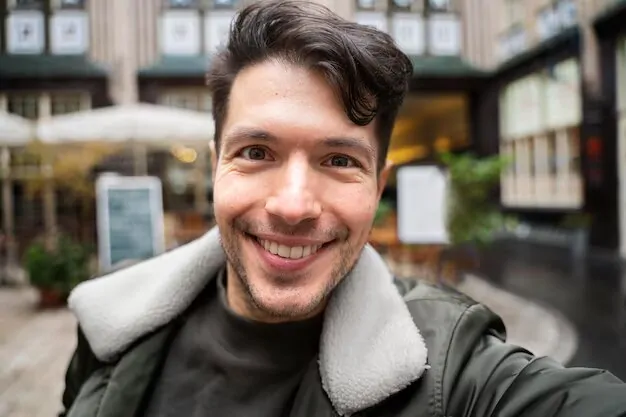
- Choosing the Right Selfie
- Select a selfie with good lighting and a flattering angle.
- Ensure your face is visible without harsh shadows.
- Natural light often works best for high-quality photos.
- Uploading Your Selfie
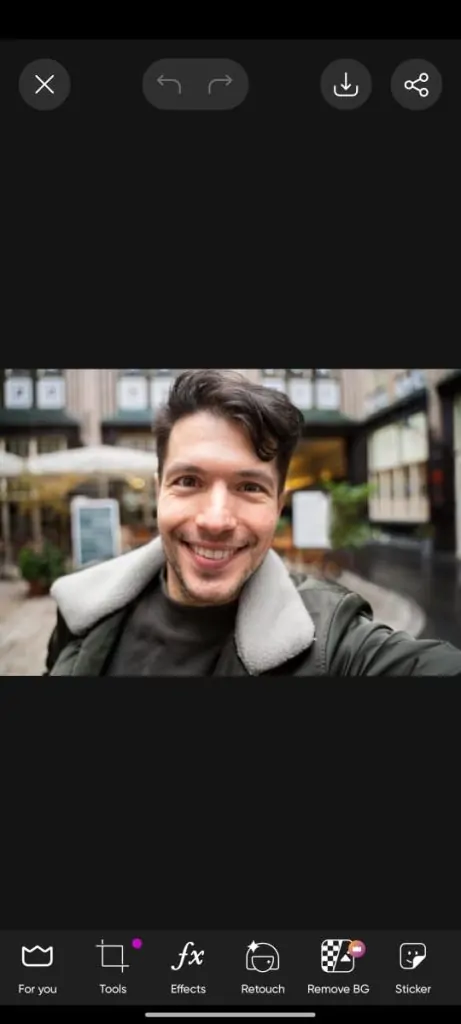
- Open Picsart and tap on “Edit.”
- Select your selfie from the gallery to upload it to the app.
- Your selfie is now ready for editing.
Advanced Editing Techniques
- Using the Beauty Tools
- Access the “Beautify” section to explore tools like blemish removal, skin smoothing, and teeth whitening.
- Use the blemish tool to clear up any imperfections, the smoothing tool to create a flawless skin appearance, and the teeth whitening tool for a brighter smile.
- These tools help you perfect your selfie, giving it a polished and professional look.
- Adding Effects and Overlays
- Tap on “Effects” to apply creative filters that make your selfie pop.
- Add overlays like light leaks, textures, or colour gradients to enhance the mood of your photo.
- Layer multiple effects for a unique, artistic touch that makes your selfie stand out.
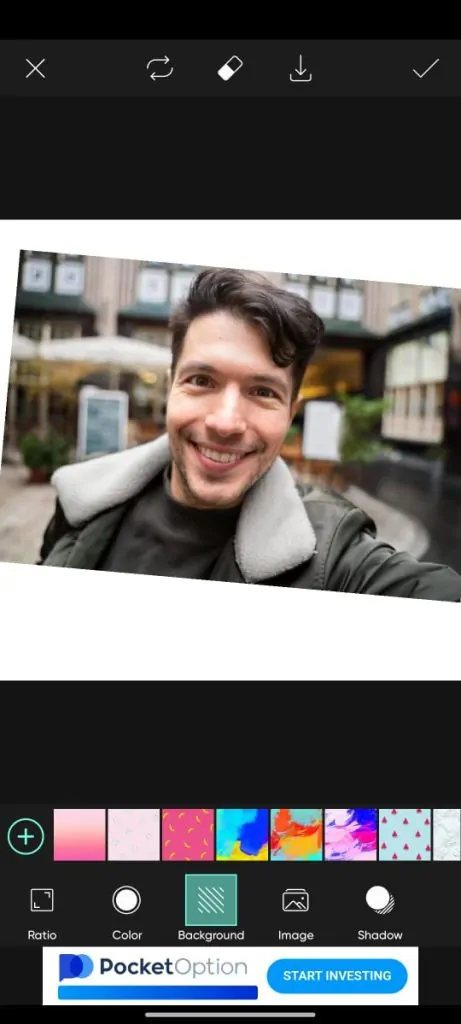
- Editing Backgrounds
- Use the “Background” tool to change or enhance the background of your selfie.
- Blur the background for a professional portrait effect, or replace it with a different image for a fun, creative twist.
- Editing the background can drastically change the look and feel of your selfie, making it more dynamic and engaging.
- Applying Artistic Edits
- Explore the “Artistic” tools to add text, stickers, or artistic effects to your selfie.
- Personalize your photo with quotes, fun stickers, or artistic effects like sketches or doodles.
- These edits allow you to express your creativity and give your selfie a unique, personalized style.
Saving and Sharing Your Edited Selfie
- Saving Your Edited Selfie
- Once you’re happy with your edits, tap on the “Save” option.
- Choose the format (JPEG, PNG) and resolution that suits your needs.
- Picsart allows you to save your selfie in high quality, ensuring it looks great whether you print it or share it online.
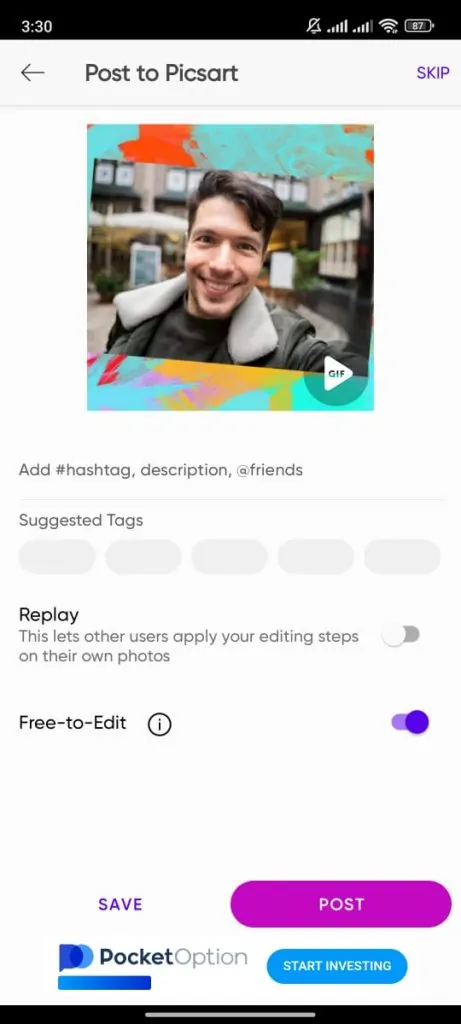
- Sharing on Social Media
- Picsart makes it easy to share your edited selfie directly to social media platforms like Instagram, Facebook, or Snapchat.
- Tap the “Share” button, select your preferred platform, and add a caption if desired.
- Sharing your selfie instantly connects you with your audience, letting them enjoy your creative work.
Tips for Creating Stunning Selfies on Picsart
- Lighting and Angles
- Use natural light, like sunlight from a window, for the best results.
- Experiment with different angles to find the most flattering one.
- A slightly higher angle can make your selfie look even better.
- Good lighting and angles make your original photo easier to edit.
- Consistency in Editing Style
- Stick to the same filter or colors for a cohesive look across all your selfies.
- A consistent editing style helps your social media feed look more attractive.
- Save your favourite editing settings in Picsart for quick and easy future edits.
- A uniform editing style helps build a recognizable and polished personal brand.
Conclusion
We’ve covered all the key steps to help you transform your selfies using Picsart, from basic edits to advanced techniques. Now, it’s time to get creative with Edit Selfies on Picsart and experiment with different tools to find your unique style. Don’t be afraid to try new things and make your photos your own. We’d love to see your amazing edits, so feel free to share them in the comments or ask any questions you might have. Let’s see how you can make your selfies shine with Edit Selfies on Picsart!