Changing the language in your EasyPaisa account is a straightforward process that can greatly enhance your user experience, especially if you prefer navigating the app in a language you are more comfortable with. This guide will walk you through the steps to change the language setting in your EasyPaisa account, ensuring you can manage your finances in the language of your choice. By following these simple instructions, you’ll be able to customize your EasyPaisa experience to suit your preferences better.
Understanding EasyPaisa
Before diving into the steps, let’s briefly understand what EasyPaisa is. EasyPaisa is a mobile financial service that offers a variety of financial transactions, such as sending and receiving money, paying bills, and mobile top-ups, all through a mobile app. It’s widely used in regions where access to traditional banking services is limited or for those who prefer the convenience of managing their finances via their mobile phone.
Why Change the Language?
The option to change the language in your EasyPaisa account is particularly beneficial for users who are not fluent in the app’s default language or for those who simply prefer to use the app in their native language. This feature is designed to make financial management more accessible and user-friendly for everyone, regardless of their language proficiency.
Step-by-Guide to Change Language in EasyPaisa
To change language in EasyPaisa, follow these steps.
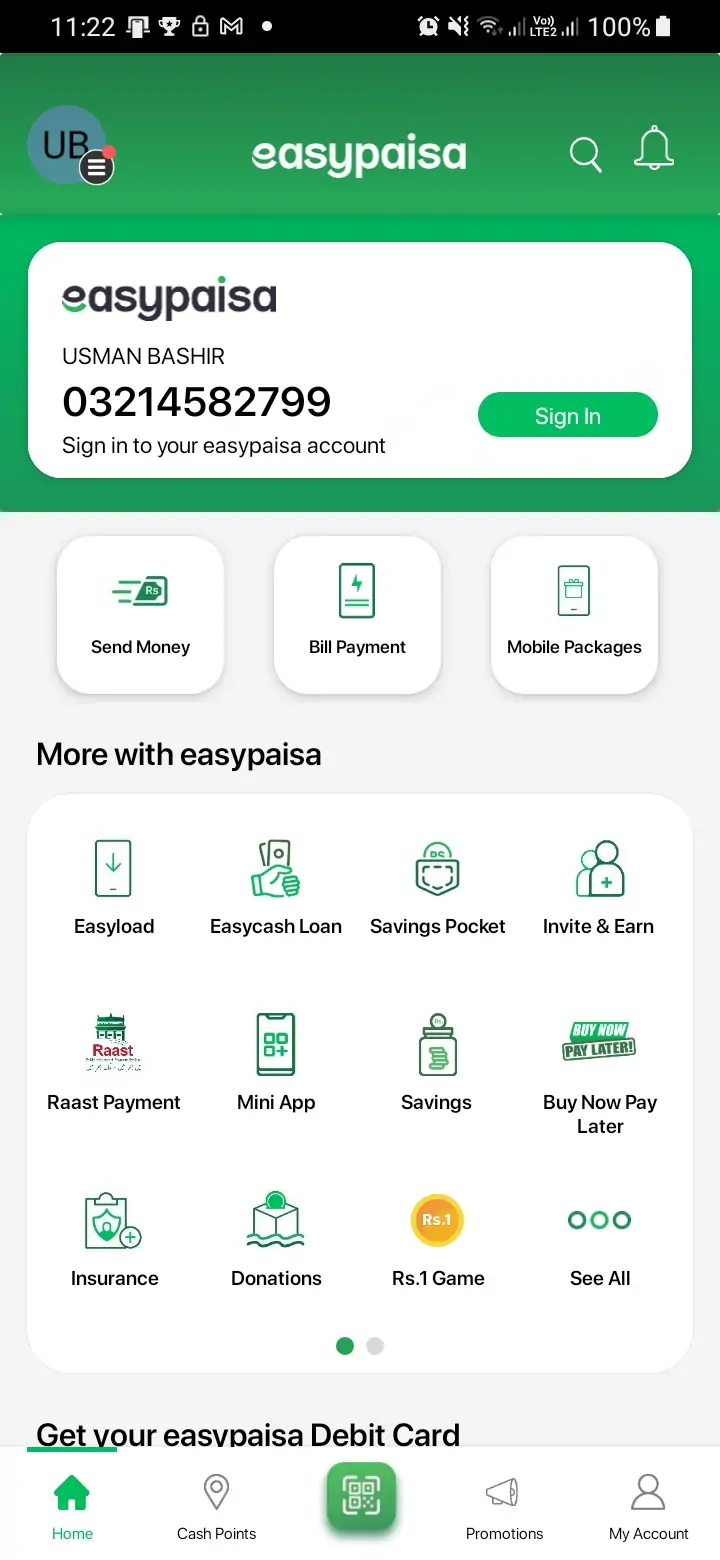
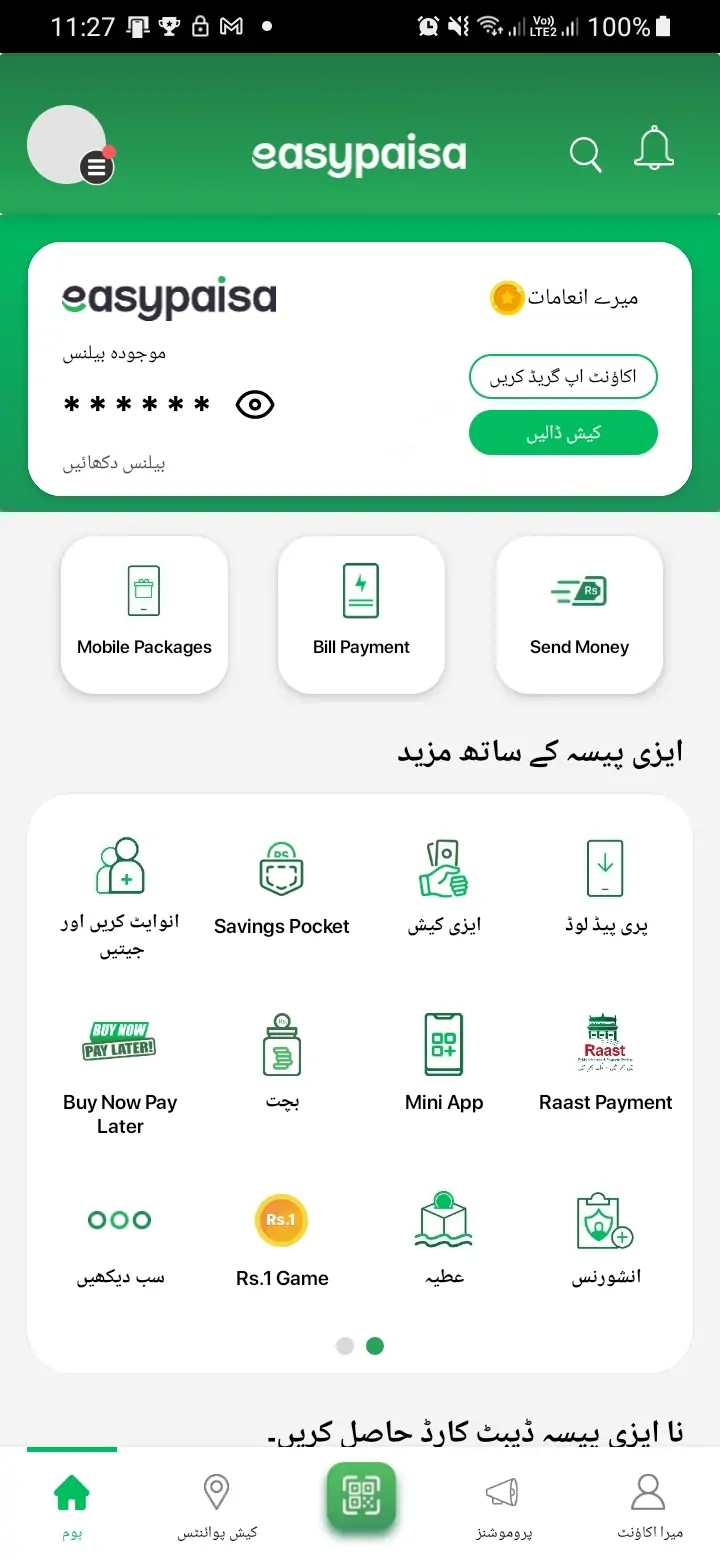
- Open the EasyPaisa App: First, locate the EasyPaisa app on your mobile device and open it. You will be taken to the main screen, where you can access various financial services offered by the app.
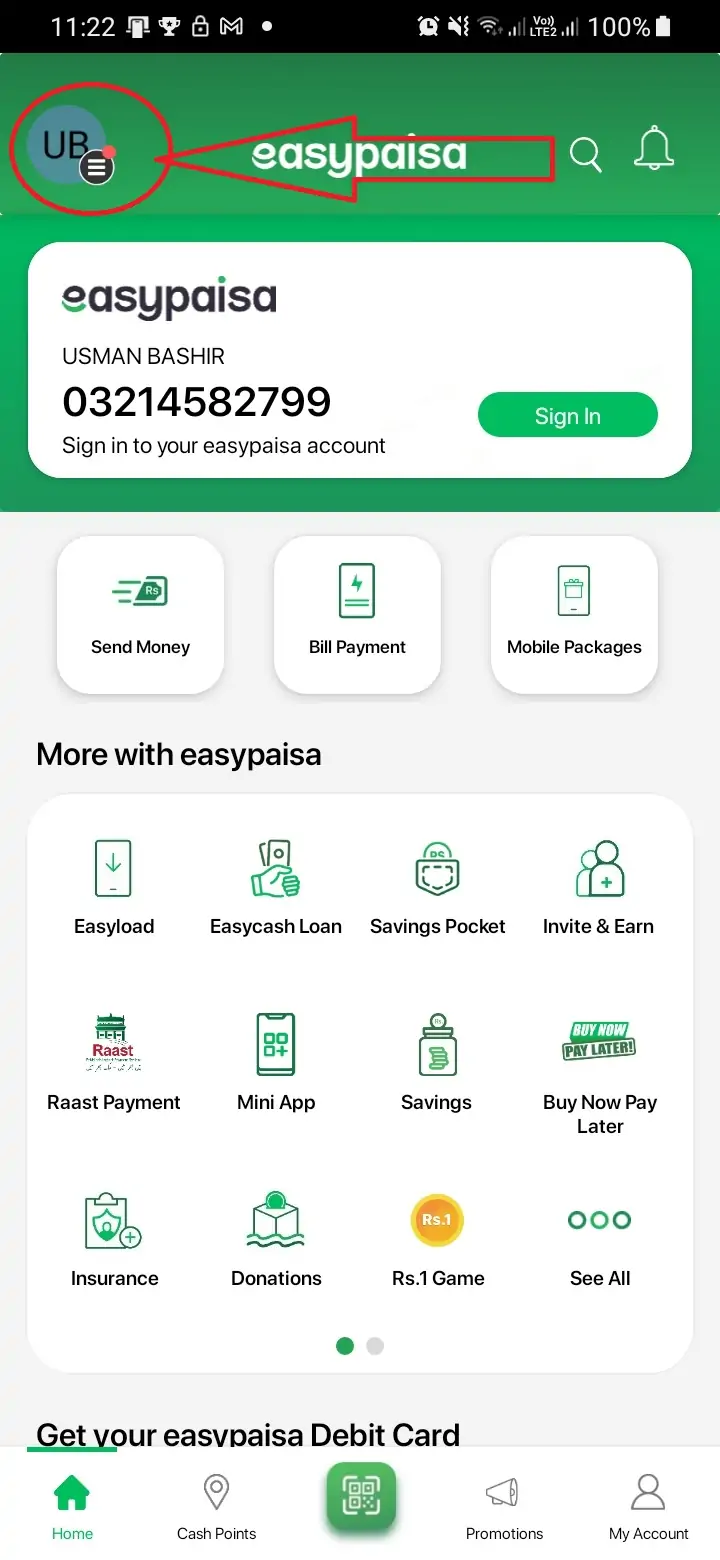
- Access the Settings Menu: Once the app is open, look for the ‘Settings’ option. This is usually represented by a gear icon or can be found in the app menu, which is typically accessed by tapping on three lines or dots located either at the top left of the screen. Tap on this to proceed to the settings section.
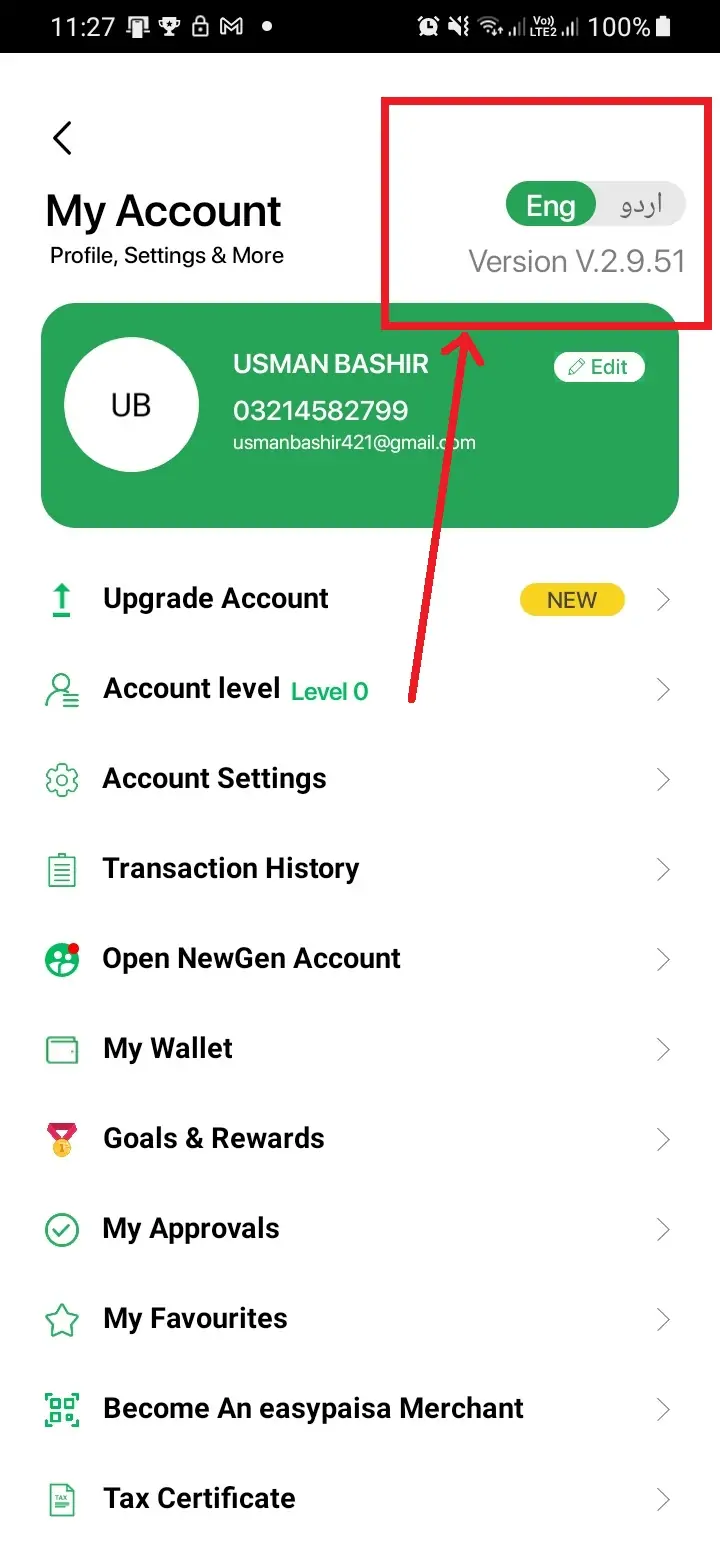
- Locate Language Settings: In the settings menu, it is typically located on the top right side of the screen.
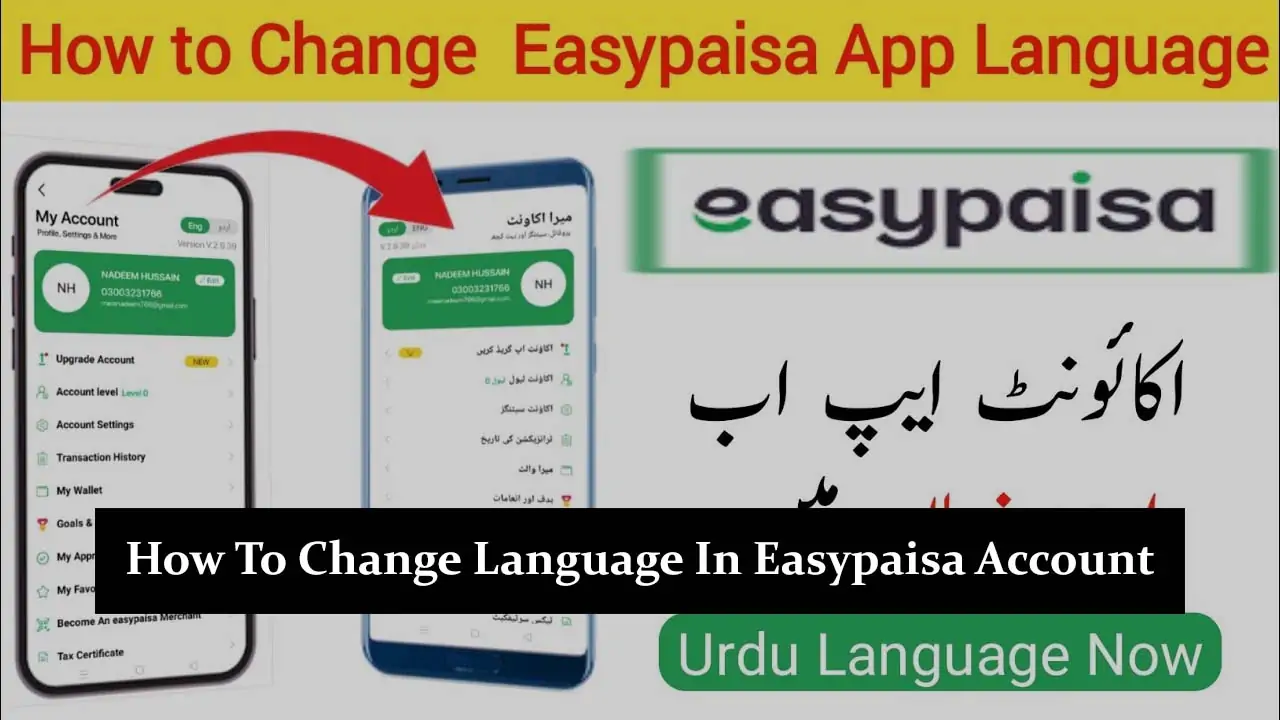
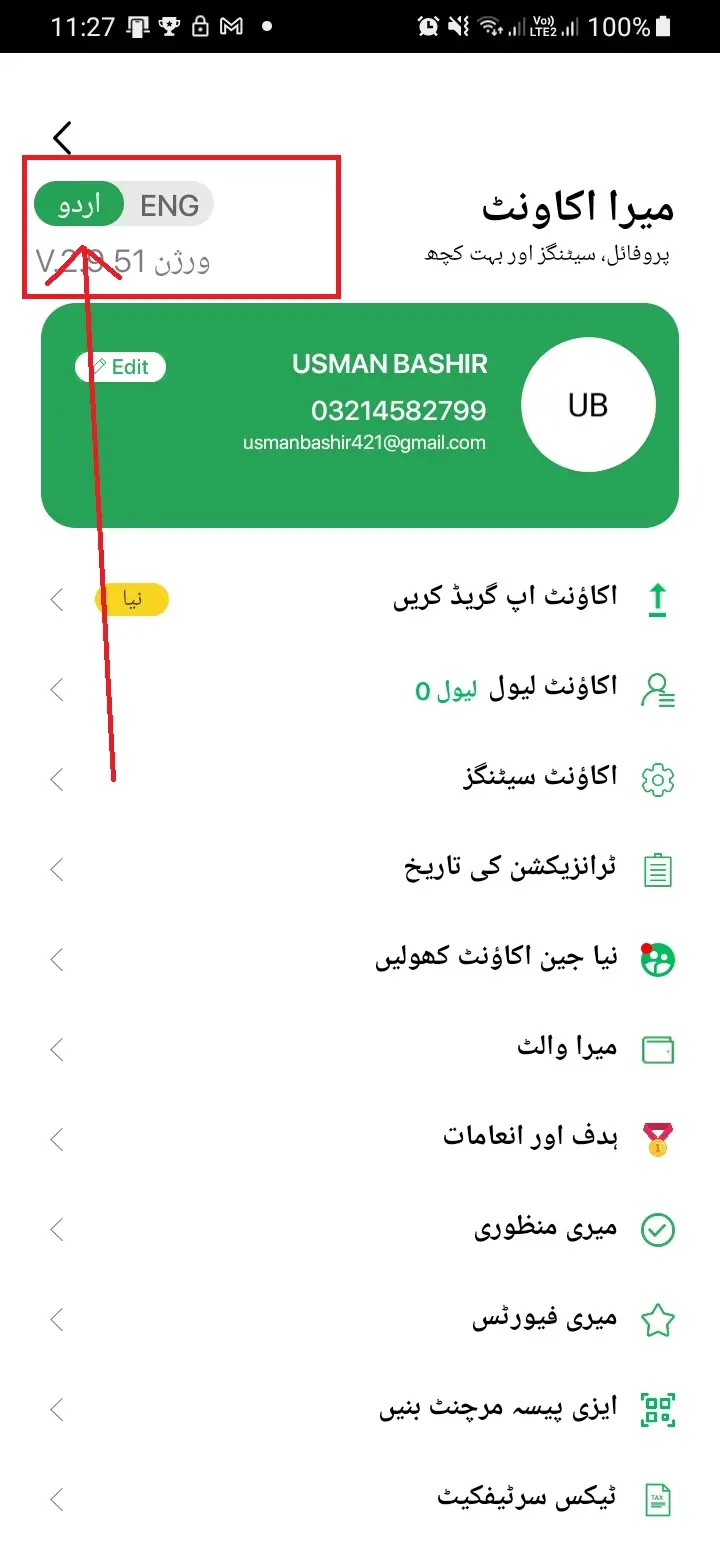
- Choose Your Preferred Language: EasyPaisa typically supports Urdu and English languages, catering to its user base. Press the language button you want to switch to. I select Urdu language for your understanding.
- Experience EasyPaisa in Your Preferred Language: Once the language change is confirmed, the app interface will refresh, and all menus, options, and instructions will appear in the new language. You can now navigate the app and manage your financial transactions more comfortably in your chosen language.
Tips for a Smooth Language Change Process
- Ensure App is Updated: Before changing the language, make sure your EasyPaisa app is updated to the latest version. This ensures that you have access to all the latest features and language options.
- Strong Internet Connection: A stable internet connection is required to apply changes effectively. Make sure you’re connected to a reliable internet source before starting the process.
- Know the Language: Be familiar with the language you are switching to. If you accidentally change to a language you do not understand, navigating back to change it again might be challenging.
Related articles:
- How to Increase Your Easypaisa Account Limit
- How to Cancel Easypaisa Transaction
- How To Delete Easypaisa Transaction History
- How To Easyload From Easypaisa App
Conclusion
Changing the language in your EasyPaisa account is a simple yet impactful way to tailor your financial management experience to suit your needs and preferences. By following the straightforward steps outlined above, you can easily switch the app’s language, making it easier for you to navigate and utilize the financial services offered by EasyPaisa. This customization ensures that managing your finances is not only convenient but also accessible, regardless of your language proficiency.
