Picsart is a powerful photo editing tool known for its unique features and creative flexibility. One of its interesting effects is “bending” a picture, where an image is manipulated to create a curved or distorted appearance for a dynamic look. This technique allows users to add a creative twist to their photos, making them stand out. In this guide, we’ll walk you through simple, step-by-step instructions to easily achieve the bending effect in Picsart. Whether you’re a beginner or an experienced editor, you’ll be able to master this technique quickly.
What Does It Mean to Bend a Picture?
Bending a picture in photo editing refers to applying a curved or warped effect to an image, altering its original shape for a dynamic, eye-catching result. This technique can add a creative touch to photos, enhance designs, or add artistic flair to your edits. Users might want to bend a picture for various reasons, such as creating abstract effects, adding motion to still images, or transforming ordinary photos into captivating art pieces. It’s especially popular in graphic design, social media posts, and promotional visuals.
Step-by-Step Guide on How to Bend a Picture in Picsart
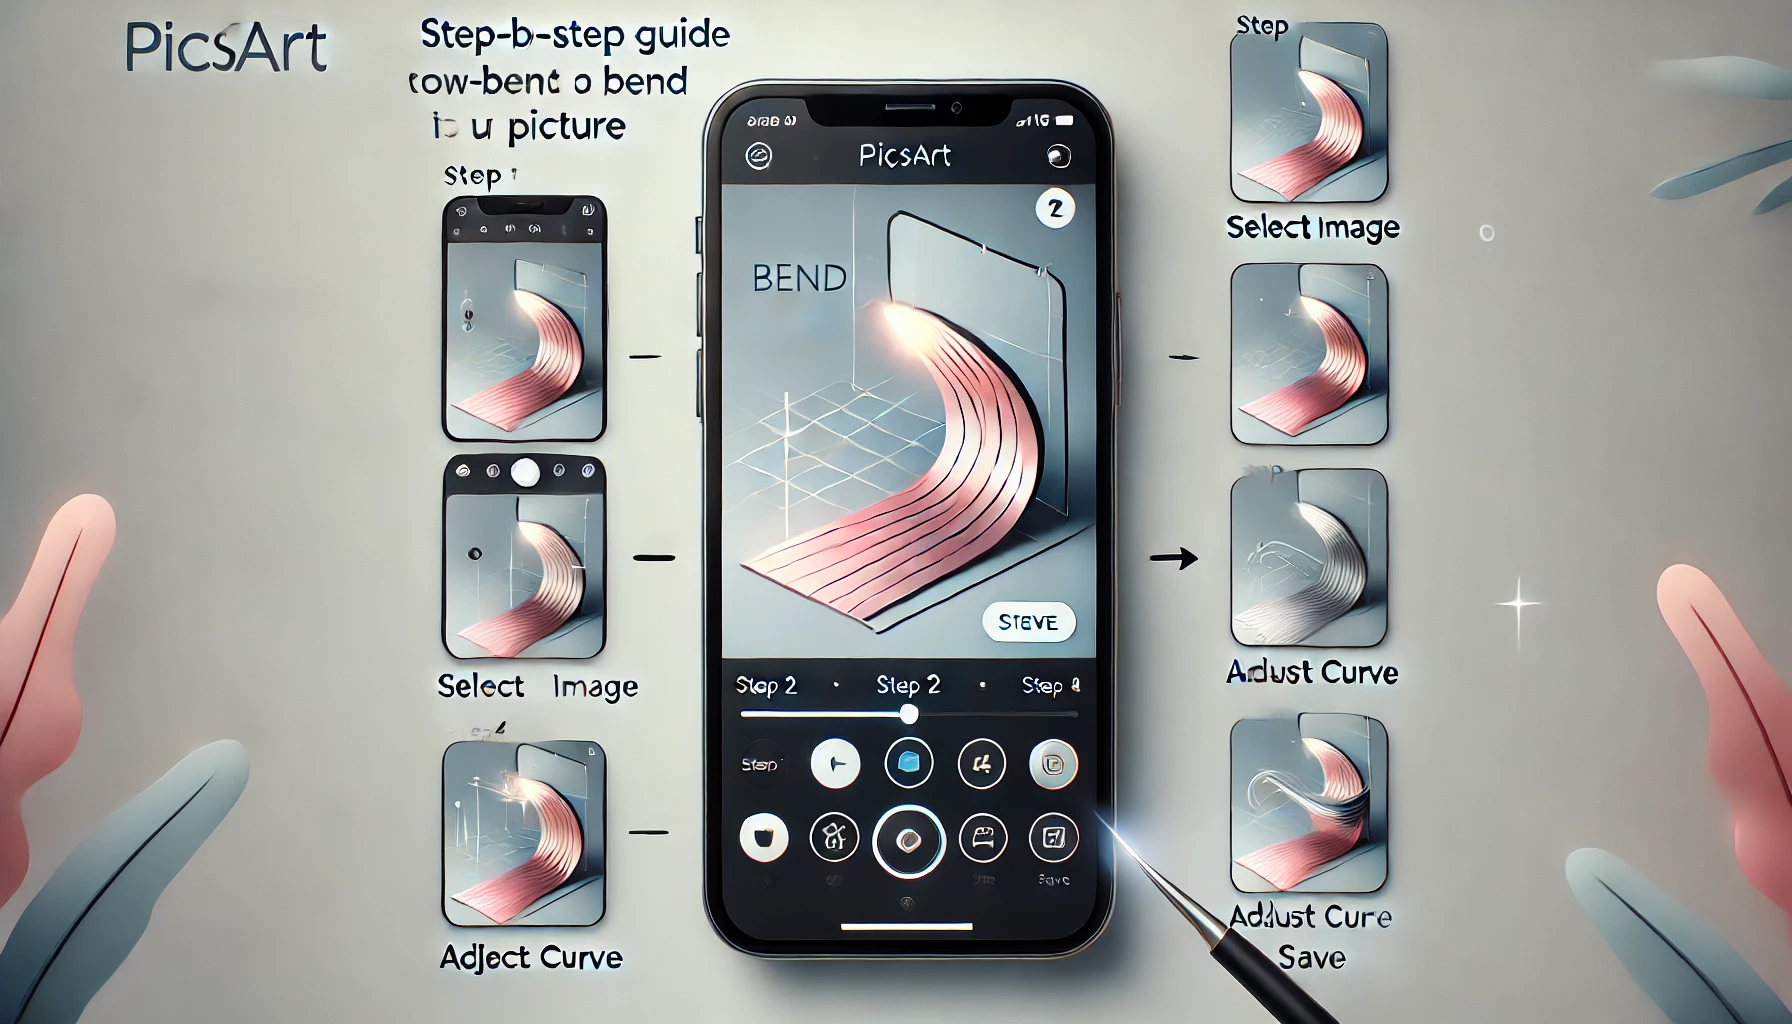
Selecting Your Image
- Choose an image with clear lines or shapes for the best bend results.
- High-resolution images work better for editing.
- Images with solid or simple backgrounds make the bend effect look cleaner.
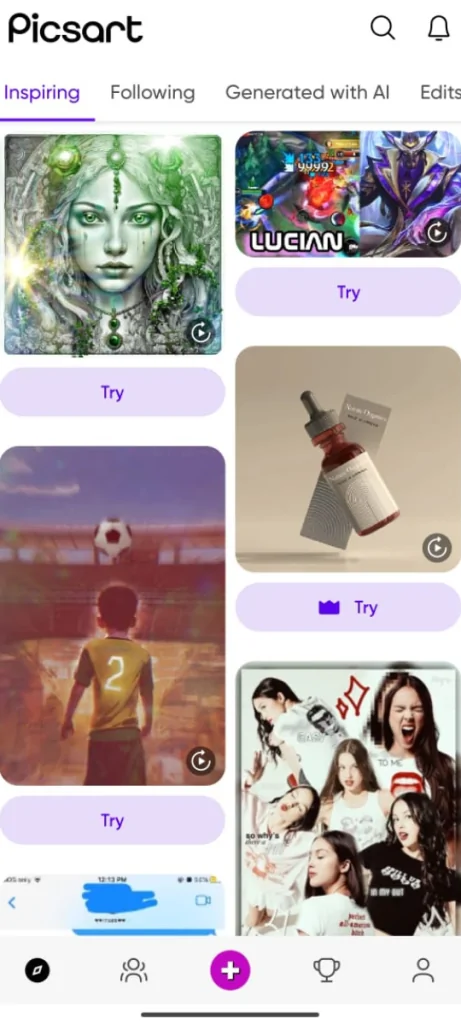
- Import the image into Picsart by:
- Opening the app.
- Clicking on the “+” icon to add your image from your gallery.
Accessing the Bend Effect in Picsart
- Open your imported image in the Picsart editor.
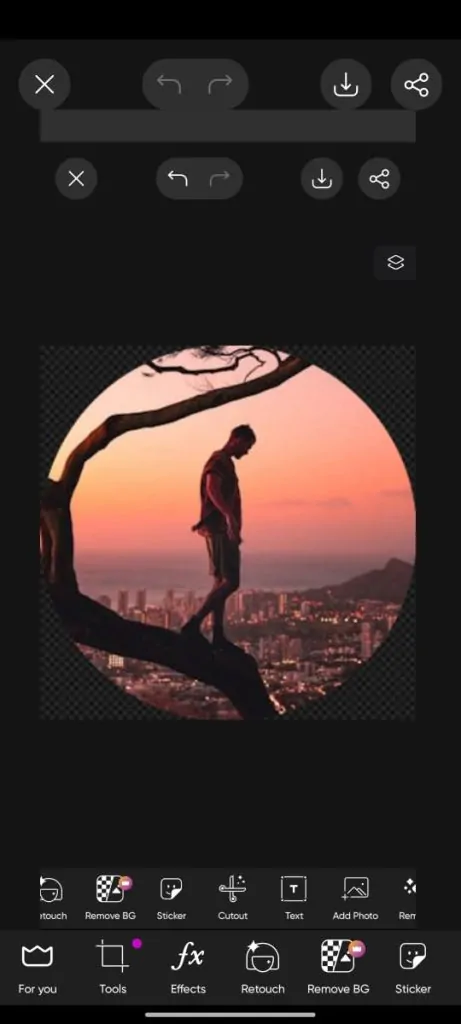
- Locate the “Tools” option from the bottom menu.
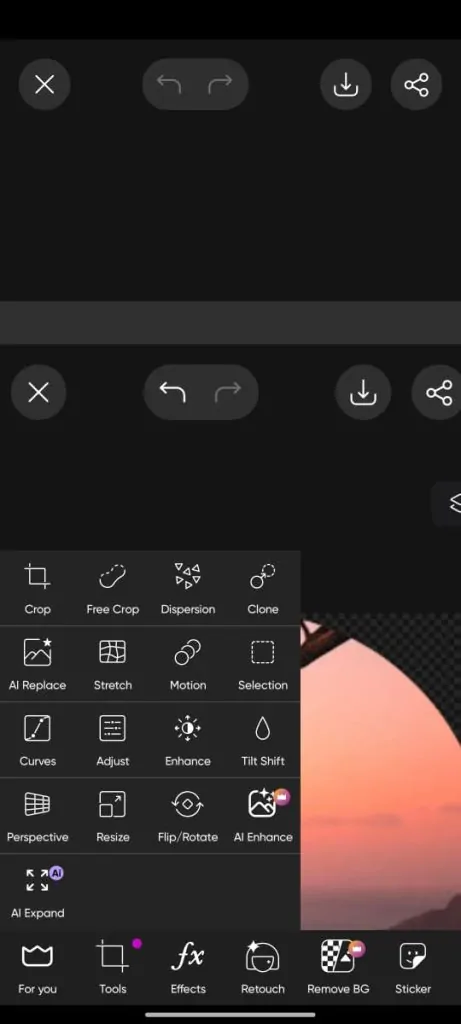
- Select either the “Distort” or “Warp” tool, which allows you to bend and manipulate your image.
- These tools can be found in the “Effects” or “Tools” section, depending on your app version.
Applying the Bend Effect
- After selecting the tool, drag and pinch parts of the image to create the desired bend effect.
- Adjust the intensity of the bend by zooming in/out or using the sliders provided.
- Experiment with different bending styles for creative results.
- Preview the effect before finalizing it to ensure it fits your vision.
Refining and Enhancing the Bend Effect
- Use the “Eraser” tool to refine edges if the bending effect spills over undesired areas.
- Blend the bent image into the background by adjusting opacity or using blending modes.
- Add further enhancements, such as shadows or highlights, to make the effect appear more natural.
- Save the image once you are satisfied with the overall look.
Creative Ideas for Using the Bend Effect

- Bending Text: Use the bending effect to curve or warp text around objects or create dynamic, flowing typography for posters, social media posts, or invitations.
- Shaping Objects: Apply the bending effect to reshape objects in your image, giving them a fluid, abstract, or surreal look to enhance artistic compositions.
- Distorting Backgrounds: Create a warped or swirling background to add depth and movement to an otherwise static image. This technique is perfect for creating abstract art or eye-catching designs.
- Creating 3D Illusions: Bend parts of an image to simulate a three-dimensional effect, making elements pop off the screen for added visual interest.
- Mimicking Natural Elements: Bend images to replicate natural phenomena like waves, wind, or flowing water, adding motion and a sense of realism to your edits.
Troubleshooting Common Issues and Solutions
- Distortion Issues: The bending effect may stretch or blur important details in the image.
- Solution: Use a lower intensity setting on the bend tool and apply the effect gradually to avoid losing clarity.
- Uneven Bends: The picture may bend unevenly, creating awkward curves or unwanted distortions.
- Solution: Zoom in and adjust specific areas with smaller brush sizes for more precise control over the bend.
- Over-Bending: Applying too much bend can make the image look unnatural or overly edited.
- Solution: Undo or reduce the effect and aim for subtle bends to maintain a balanced and realistic appearance.
- Blending Issues: The bent image may need to blend better with the rest of the photo, creating a disjointed look.
- Solution: Use blending options or additional filters to integrate the bent area with the background for a seamless finish.
- Tool Lag or Slow Performance: Picsart may slow down when working with high-resolution images or large edits.
- Solution: Reduce the image size or work in smaller sections to improve app performance while editing.
Finalizing and Exporting the Bent Picture
Once you’re satisfied with your bent picture, navigate to the export options in Picsart. Choose the desired resolution to maintain image quality, and select a format such as JPG or PNG based on your needs. Ensure the image is saved in high quality if you plan to print it, or optimize it for web use if sharing on social media. After saving, you can easily share your creative edit directly from the app to your social platforms or print it for physical display.
Conclusion
In this guide, we’ve walked you through the steps to bend a picture in Picsart, from selecting your image to applying and refining the bend effect. Now it’s your turn to experiment with different photos and creative bending techniques to make your edits truly unique. Don’t be afraid to try new styles and push your creativity further. Once you’ve crafted your masterpiece, share your bent pictures on social media and tag Picsart to showcase your work and inspire others!