Picsart is a must-have app that lets you easily turn your photos into amazing works of art. Adding texture is one of its best features, quickly making your images more lively and unique. In this guide, we’ll show you the simple steps to add texture in Picsart, helping you create eye-catching photos that stand out. Whether you’re just starting out or already have some editing experience, this guide will make the process easy and fun, ensuring your photos always get noticed.
Understanding Textures in Image Editing
What Are Textures?
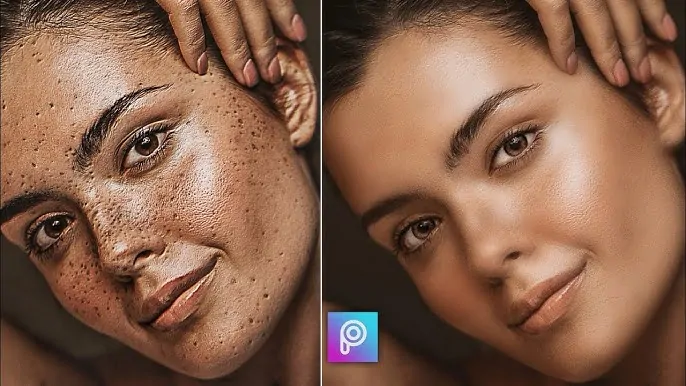
- Definition: Textures in image editing refer to visual patterns or surfaces that can be layered onto an image to add depth and realism.
- Purpose: They enhance the tactile quality of an image, making it more engaging and dynamic.
Preparing Your Image for Texture Application
Choosing the Right Image
- Select an image with clear subjects and minimal clutter.
- Prefer images with solid backgrounds or simple compositions for better texture application.
Basic Editing in Picsart
- Adjust Brightness: Ensure your image is well-lit.
- Contrast Adjustment: Make details stand out.
- Additional Edits: Consider cropping, straightening, or adjusting saturation.
Saving Your Work
- Always save a copy of your original image before applying texture.
- This ensures you can revert if needed without losing your original work.
How to Add Texture in Picsart
Open Your Image in Picsart
- Open the Picsart app.
- Tap the ‘+’ button and select your image from the gallery.
Accessing the Texture Tool
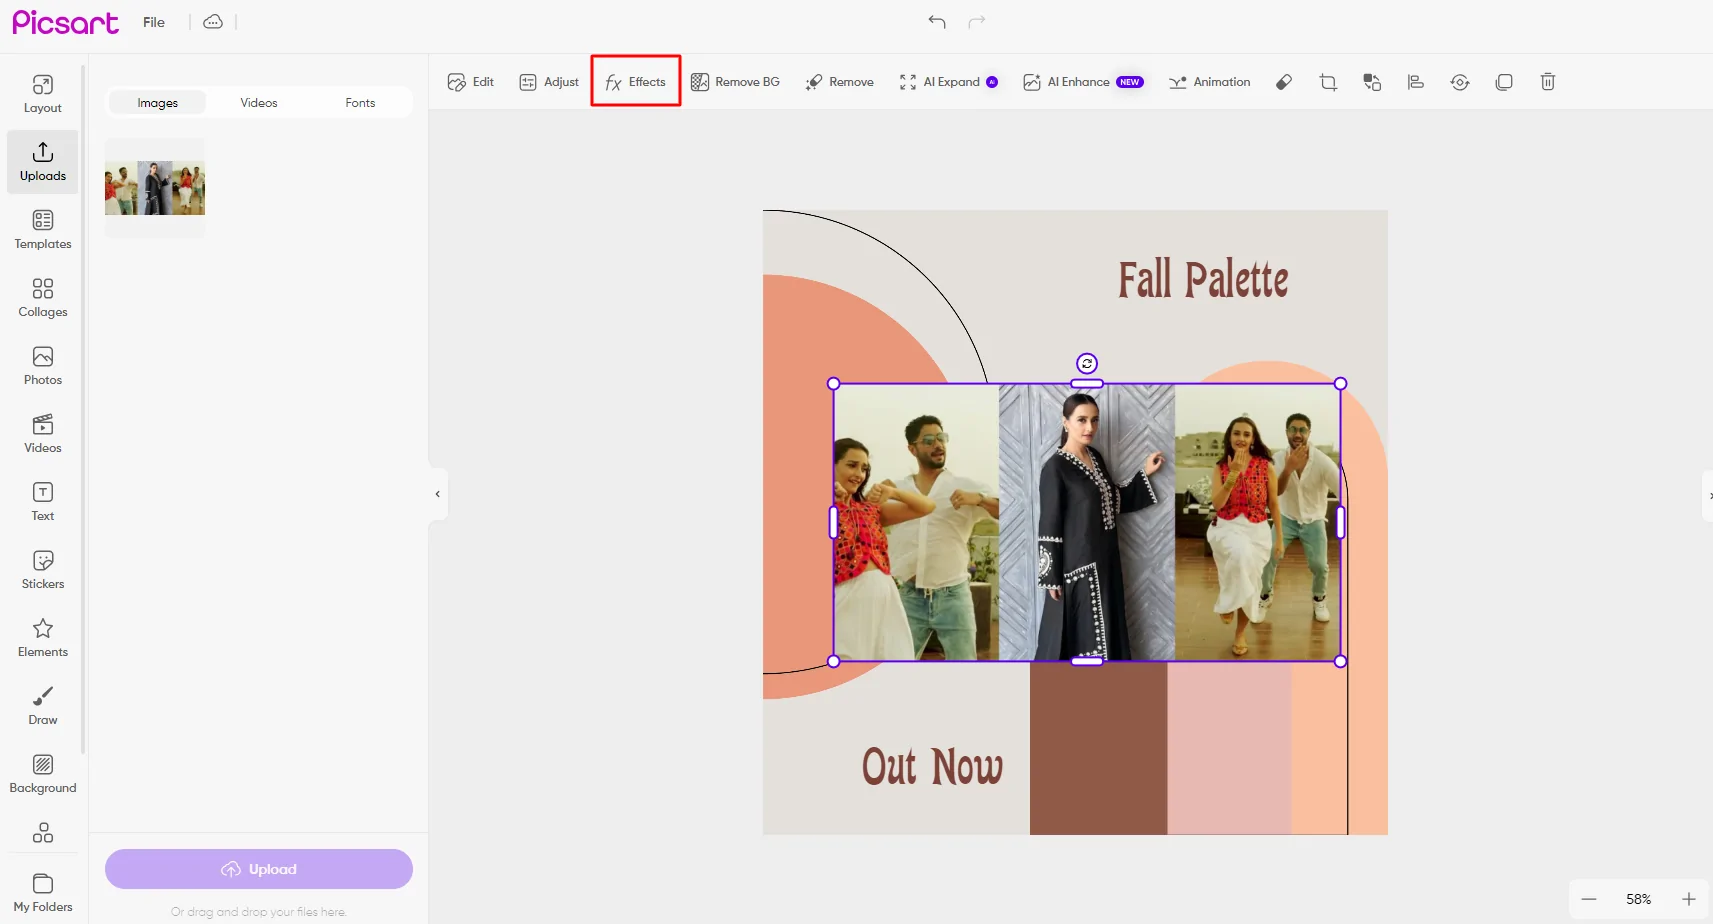
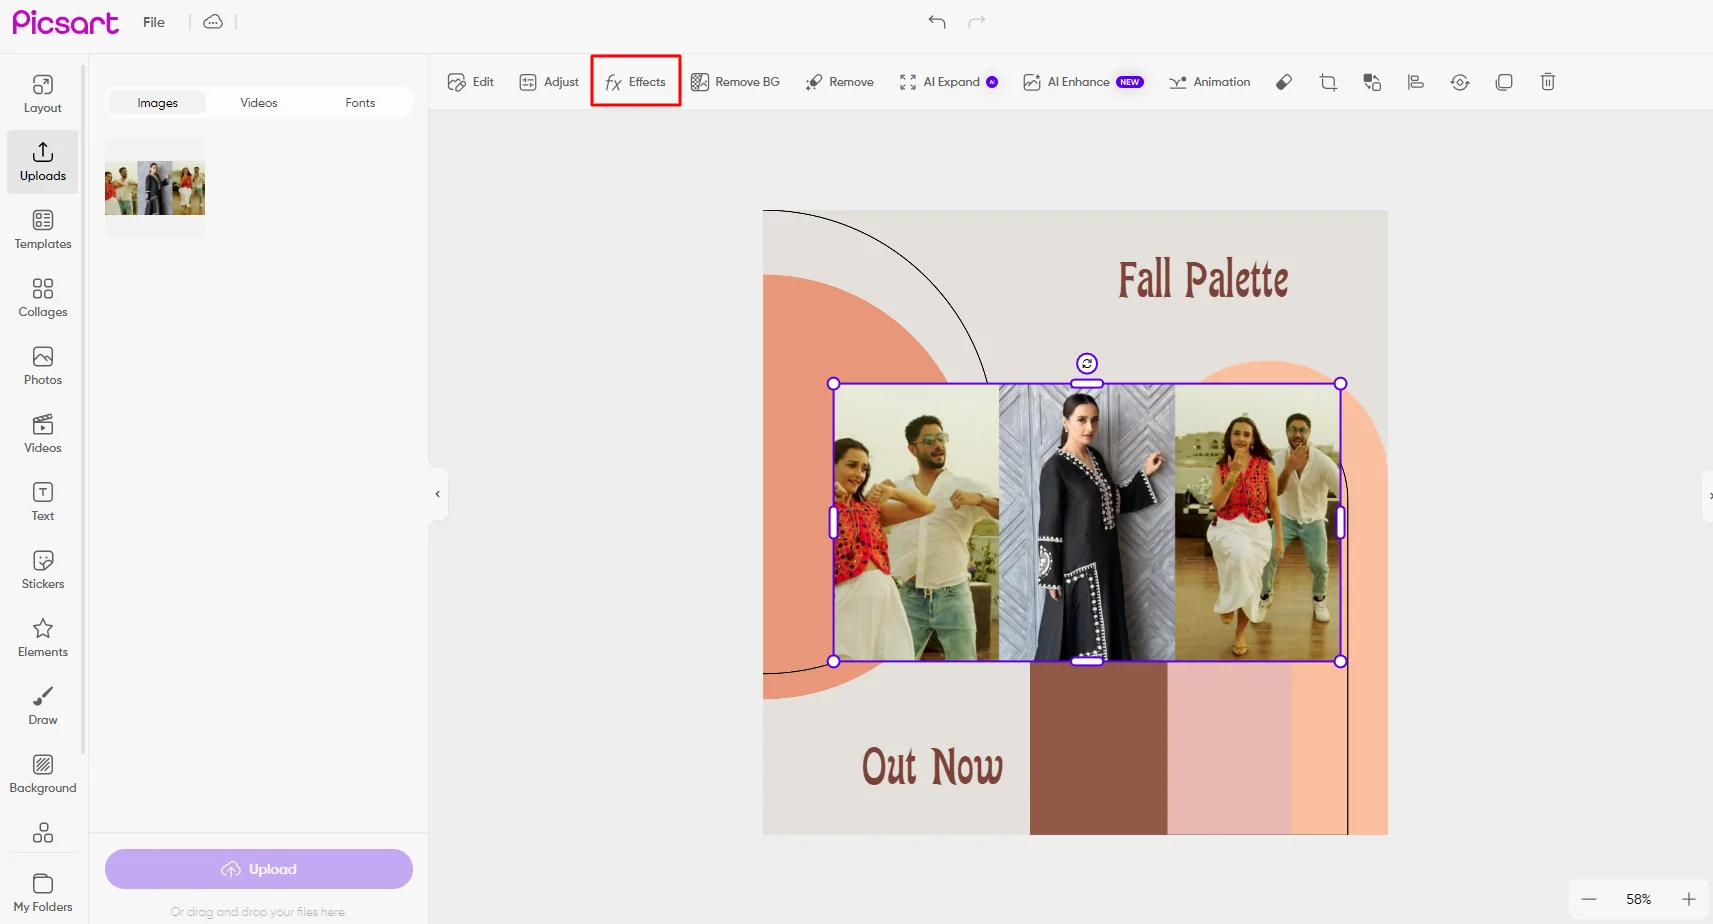
- Go to the ‘Effects’ menu at the bottom of the screen.
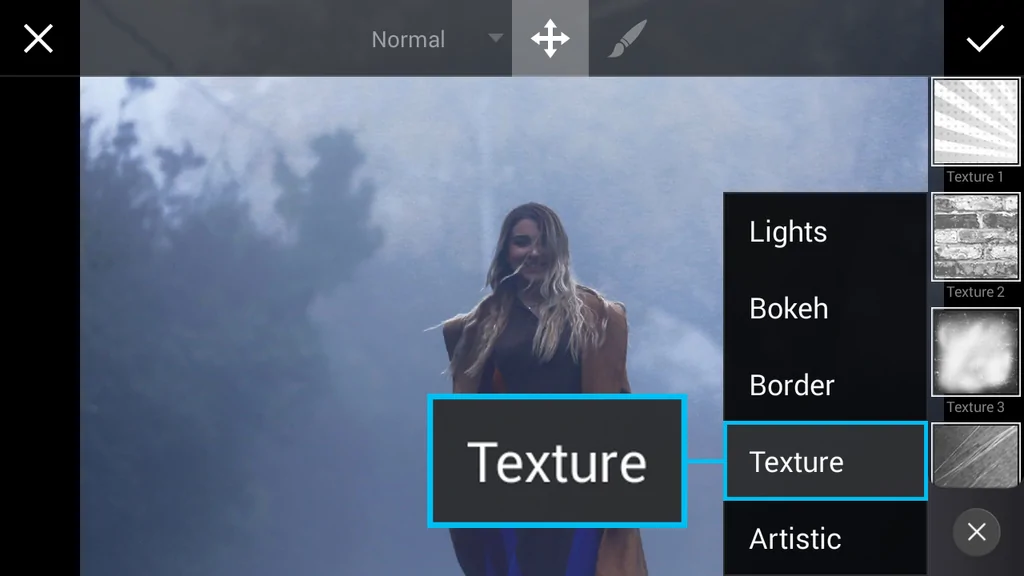
- Scroll and select the ‘Textures’ category.
Selecting and Applying a Texture
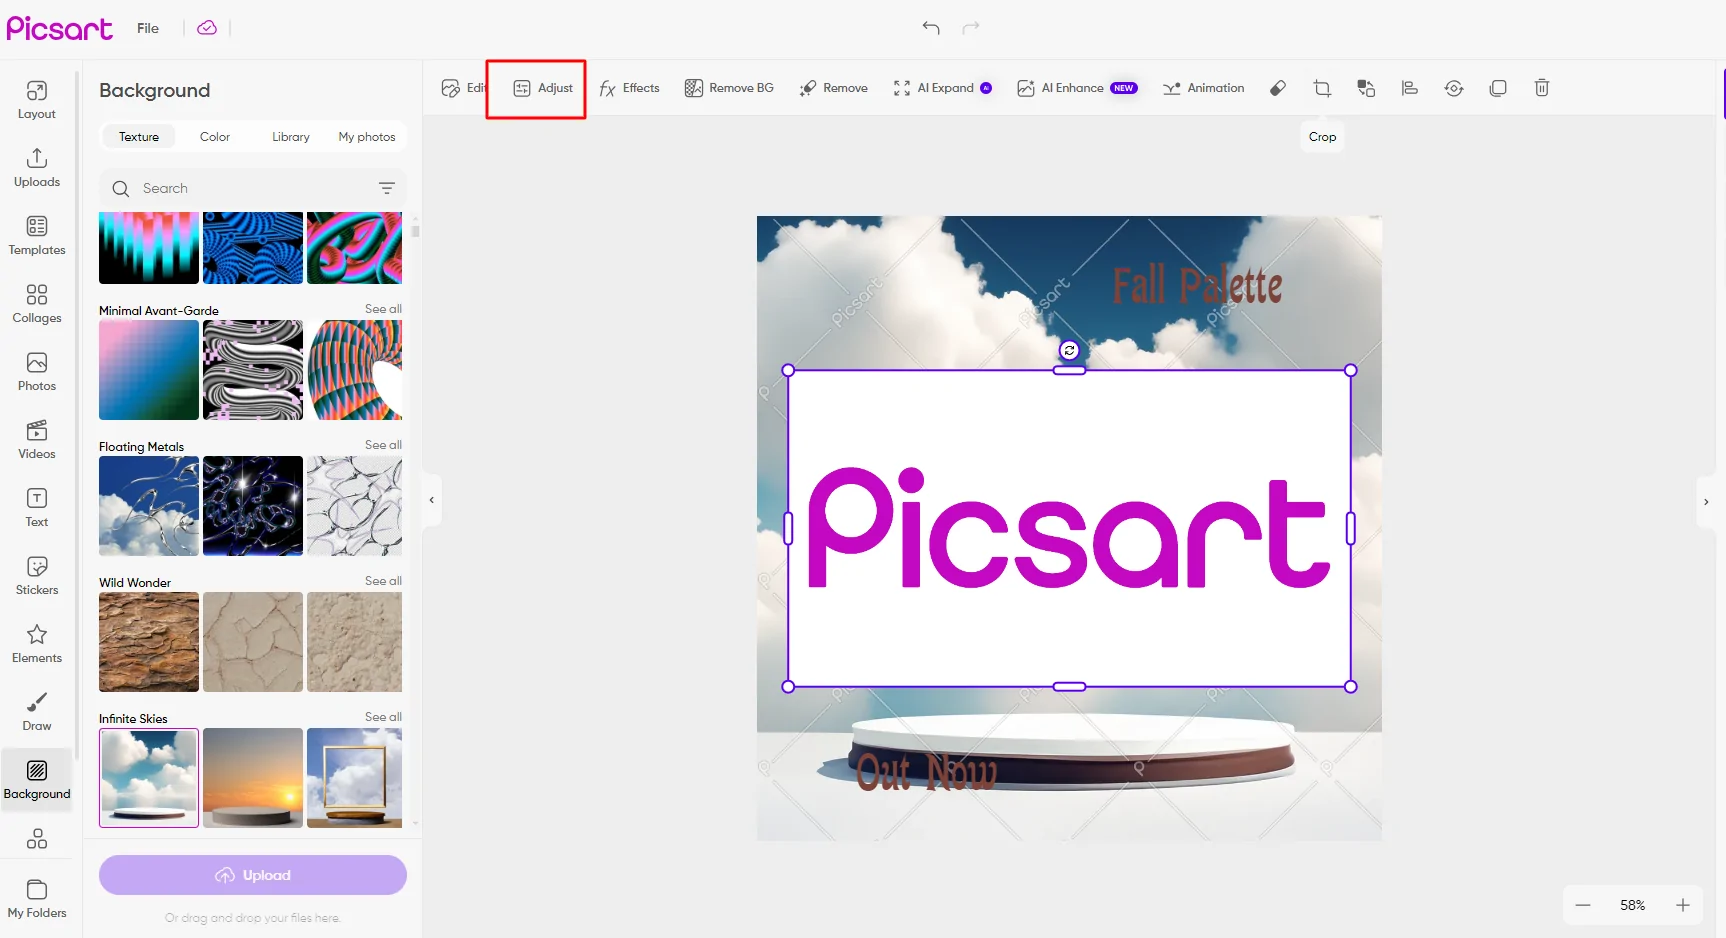
- Browse available textures.
- Tap on a texture to preview and adjust its scale or placement.
Adjusting Texture Settings
- Use sliders to modify texture opacity.
- Experiment with blend modes for the desired effect.
Refining the Texture Application
- Adjust the texture’s intensity.
- Erase parts of the texture layer to blend it seamlessly.
- Fine-tune until the texture looks natural on the image.
Tips for Effective Texture Application
Matching Texture with Image Theme
- Complement the Theme: Choose textures that align with the overall mood and style of your image, whether it’s vintage, modern, or artistic.
- Harmonize Elements: Ensure the texture enhances the image without clashing with its key elements.
Experimenting with Different Textures
- Try Various Textures: Don’t hesitate to experiment with different textures to see which one best suits your image.
- Adjust Settings: Play with opacity, blend modes, and placement to achieve unique effects.
Avoiding Overuse
- Moderation is Key: Use textures sparingly to avoid cluttering or overwhelming the image.
- Enhance, Don’t Distract: The texture should complement the image, not overpower it.
Common Mistakes to Avoid
Using Low-Quality Textures
- Impact on Image Quality: Low-quality textures can make your image appear grainy or pixelated, reducing its overall appeal.
- Choose High-Resolution Textures: Always use high-resolution textures for a clean, professional finish.
Ignoring Image Composition
- Balance is Crucial: Ensure the texture enhances the image’s composition without distracting from the main subject.
- Complementary Effects: The texture should add depth and interest, not detract from the image’s core elements.
Overlooking Texture Adjustment Options
- Use Adjustment Tools: To refine the texture application, use PicsArt’s adjustment options, such as opacity, blend modes, and erasers.
- Customize for Perfection: Small adjustments can significantly affect how well the texture integrates with your image.
Saving and Exporting Your Edited Image
Saving the Final Image
- High-Quality Save: After finishing your edits, tap the save button and choose the highest resolution to ensure your image retains its quality.
- File Format: Save your image in formats like PNG or JPEG, depending on your needs. PNG offers better quality for detailed textures.
Sharing on Social Media
- Optimized Exporting: When exporting your image, consider the specific requirements of different social media platforms, such as image dimensions and file size limits.
- Platform-Specific Tips: Use a square or portrait format to maximize visibility for Instagram. For Facebook, maintain a resolution of 1080px width for better clarity. Ensure your image is optimized for each platform to maintain quality when posted.
Types of Textures
- Grunge: Adds a rough, edgy feel, often used to create a vintage or worn-out look.
- Fabric mimics the look of different materials, like cloth or leather, adding a soft or rugged feel to the image.
- Paper: Provides a natural, organic feel, similar to the texture of different paper types.
Benefits of Using Textures
- Improves Image Quality: Textures can make images look more polished and professional by adding layers of depth.
- Enhances Creativity: They allow for creative expression by enabling unique visual effects that transform the overall look of the image.
- Adds Realism: Textures make digital images feel more lifelike and engaging by simulating real-world surfaces.
Conclusion
Adding texture to your images in Picsart is a simple yet powerful way to make your photos stand out and capture attention. By following these easy steps, you can turn ordinary images into stunning works of art that reflect your unique style and creativity. Don’t hesitate to experiment with different textures, blend modes, and settings to create something truly original and eye-catching. Share your beautifully textured images with friends and followers, and continue exploring Picsart’s wide range of tools to keep pushing the boundaries of your creativity. There’s always more to discover and new ways to express your vision.
