Picsart is a top photo editing app that helps you create stunning images with just a few taps. One simple trick to make your photos look more professional is to add shadow in Picsart. Shadows bring depth and realism, making your pictures pop and giving them a polished, 3D effect. Whether you’re editing for fun or creating something more creative, this feature can transform your photos. In this easy guide, we’ll show you step-by-step how to add shadow in Picsart, so you can take your edits to the next level and create eye-catching results in minutes!
What is Picsart?
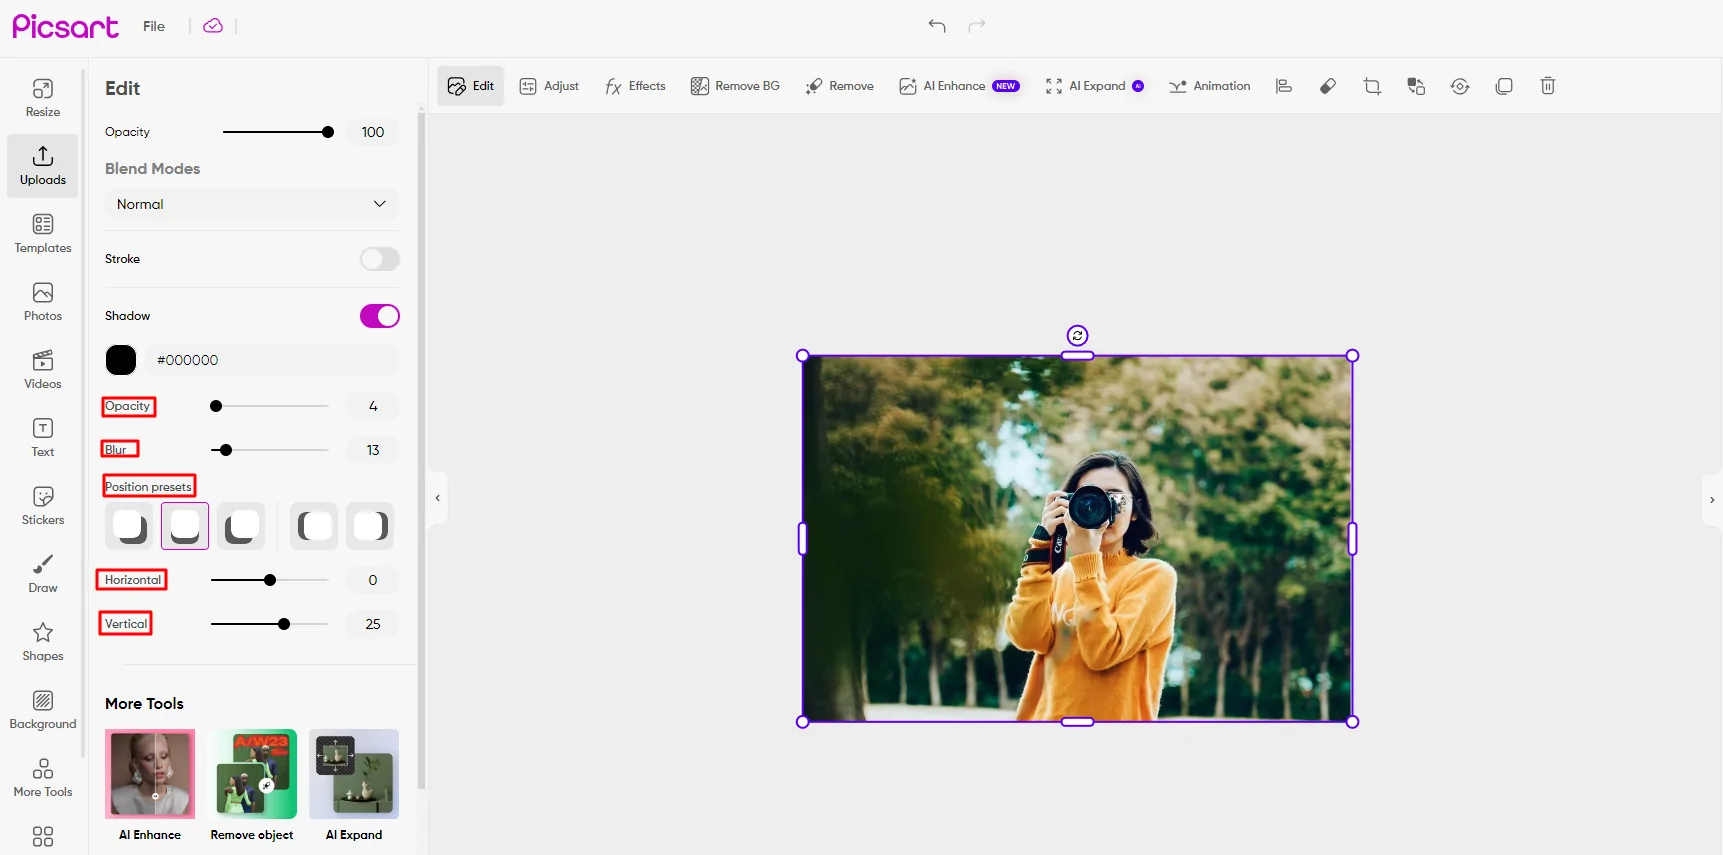
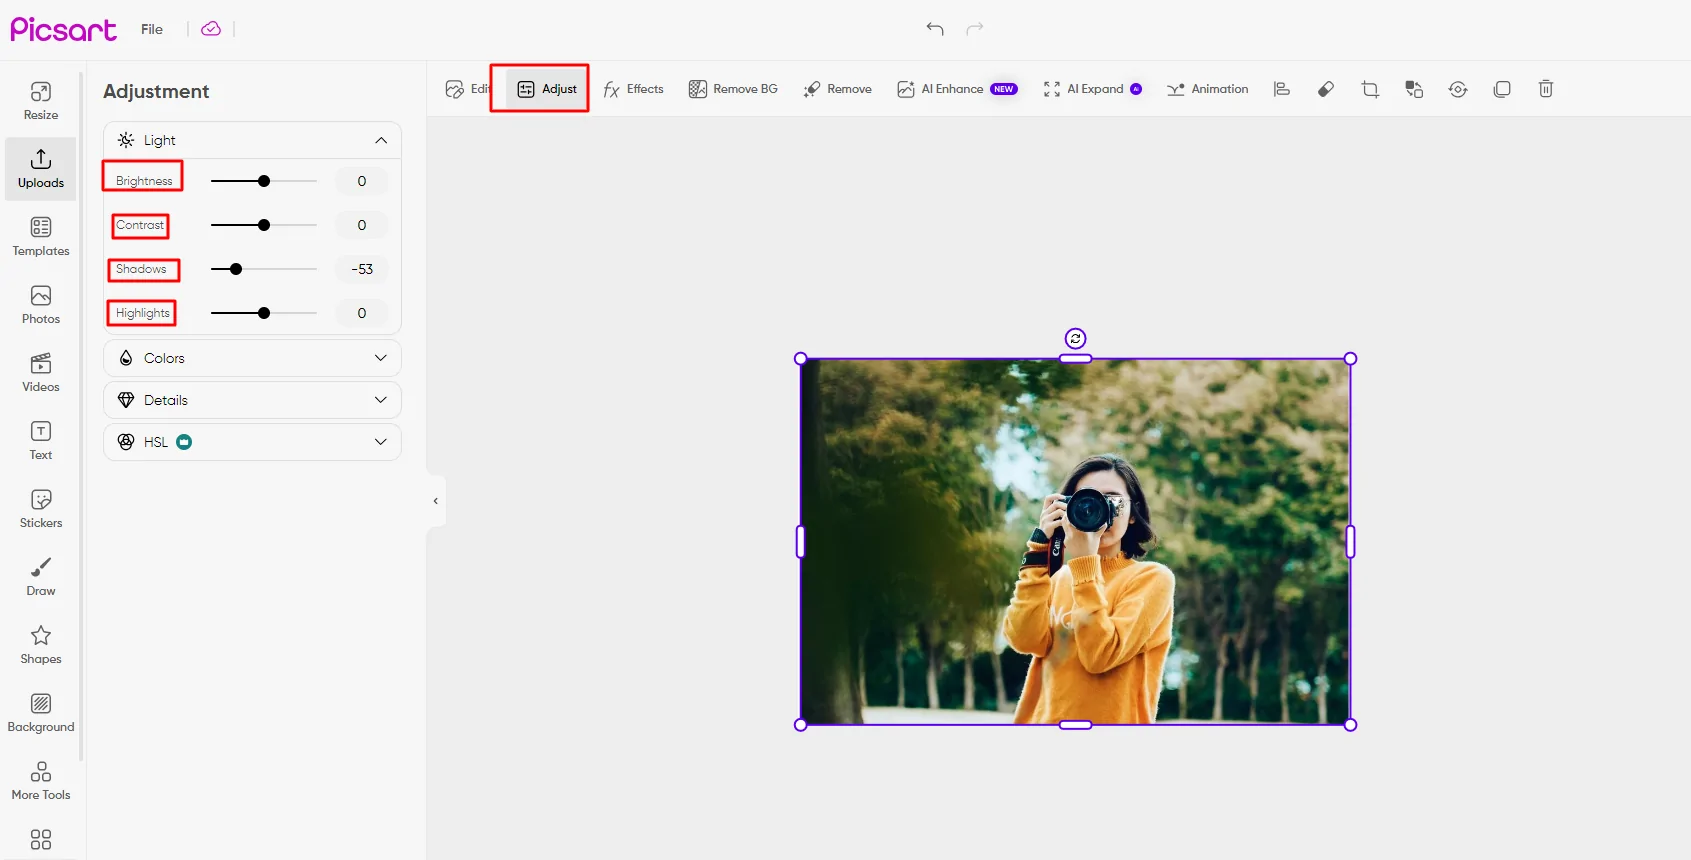
Picsart is a popular photo editing app with easy-to-use tools like filters, stickers, and effects, including a shadow tool. It helps users, from beginners to pros, create stunning edits quickly. With features like the shadow tool, you can add depth and professionalism to your images, bringing your creative ideas to life.

Step-by-Step Guide to Adding a Shadow in Picsart
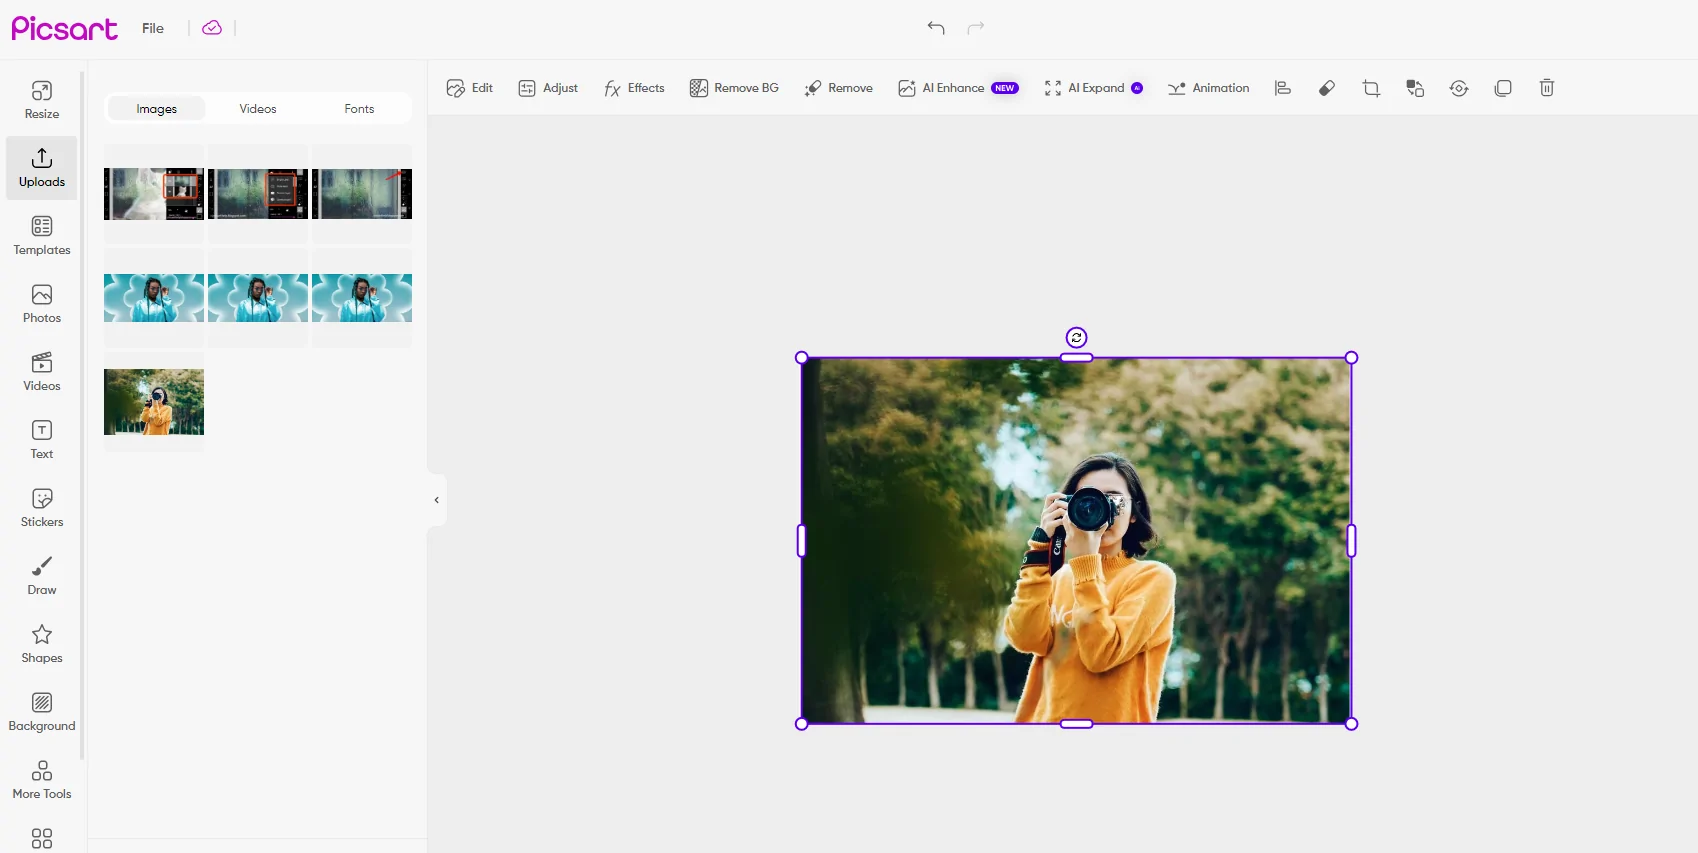
- Open Your Image in Picsart
- Open Picsart and either upload a new image from your gallery or choose one from the app.
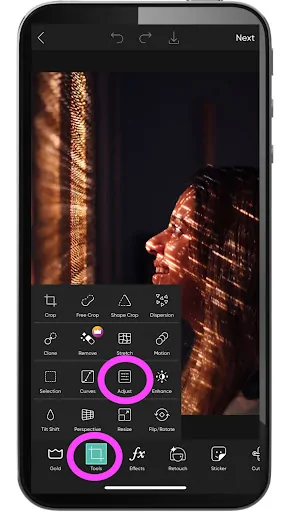
- Select the ‘Tools’
- Tap on the ‘Tools’ in the editing toolbar to see various editing options.
- Choose the ‘Shadows’ Effect
- Scroll through the tools and select ‘Shadows’ to begin adding a shadow to your image.
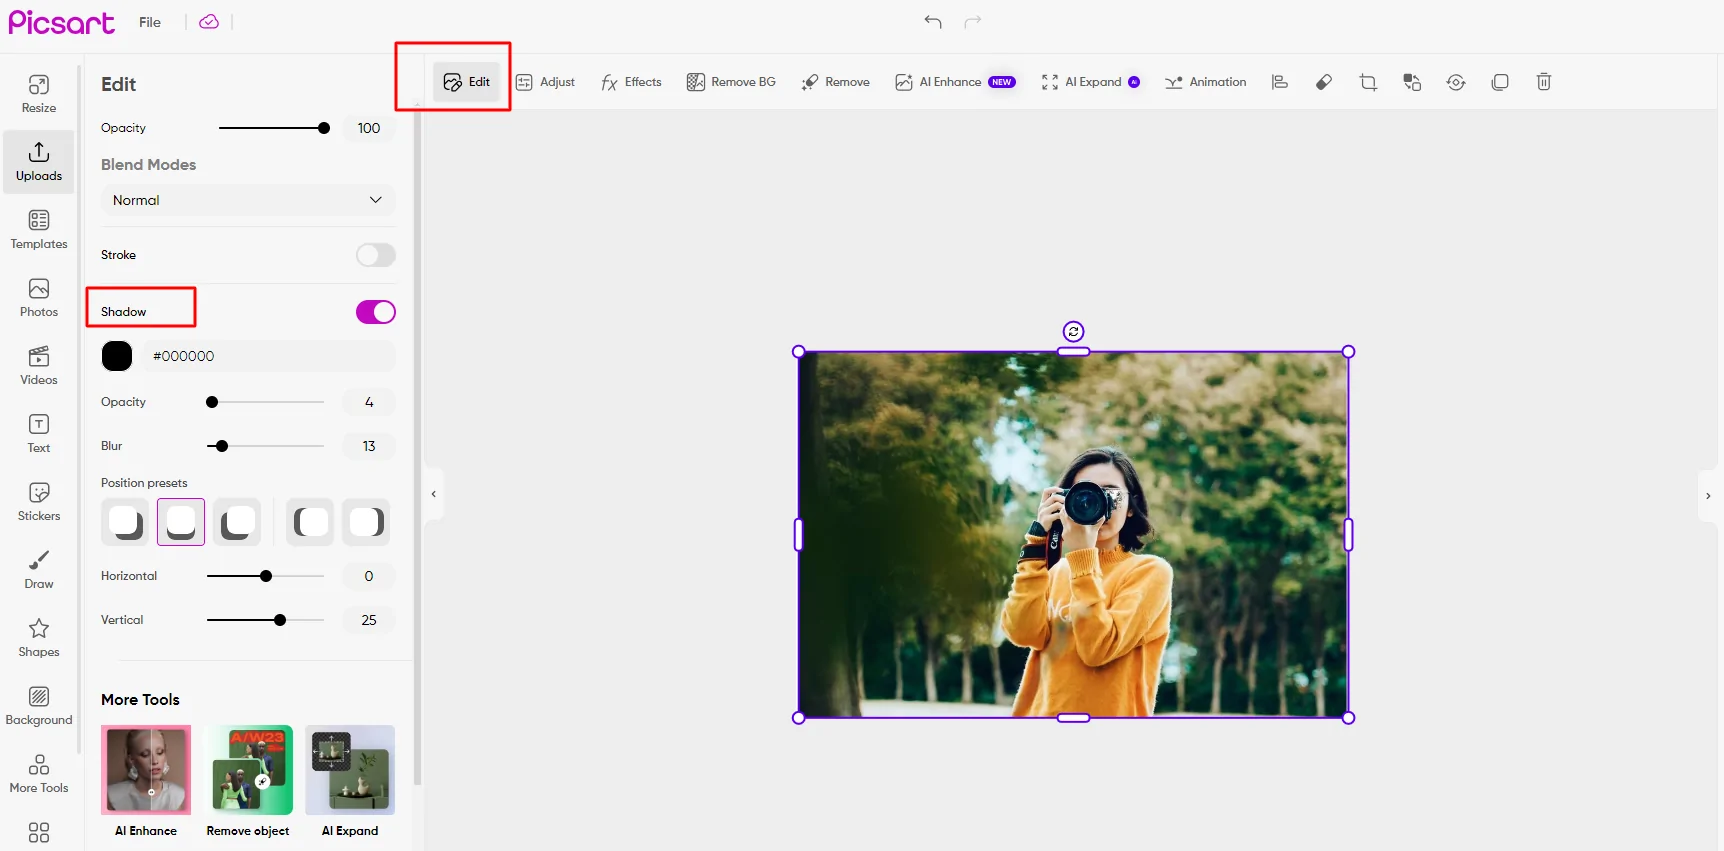
- Adjust Shadow Settings
- Customize the shadow by adjusting opacity, direction, blur, and distance to get the perfect effect.
- Apply the Shadow
- Once you’re happy with the adjustments, apply the shadow effect to finalize your image.
Tips for Perfecting Shadow Effects
How to Choose the Right Shadow Settings for Different Images
- Portraits (People): Use soft shadows that are not too dark. This makes the person stand out without looking fake.
- Product Photos: For things like clothes or gadgets, use sharper shadows to make the item look more professional.
- Landscapes (Nature): Use shadows to bring out the light and dark areas in the picture to make it look more interesting.
How to Combine Shadow Effects with Other Tools
- Blur the Shadows: Blurring the edges of the shadow a little makes it look more natural.
- Add Highlights: Use light effects along with shadows to balance the image and make it more eye-catching.
- Adjust Brightness and Contrast: After adding shadows, change the brightness and contrast to make sure the shadow does not overpower the picture.
Why Adding Shadows Makes Your Images Better
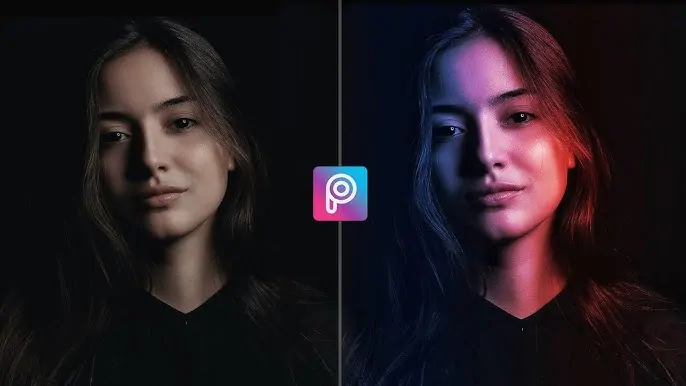
Shadows Add Depth and Make Pictures Look Real
- Shadows help make pictures look three-dimensional like they have depth. Without them, pictures can look flat and boring.
- They also help show where the light is coming from, making the picture feel more natural.
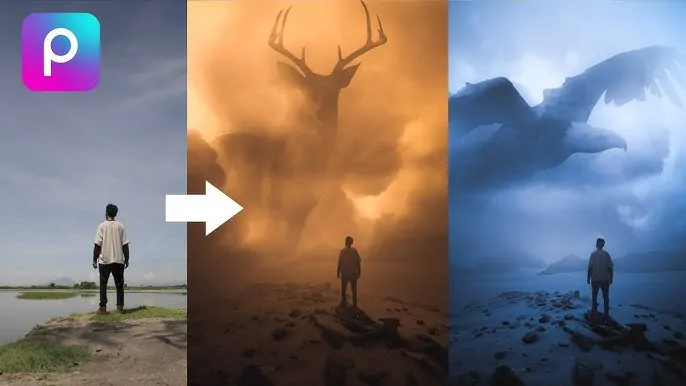
Before and After Shadow Examples
- Without Shadows: Pictures without shadows can look plain and unrealistic as if the subject is floating.
- With Shadows: Adding shadows makes the subject stand out and look more polished, giving the image a more professional feel.
Tips for Making Realistic Shadows
- Make sure the shadows match the direction of the light in the picture so it looks real.
- Do not make the shadows too strong, or the image might look too harsh or fake.
Common Mistakes to Avoid When Adding Shadows
- Overdoing Shadows
- Adding too much shadow can make the image look unnatural. Keep it subtle to maintain balance and realism.
- Using Unnatural Angles
- Ensure the shadow angle matches the light source in the image. A mismatched shadow can ruin the effect.
- Incorrect Shadow Opacity
- Shadows that are too dark or too light won’t blend well. Adjust the opacity to make it look natural.
- Misplacing Shadows
- Avoid placing shadows in unrealistic positions. Align the shadow with the object for a more professional look.
Additional Features in Picsart for Enhancing Photos
Picsart offers other fantastic tools to enhance your photo edits beyond shadows:
- Blur: Helps create depth of field and highlight the subject.
- Brightness Adjustments: Balances light and dark areas to improve image clarity.
- Filters: Add artistic effects or enhance the overall tone of your photo.
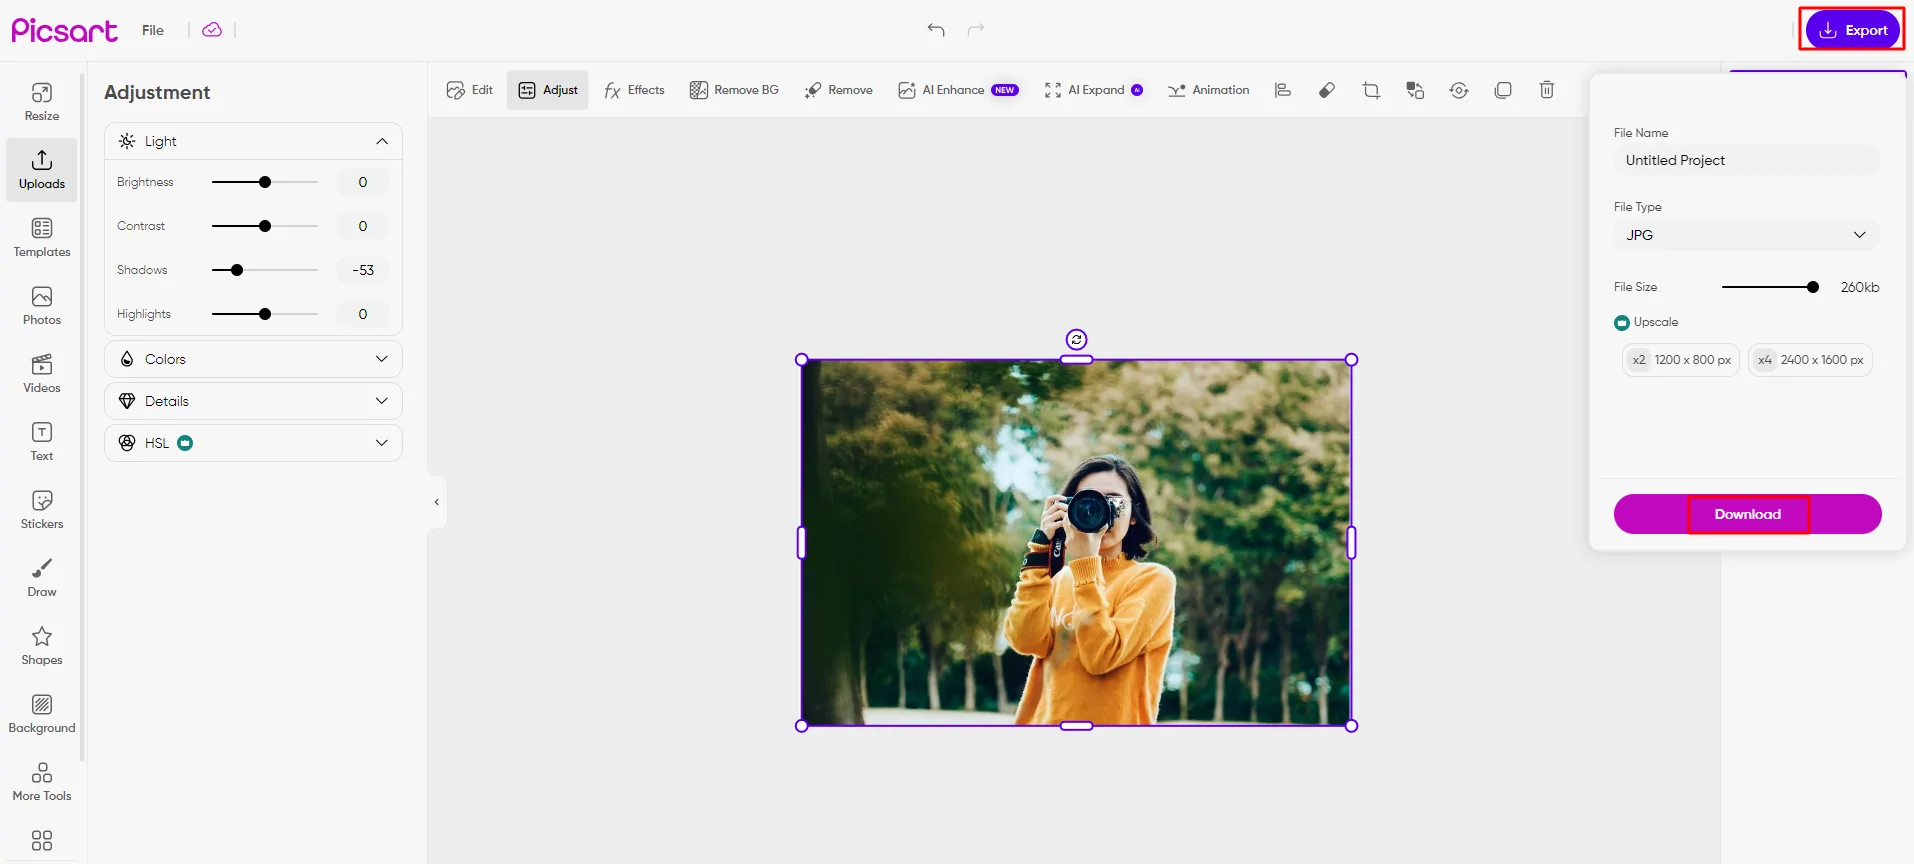
Final Touches and Saving Your Edited Image
- Saving Your Image
- Once you’re satisfied with your edits, tap the download or save button to store the image.
- Choosing the Right Resolution
- For the best quality, choose a high resolution, especially if you plan to print or share the image online.