Picsart is a well-loved photo editing app that makes it easy to turn your pictures into beautiful and creative designs. Custom fonts are one of the best ways to make your designs stand out. Adding your fonts can change the look and feel of your text, making it more stylish and unique. This makes your projects look better and lets you show off your style. In this guide, we’ll take you step-by-step through the simple process of adding fonts to Picsart so you can make your designs even more impressive and unforgettable.
Understanding Fonts in Picsart
- Default Fonts in Picsart:
- Picsart offers a variety of built-in fonts for different styles and themes.
- Options range from bold and modern to elegant and classic.
- Limitations of Default Fonts:
- Default fonts may not always match the exact style or tone you need.
- Custom fonts are often needed to achieve a unique and personalized design.
- Benefits of Custom Fonts:
- Custom fonts allow for one-of-a-kind designs that stand out.
- They give your text a distinctive character, making your creations more memorable.
Preparing to Add Fonts
- Choosing the Right Fonts:
- Select fonts that align with your project’s theme and mood.
- Websites like Google Fonts, DaFont, and Font Squirrel offer free fonts.
- For premium options, consider MyFonts and Creative Market.
- File Formats Supported by Picsart:
- Picsart supports TTF (TrueType Font) and OTF (OpenType Font) formats.
- Ensure downloaded fonts are in these formats for compatibility.
- Downloading Fonts:
- Visit a font website and download your chosen fonts.
- Fonts usually download as ZIP files; unzip them on your device.
- The unzipped font files are now ready to be added to Picsart.
Step-by-Step Guide to Adding Fonts to Picsart
- Accessing the Fonts Folder on Your Device
- After downloading your chosen fonts, you must locate them on your device.
- Most devices store downloaded fonts in the ‘Downloads’ folder or a specified folder for fonts.
- If the fonts are in a ZIP file, unzip them to access the TTF or OTF files.
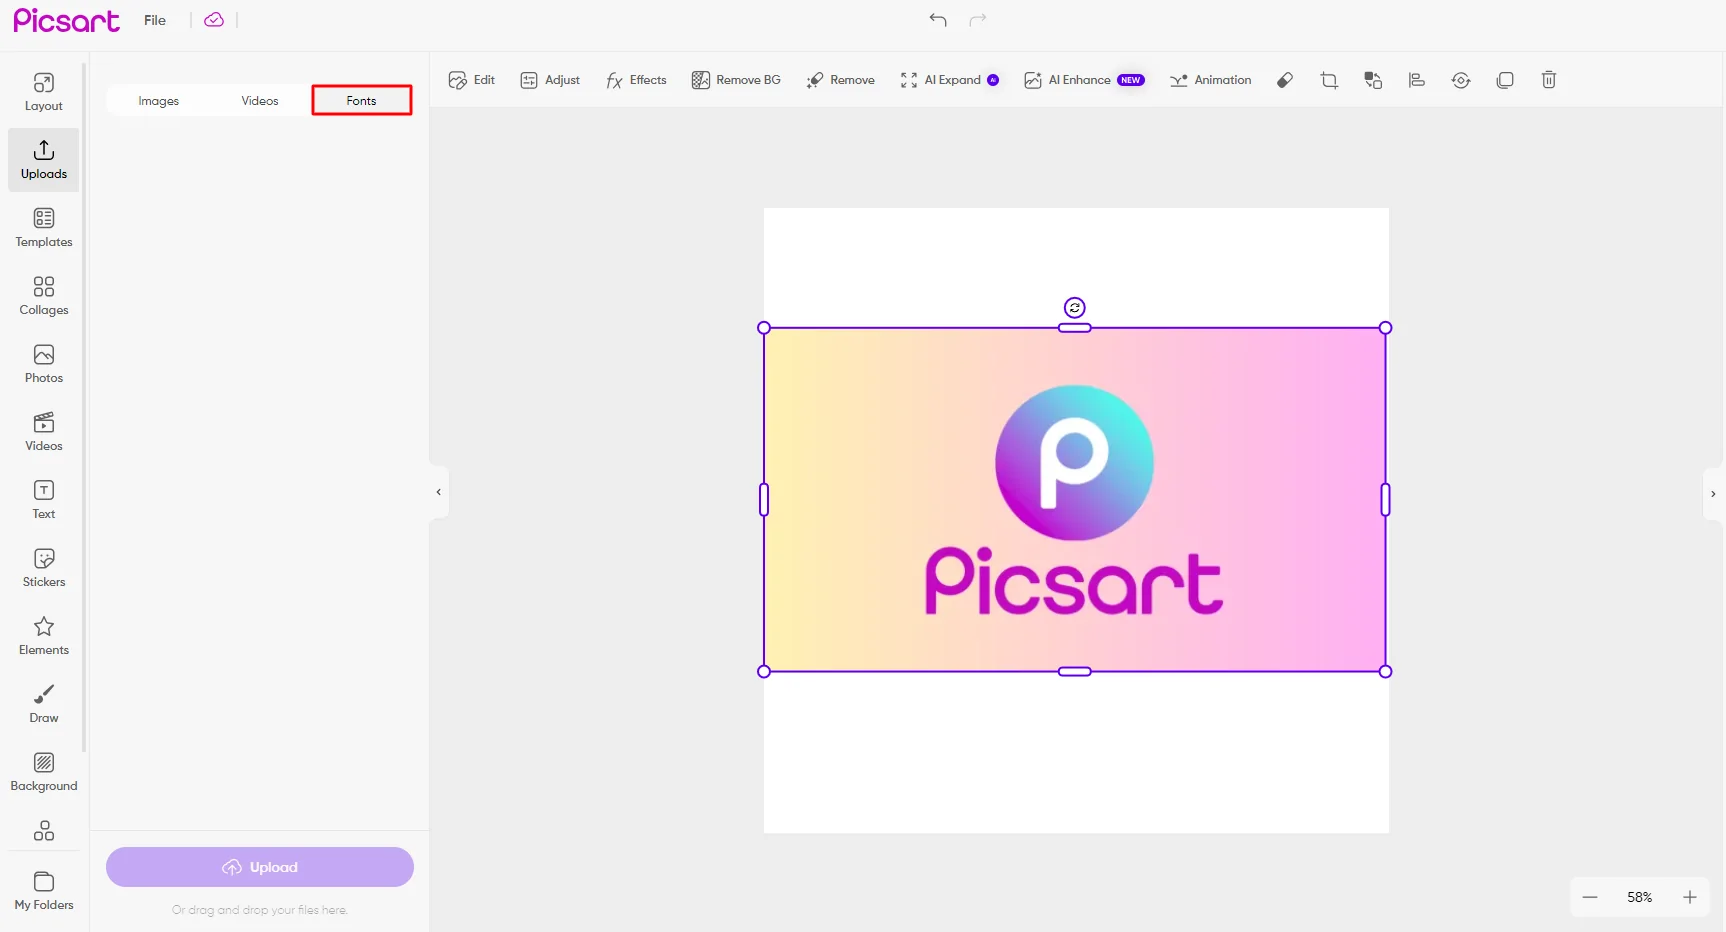
- Uploading Fonts to Picsart
- Open the Picsart app and start a new project or edit an existing one.
- When you’re ready to add text, tap on the text tool and select the font option.
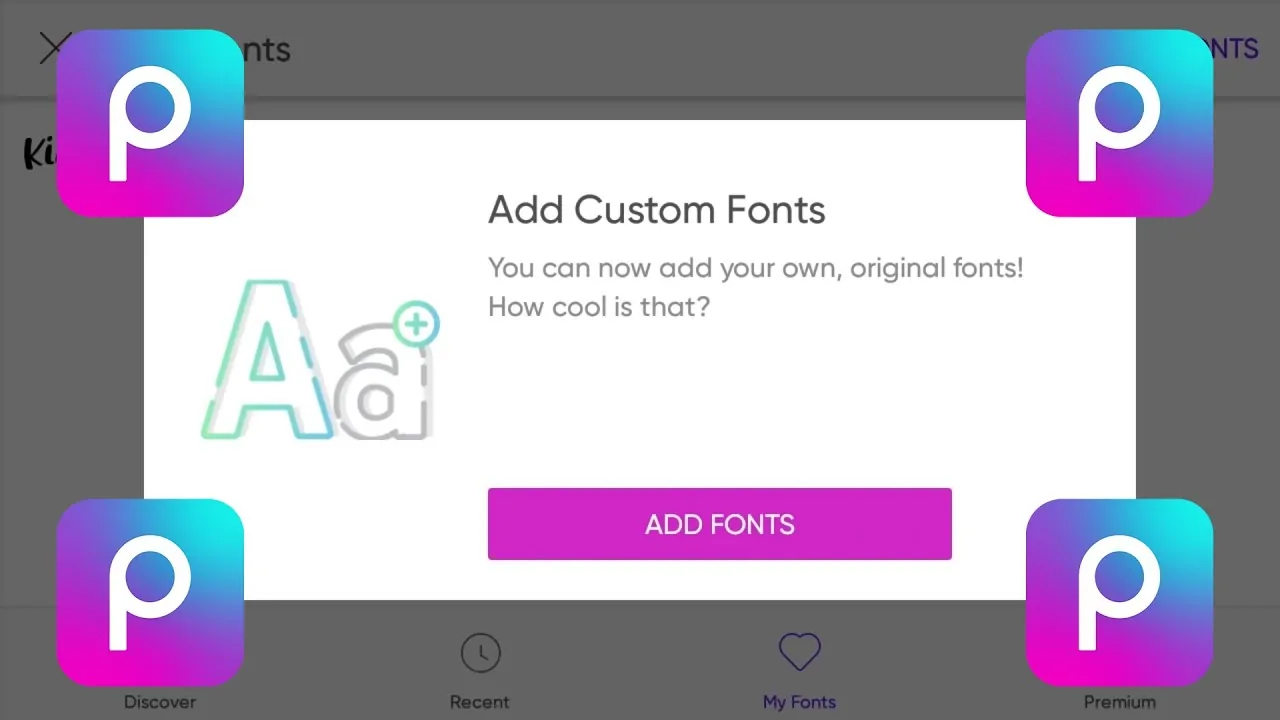
- Scroll to the bottom of the font list and look for an option to “Add Fonts” or a similar prompt.
- Tap this option, and navigate to the folder where your downloaded fonts are stored.
- You can upload a font file (TTF or OTF), and Picsart will automatically add it to your available fonts.
- Using Custom Fonts in Your Designs
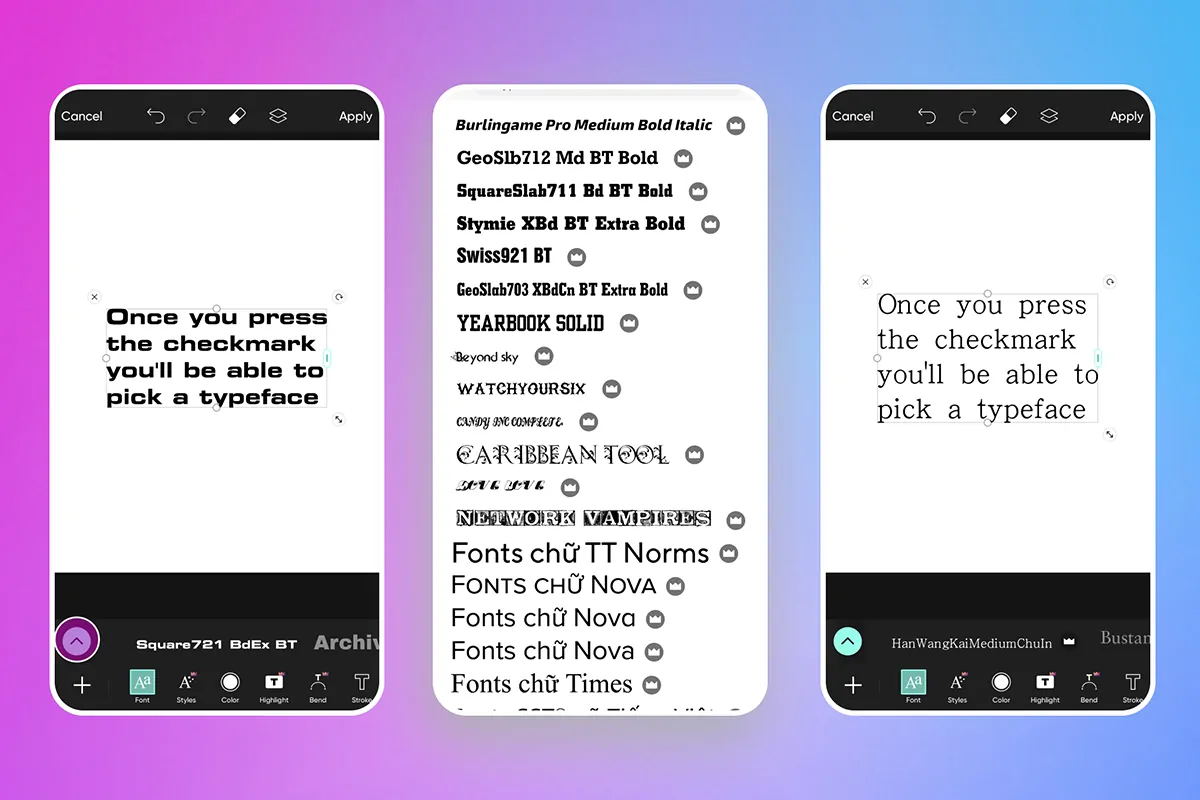
- Once the font is uploaded, you can find it in your Picsart font list.
- Start typing your text, then browse the font options to select your newly added font.
- Apply the custom font to your text and adjust the size, colour, and other settings.
- Your design features a unique look with your custom font, making it stand out.
Troubleshooting Common Issues
- Font Compatibility Issues:
- If your font doesn’t work in Picsart, it might not be in a supported format (TTF or OTF).
- Ensure the font file is unzipped and in the correct format before uploading.
- If the problem persists, try downloading the font from a different source to ensure compatibility.
- Missing Fonts After Upload:
- If the fonts don’t appear in the app after uploading, restart Picsart to refresh the font list.
- Double-check that the font was uploaded correctly and that the file isn’t corrupted.
- If the issue continues, try re-uploading the font or reinstalling the app.
- Performance Issues with Custom Fonts:
- If using custom fonts causes lag or crashes, the font file might be too large or complex.
- Consider using a simpler or smaller font file to reduce performance issues.
- Clearing the app’s cache or updating Picsart to the latest version can help resolve these issues.
Tips for Maximizing Your Font Usage
- Combining Fonts Creatively:
- Experiment with pairing different fonts to create a dynamic and visually interesting design.
- Use contrasting styles, like mixing a bold font with a script font, to draw attention to key elements.
- Avoiding Overuse of Fonts:
- Limit your design to two or three fonts to maintain a clean and cohesive look.
- Overusing fonts can make your design look cluttered and reduce readability, so choose wisely.
- Incorporating Fonts with PicsArt’s Other Tools:
- Enhance your designs by combining fonts with Picsart features like stickers, images, and effects.
- Try layering text over images or integrating it with artistic filters to create a unique, polished look.
- Use Picsart’s alignment and spacing tools to ensure your text is balanced and aesthetically pleasing.
Conclusion
Adding custom fonts to Picsart is a great way to make your designs unique and showcase creativity. Following these simple steps, you can easily upload and use custom fonts to give your projects a fresh and personalized look. Don’t hesitate to try out different fonts and see how they change the feel of your designs—experimenting is part of the fun! We’re eager to see what amazing creations you come up with, so feel free to share your designs and any tips you’ve found helpful. Have fun creating!


