Picsart is a popular photo editing app loved for its creative and easy-to-use features. Adding borders to your photos is a simple way to make them look more polished and eye-catching. Borders can frame your memories beautifully, helping your images stand out on social media or in personal collections. In this guide, we’ll show you step-by-step how to add stunning borders in Picsart, turning your photos into something truly special. Let’s get started and make your pictures pop!
Step-by-Step Guide on How to Add Borders in Picsart
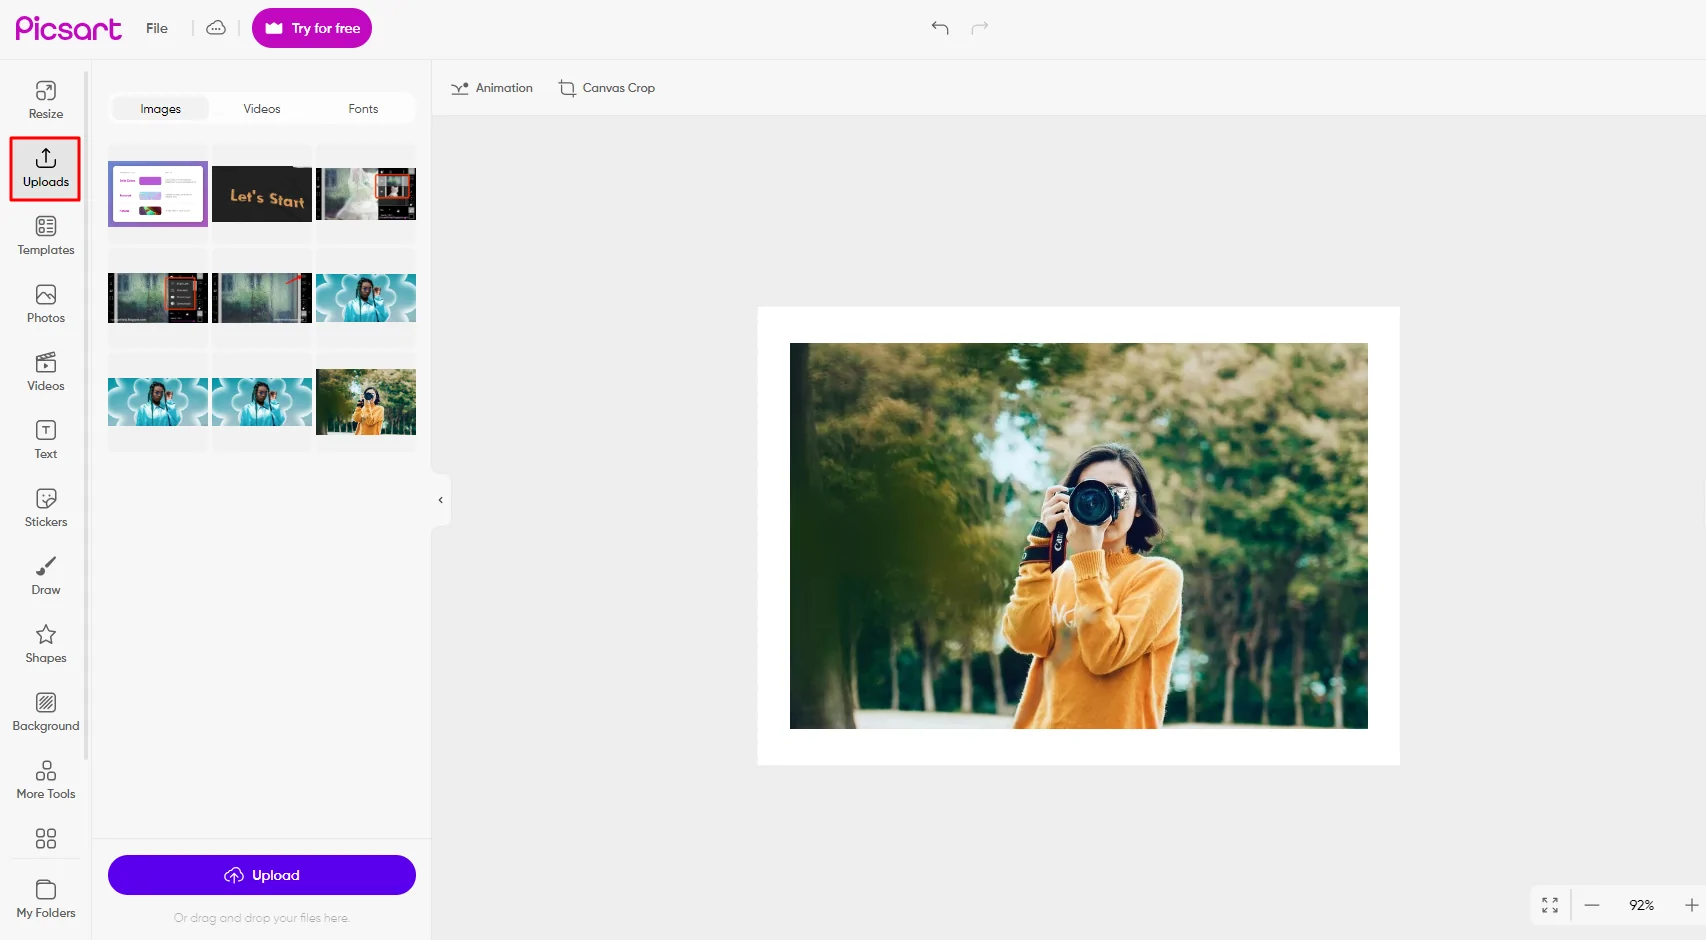
1: Open Picsart and Upload Your Photo
- Open the Picsart app on your phone.
- Tap the “+” icon to create a new project.
- Choose the photo you want to edit from your gallery or take a new one with your camera.
2: Access the Border Tool
- Once your photo is loaded, navigate to the editing menu.
- Scroll through the tools and select the ‘Border’ option.
- Tap on it to start adding a border to your image.
3: Customize Your Border
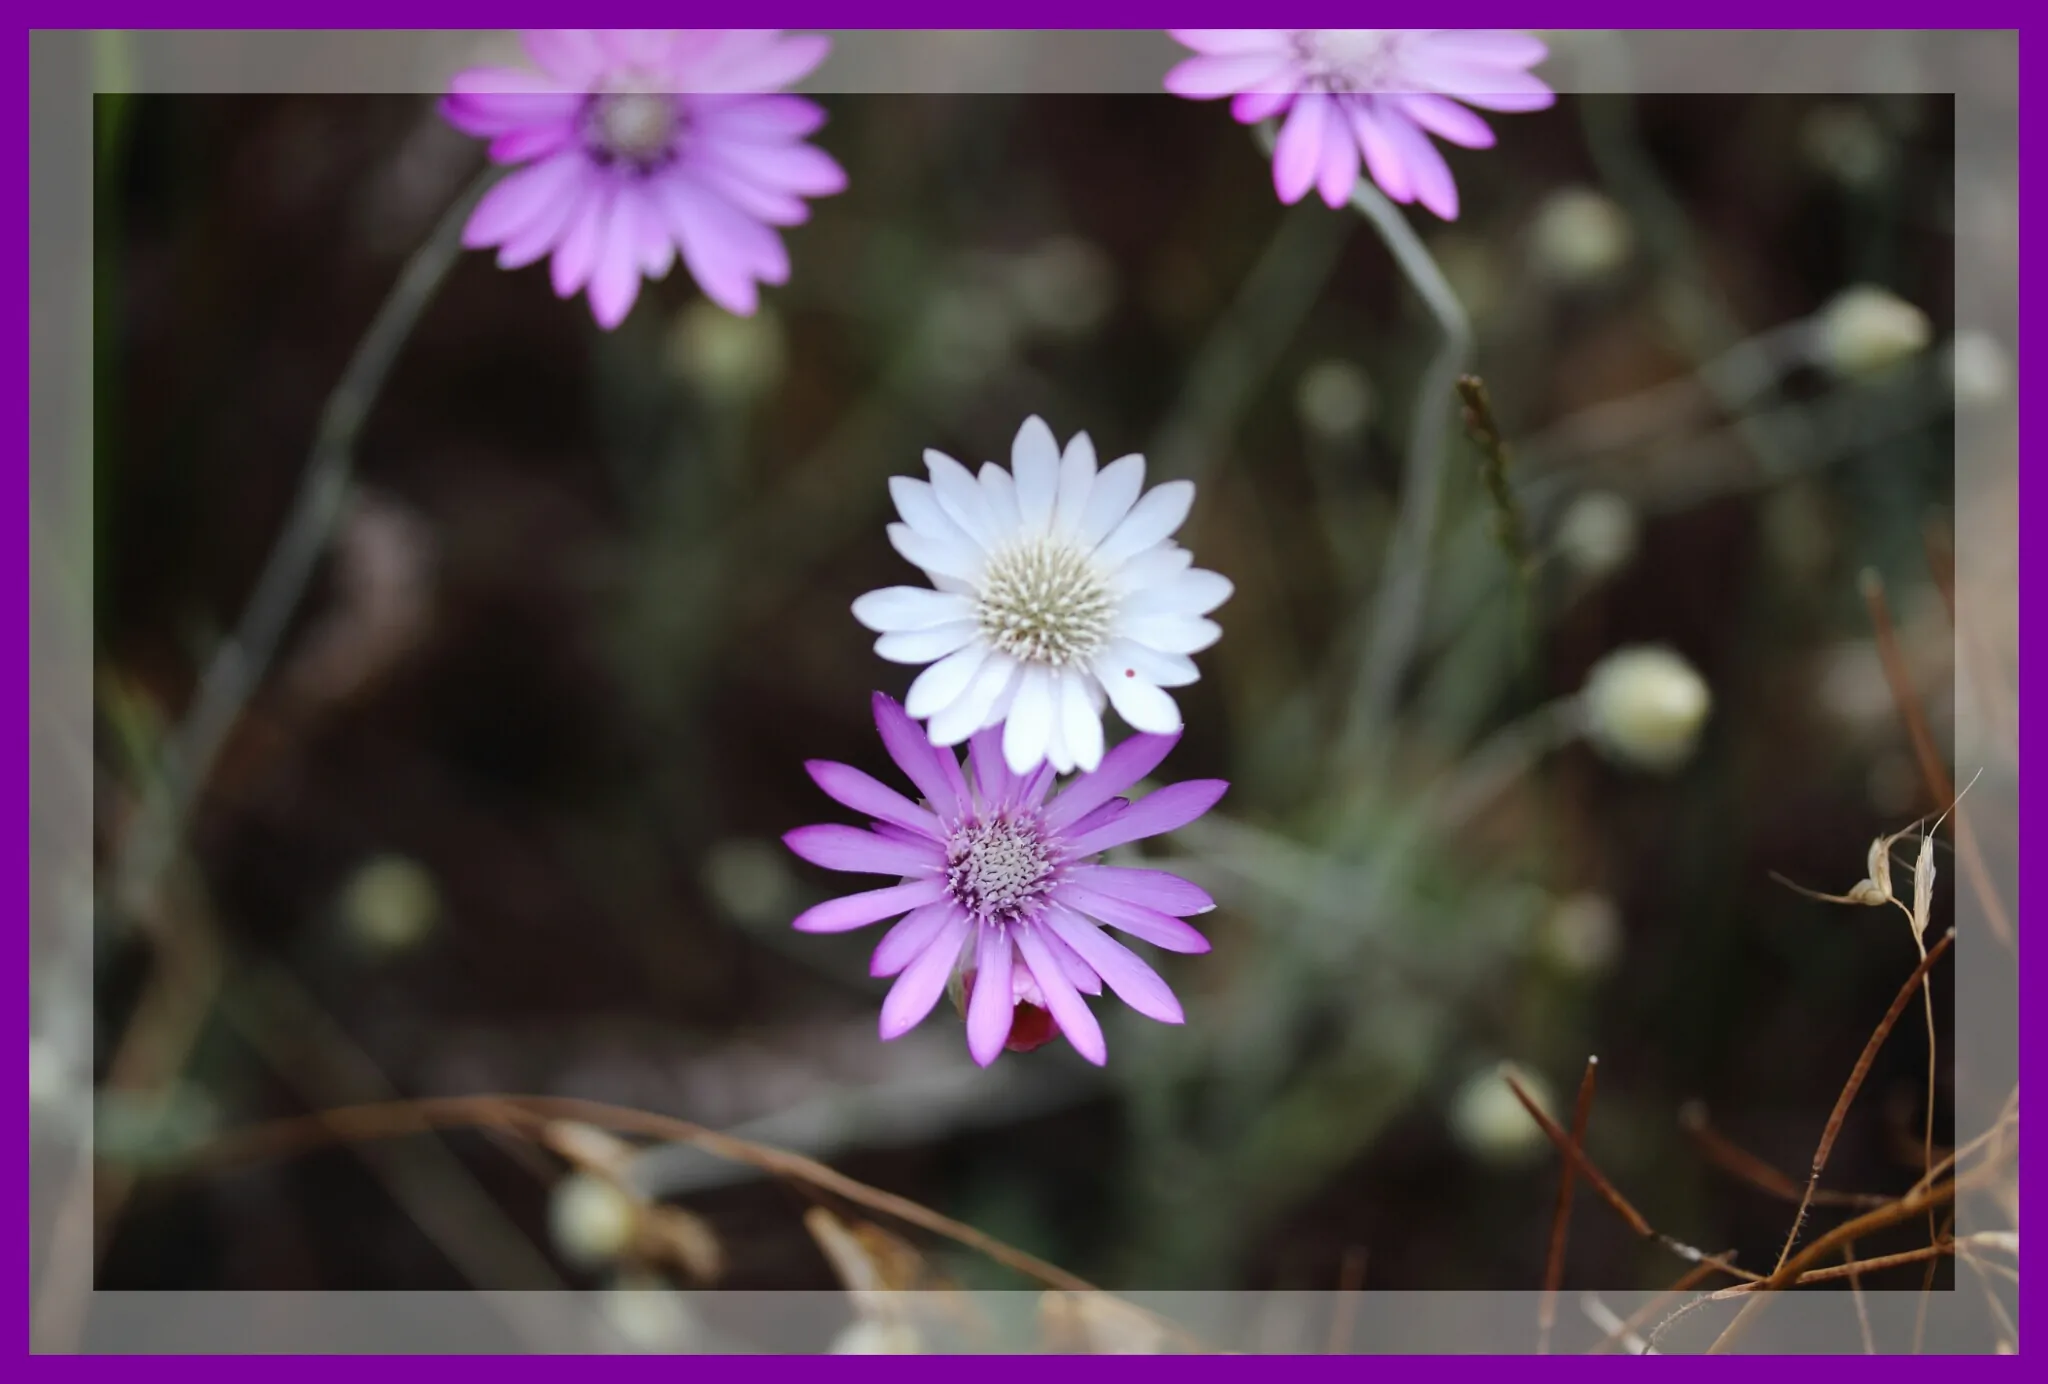
- Adjust the thickness of the border by dragging the slider.
- Choose the border color that best complements your photo.
- Explore other customization options like rounded corners or shadow effects to enhance the look.
4: Save and Export Your Photo
- Once you’re happy with your border, tap the checkmark to apply the changes.
- Click the ‘Save’ or ‘Export’ button to save your edited image to your device.
- You can also share it directly to your social media platforms from the app.
Tips for Choosing the Perfect Border
1. Choose Border Colors That Complement Your Image
- Pick colors that enhance or match the tones in your photo.
- Complementary colors can create a more balanced and appealing look.
2. Adjust the Border Size for Different Photo Types
- For landscape or portrait photos, choose a border size that doesn’t overpower the image.
- For social media posts, opt for a size that fits well on platforms like Instagram or Facebook.
3. Explore Creative Borders in PicsArt’s Library
- Browse through Picsart’s wide selection of borders, including patterns and textures.
- Experiment with different styles to find the one that adds the perfect finishing touch to your photo.
Why Add Borders to Photos?
1. Make Your Photos Look Better
- Adding borders can make your photos look more neat and professional.
- Borders help frame your image and make it stand out to catch the viewer’s eye.
2. Bring Attention to the Main Subject
- A border can guide the viewer’s eyes toward the main part of the photo.
- It helps highlight the subject, making the image more powerful and focused.
3. Give Your Photos a Personal Touch
- Borders add a special and unique style to your photos.
- You can use them to show creativity and make your photos look more interesting.
Common Mistakes to Avoid When Adding Borders
1. Using Borders That Are Too Thick
- Thick borders can take attention away from the photo itself.
- Pick a border size that suits your photo without being too overpowering.
2. Choosing Border Colors That Do Not Match
- Border colors that do not match the photo can ruin the look.
- Always choose colors that blend nicely with the colors in your image.
3. Adding Too Many Effects
- Using too many effects or patterns can make your photo look messy.
- Keep it simple so the focus stays on your photo, not the border.
Conclusion
Ready to make your photos pop? Adding borders in Picsart is an easy way to give them that extra touch of style. With just a few simple steps, you can frame your images beautifully and make them stand out like never before. But why stop at borders? Picsart is full of creative tools waiting for you to explore. So dive in, get creative, and see how you can take your photos from ordinary to extraordinary. Let your imagination run wild and watch your pictures come to life!


