Stickers have become vital to digital content creation, adding a fun and personalized touch to social media posts, messaging apps, and graphic designs. Their popularity stems from their ability to convey emotions, enhance creativity, and make content more engaging. Creating custom stickers allows you to express your unique style and stand out digitally. This guide will walk you through the simple yet powerful process of making a sticker on Picsart, ensuring you can add that extra flair to your online presence.
What is Picsart?
Picsart is a versatile photo and video editing app that empowers users to create stunning visuals easily. It offers many features, including photo editing tools, filters, effects, drawing tools, and collage makers. One of its standout features is the ability to create custom stickers, which can be used across various digital platforms.
Why Choose Picsart for Stickers?
- User-Friendly Interface: Picsart’s intuitive design makes it easy for beginners and professionals to create stickers effortlessly.
- Wide Range of Tools: From cutting and cropping to adding effects and text, Picsart provides all the tools you need to create high-quality stickers.
- Creative Freedom: With a vast library of images, stickers, and effects, Picsart allows for endless creativity.
- Cross-Platform Sharing: Stickers made on Picsart can be easily shared and used across social media platforms and messaging apps.
- Free and Accessible: Picsart offers powerful editing tools for free, making it accessible to everyone.
Preparing to Create Your Sticker
Before you dive into creating your custom sticker, laying the groundwork for a smooth and successful process is important. Here’s how:
-
Choosing the Right Image:
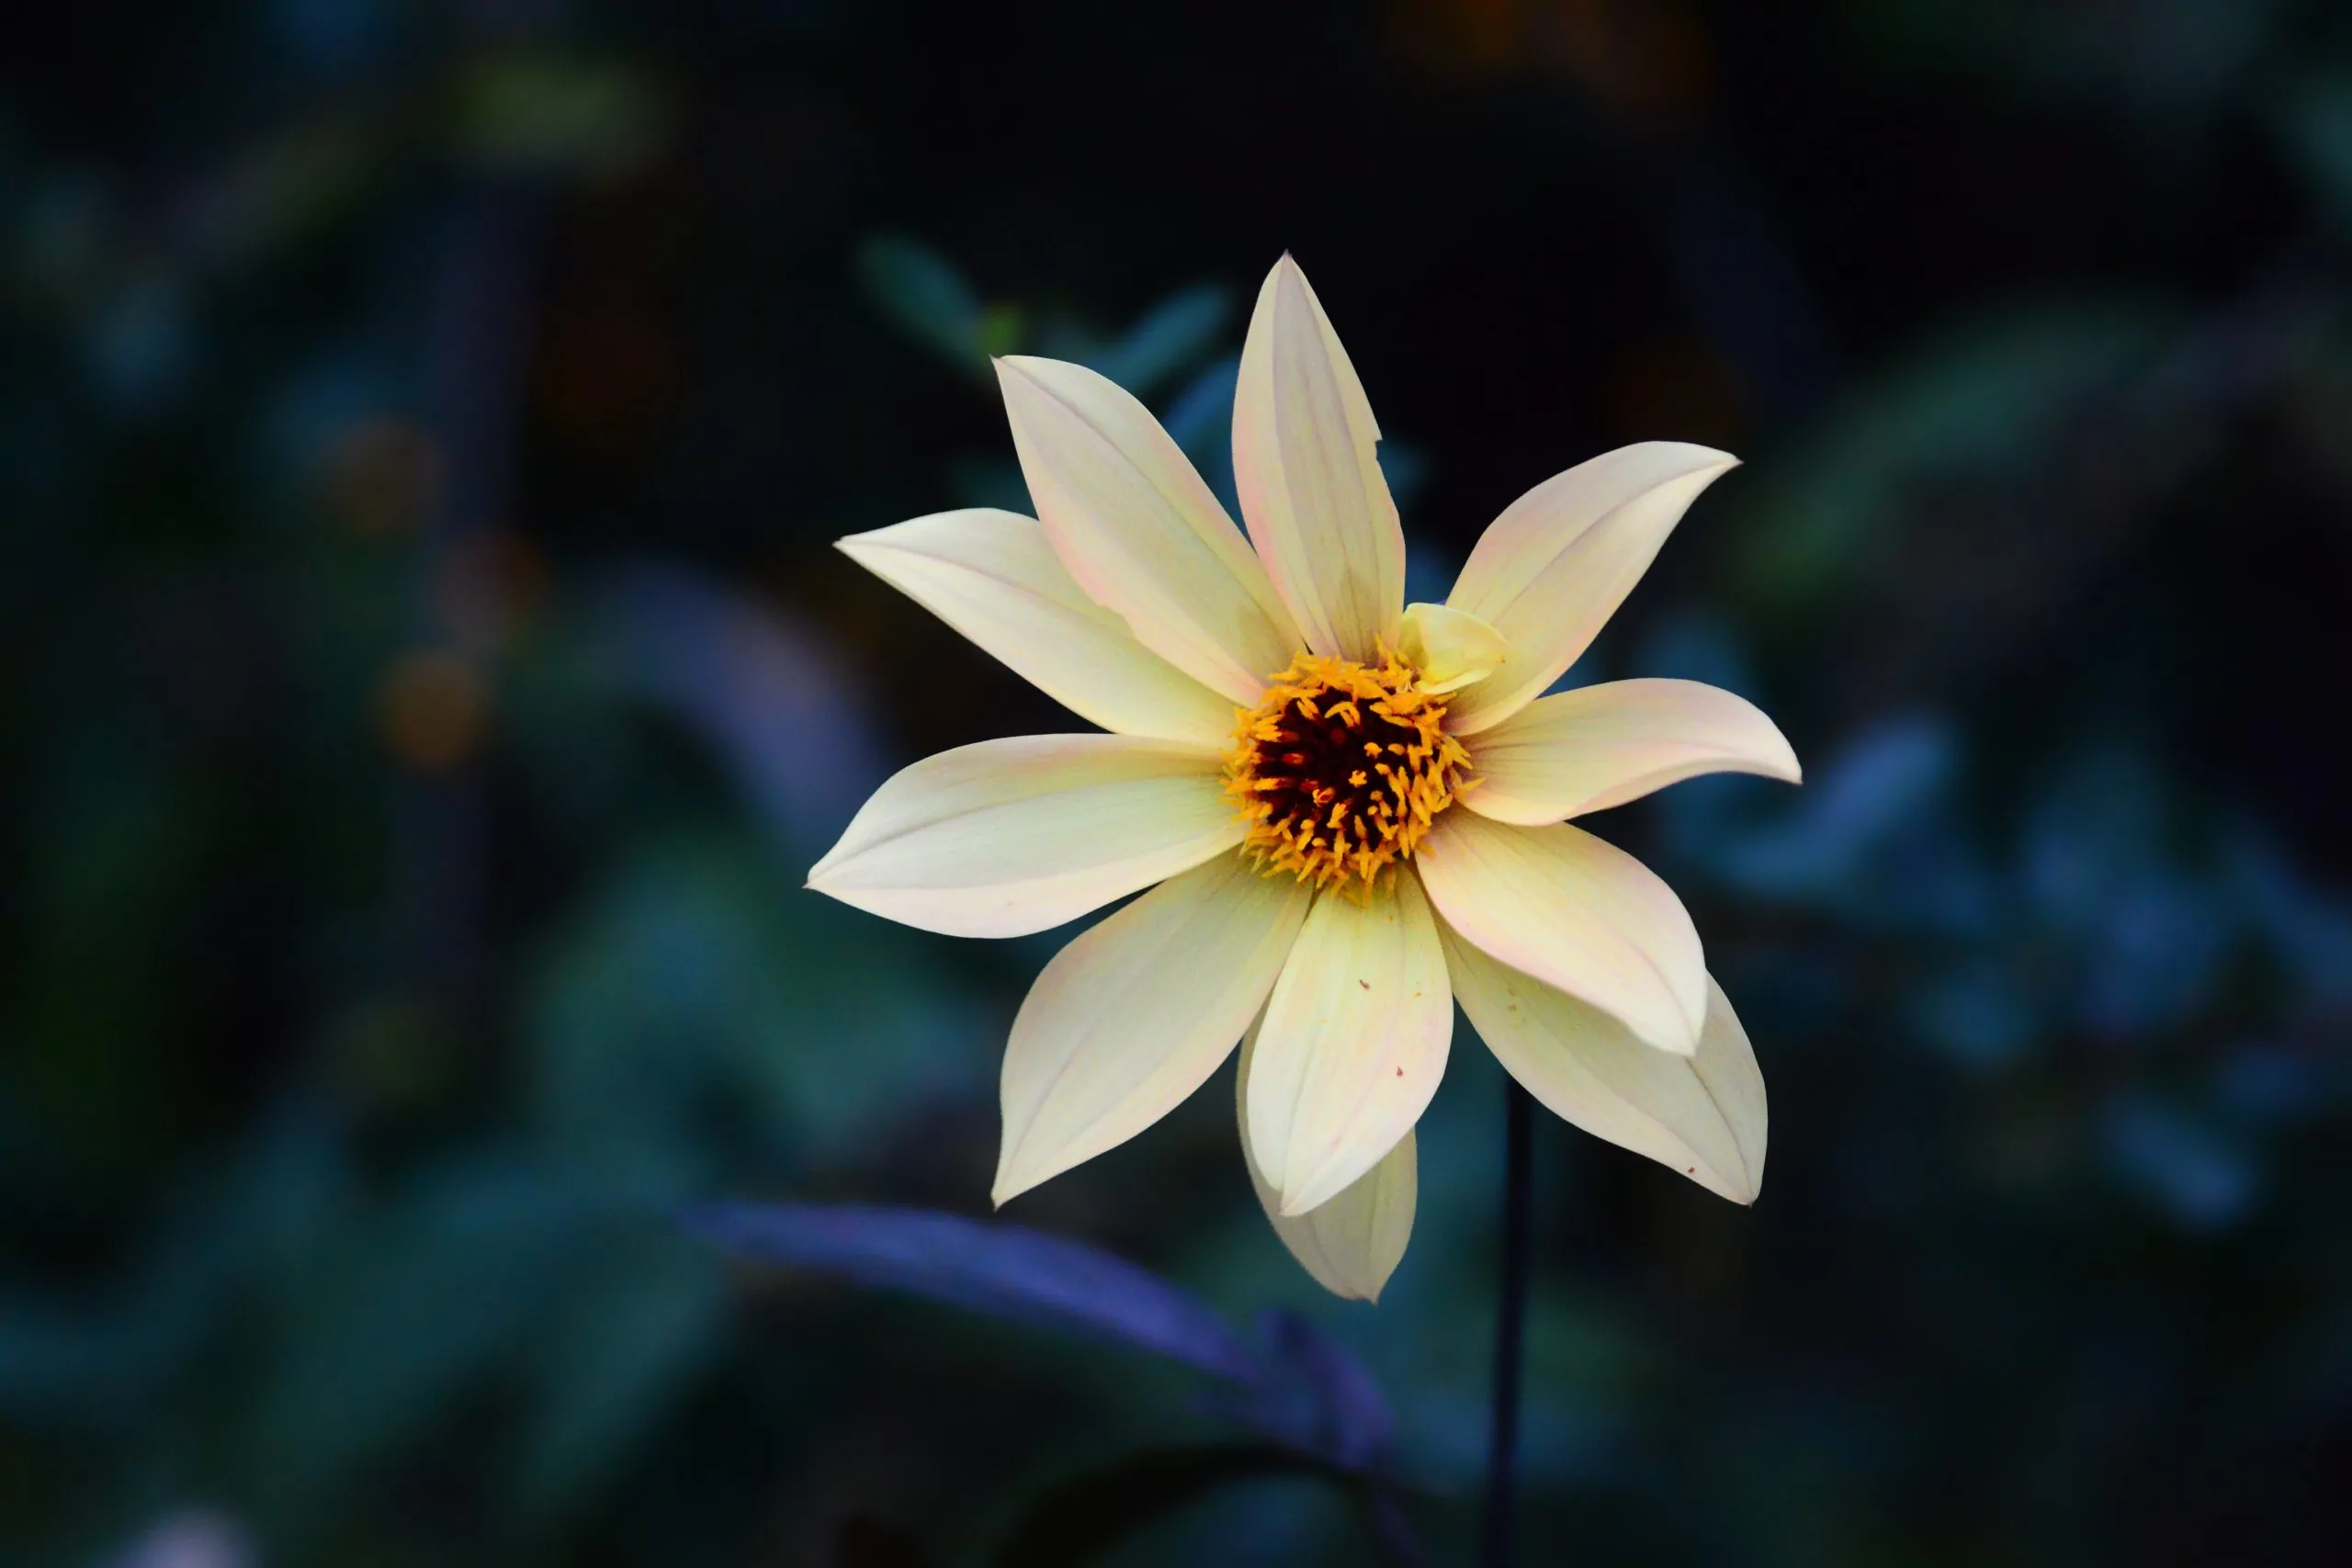
- Select an image with a clear subject and high resolution.
- Opt for bold colours and defined edges for a striking sticker.
- Consider how the subject will look as a standalone sticker.
-
Installing Picsart (If Not Installed):
- Download and install Picsart from your mobile device’s app store (available for Android and iOS).
- Follow the quick and easy installation process.

-
Creating a New Project:
- Open the Picsart app and tap the “+” icon to start a new project.
- Choose your image from your gallery or select from PicsArt’s stock images.
- Begin crafting your sticker in the editing interface.

Step-by-Step Guide to Making a Sticker on Picsart
-
Step 1: Importing Your Image
- Open Picsart and tap the “+” icon to start a new project.
- Select the image you’ve chosen for your sticker from your gallery or Picsart’s stock images.
-
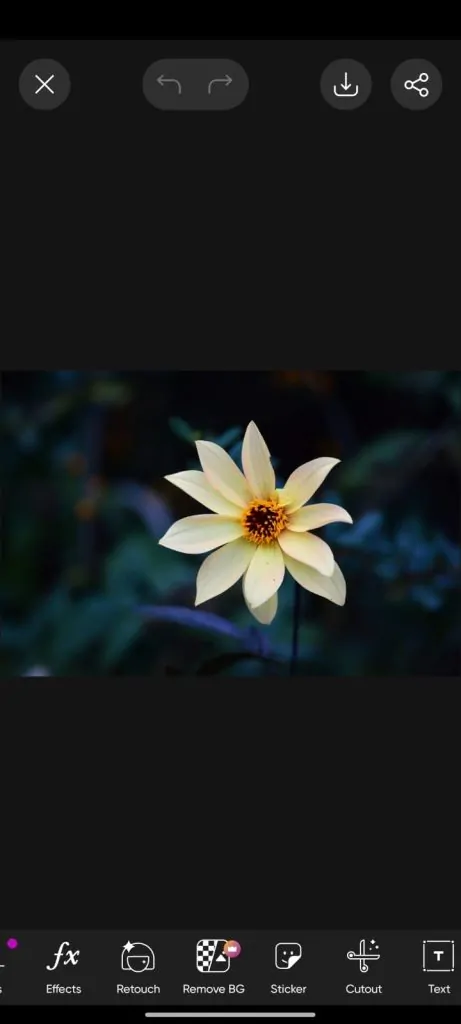
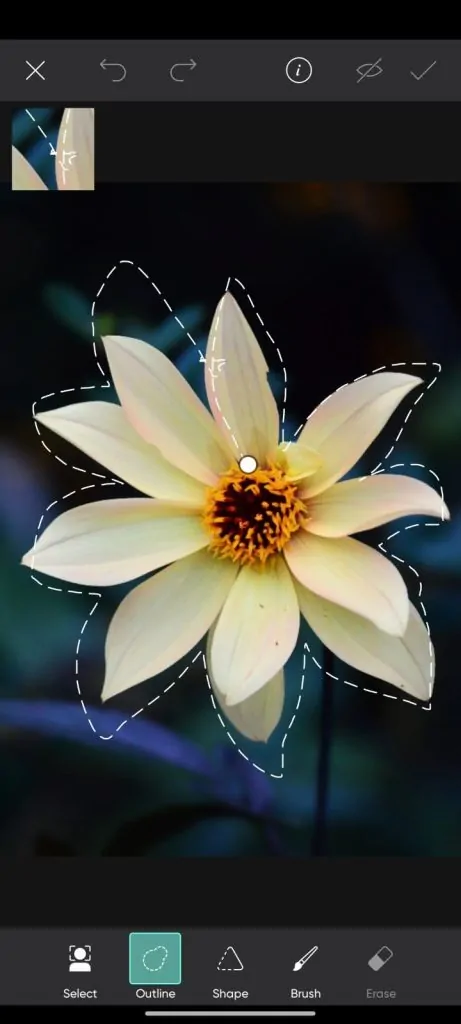
Step 2: Using the Cutout Tool
- Tap on the “Cutout” tool in the Picsart toolbar.
-
- Use the outline tool to trace around the part of the image you want to turn into a sticker.
- For a cleaner cutout, zoom in and use a steady hand to follow the edges closely.
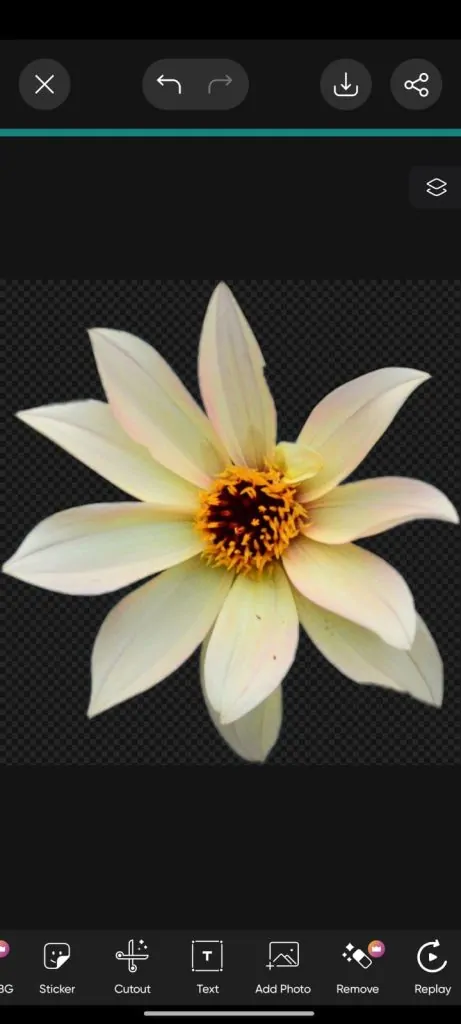
- Once outlined, tap “Save” to isolate your cutout.
-
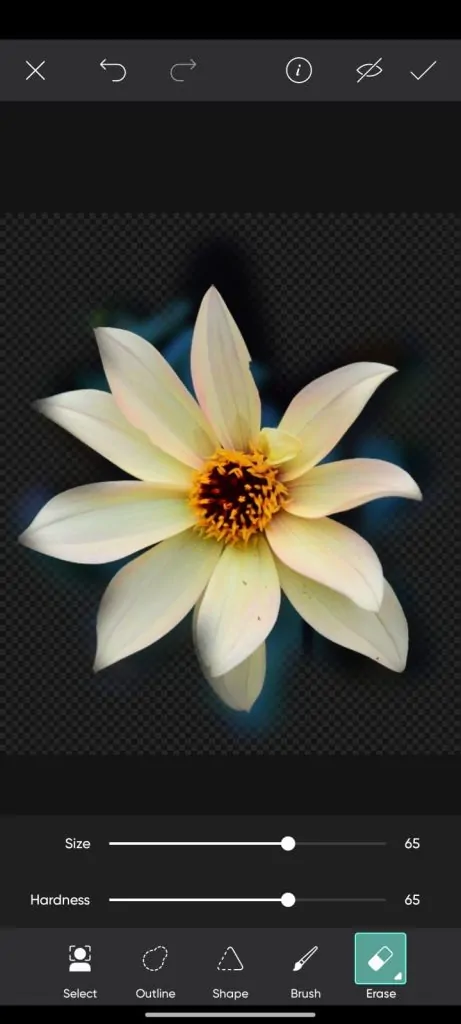
Step 3: Refining Your Sticker
- Use the “Eraser” tool to refine the edges of your cutout, removing any unwanted parts.
- Adjust transparency, brightness, or contrast to fine-tune your sticker.
- Take your time to perfect the edges for a polished look.
-
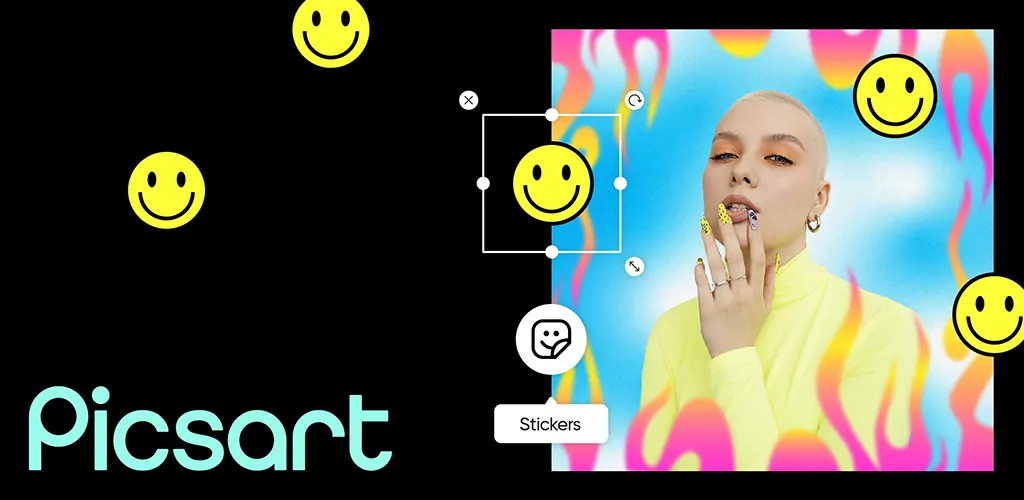
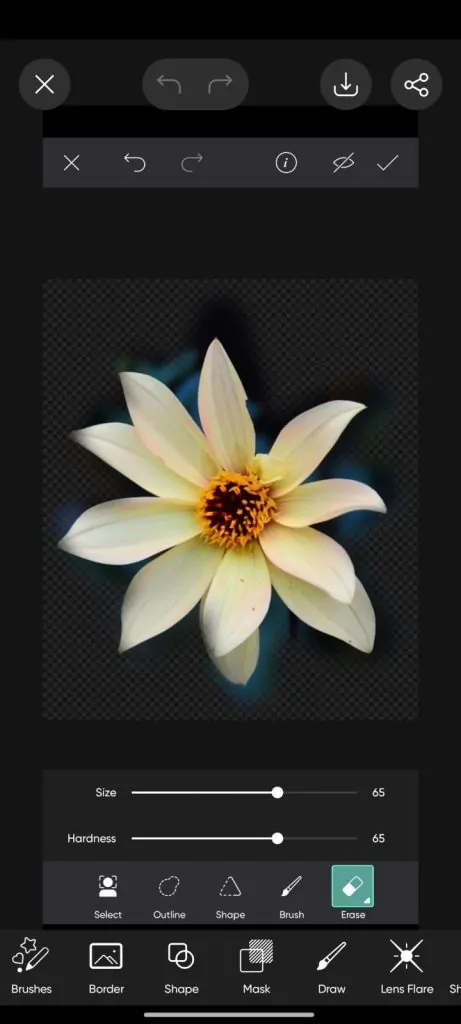
Step 4: Adding Effects and Decorations
- Add borders, shadows, or other effects from the “Effects” menu to make your sticker pop.
- Use brushes, add text, or incorporate additional elements to personalize your sticker even further.
-
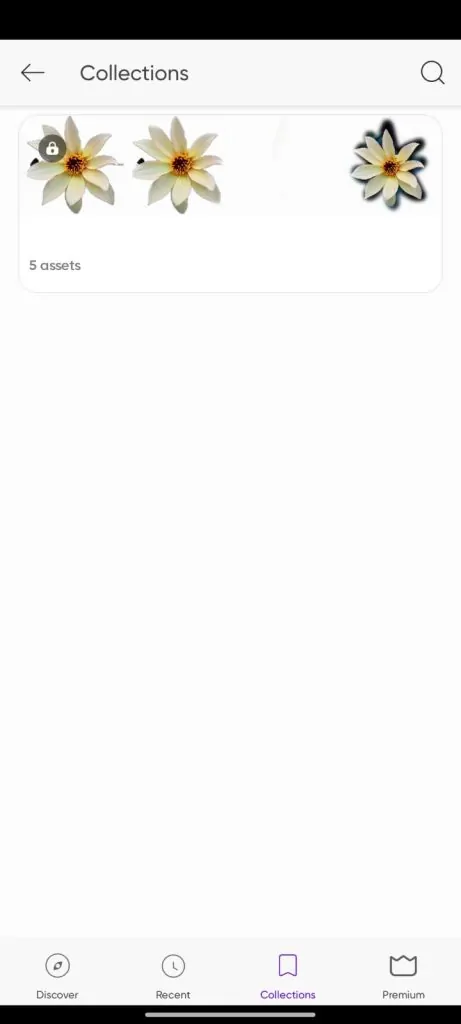
Step 5: Saving Your Sticker
- Once satisfied, tap “Next” and select “Save” for your sticker.
- To keep it versatile, ensure you save it in PNG format with a transparent background.
- Organize your sticker in a dedicated folder for easy access and future use.
How to Use Your Sticker
-
Importing Stickers into Other Apps:
- Once your sticker is saved, you can easily import it into various apps. For messaging apps like WhatsApp or Telegram, add your sticker to your sticker collection and start using it in chats.
- Import the sticker into your stories, posts, or DMs on social media platforms like Instagram or Snapchat to add a personal touch.
- For design projects, you can upload your sticker into any graphic design software or app and incorporate it into your work.
-
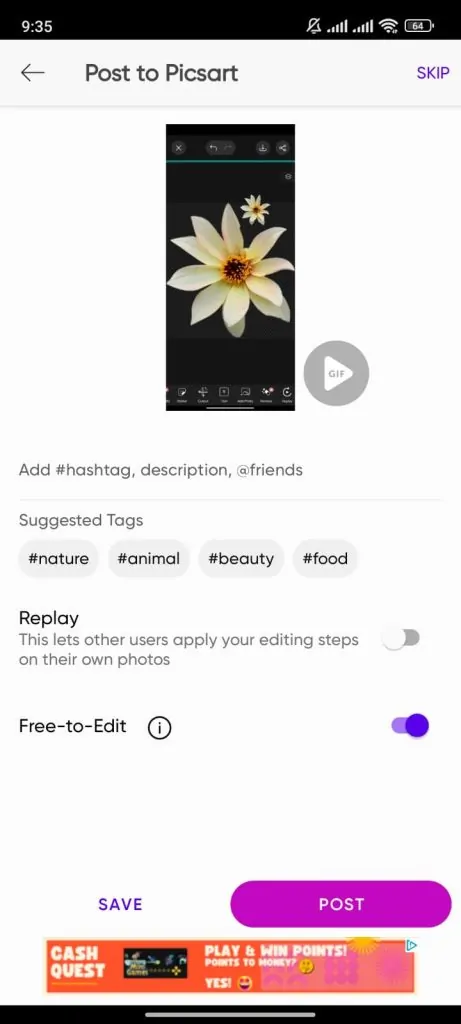
Sharing Your Sticker on Picsart Community:
- Open the Picsart app and navigate to your saved stickers.
- Tap the “Share” button and choose the Picsart community as your platform.
- Add relevant tags and a description to make your sticker discoverable.
- Share your creations and engage with other users by exploring and commenting on their stickers.
Tips and Tricks for Making Better Stickers
-
Using High-Quality Images:
- Start with high-resolution images for sharper and more detailed stickers.
- The quality of your original image directly impacts the final sticker’s appearance.
-
Experimenting with Different Tools:
- Explore various Picsart tools like effects, brushes, and filters to enhance your stickers.
- Experimentation leads to more creative and diverse sticker designs.
-
Practicing and Perfecting:
- Regular practice improves your sticker-making skills and proficiency.
- Refine your techniques over time to create professional-looking stickers effortlessly.
Common Mistakes to Avoid
-
Poor Image Selection:
- Avoid using low-quality or overly complex images that can result in blurry or unclear stickers.
- Choose images with clear subjects and high resolution for the best sticker quality.
-
Neglecting Refinement:
- Don’t skip refining the edges of your sticker; rough edges can make it look unprofessional.
- Use the Eraser tool to smooth out any imperfections for a polished finish.
-
Ignoring File Format:
- Always save your sticker in PNG format to maintain a transparent background.
- Using other formats might result in unwanted backgrounds or loss of quality, limiting the sticker’s versatility.
Conclusion
In this guide, we’ve covered the essential steps to create a stunning sticker on Picsart, from selecting the perfect image to refining and adding effects for a polished finish. Now, it’s your turn to dive in and unleash your creativity! Experiment with different tools, try out new ideas and share your unique stickers with the world. We invite you to leave a comment, share your creations, or ask any questions—we’re here to help and excited to see what you create!